Chapter VIII: Level 1 Walkthrough
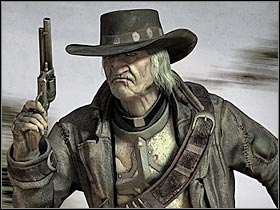
You are: Reverend Ray
Main mission objective: You will have to hunt down Billy, before he manages to receive any help from the farmers. You will also have to get past an Indian territory.
Difficult moments: This is one of the easier chapters of the campaign mode, however that are a few challenging fights waiting here for you. You've dealt with similar problems before, so you should be just fine. You must also know that there will be several timed sequences here, however they aren't too complicated. Nevertheless, you won't be allowed to make any major mistakes.
 |
Complete walkthrough:
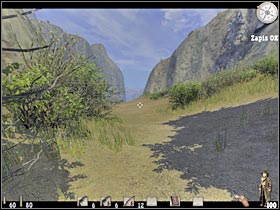
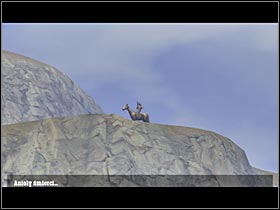
The first part of the mission will require you to get past an Indian territory. You should know these lands from one of the previous levels. Sadly, you won't be able to explore any new areas here. You start off in a small valley (#1). Bear in mind that there are a lot of difficult fights ahead of you. Most of the Indians will try to surprise you and you have to be ready for that. A short cut-scene should appear on your screen (#2).
 |  |
Keep moving forward. You probably know this area very well, so I guess I'll only concentrate on the fighting aspects. You won't have to wait too long for the first Indians to show up (#1). Make sure that you use one of the nearby boulders for cover. Additionally, you will have to aim at their heads (#2). Be careful, though. Some of your enemies will try to flank you from the left side. Once they're gone, check the bodies for ammunition and better guns.
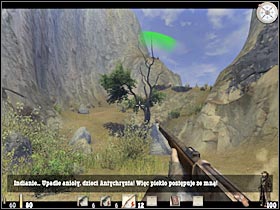 | 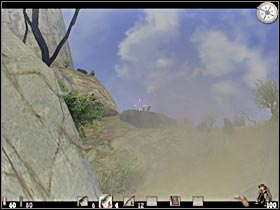 |
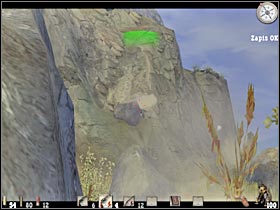
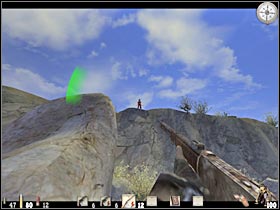
One of the Indians will be hiding on your left, by the huge rocks (#1). You probably won't notice him at first glance, so you have to be very careful, because he won't have any problems killing you. Most of the Indians will appear on the upper ledges (#2). They are located on your right, so you will have to find a suitable cover. You should be using the nearby boulders for that. Additionally, it would be wise to use a rifle during these fights. Additionally, you will be able to predict new attacks. Just make sure that you're on a look out for falling rocks. If this happens, you will have about 2-3 seconds to find a good cover and prepare for the upcoming attack.
 |  |
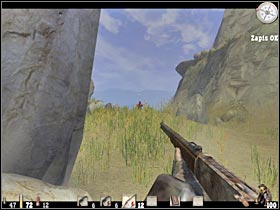
Keep heading towards your new destination. Be careful, as some of the Indians will try a frontal approach (#1). You will have to use your rifle in order to get rid of them quickly. You should also check all of the nearby ledges. Some of your enemies may still be hiding here (#2). Make sure you're using larger objects for cover. Additionally, make sure that your save your progress frequently.
 | 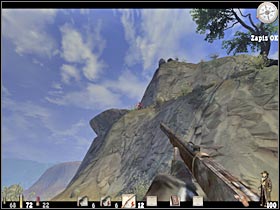 |
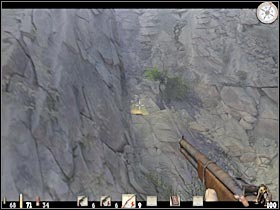
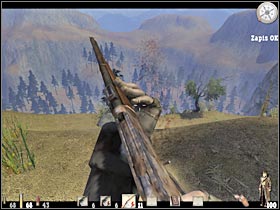
There are some more difficult fights waiting for you near the campsite. Start off by taking out an enemy sniper. He will be hiding on an upper ledge that's located on your left (#1). Furthermore, one of the Indians will try to attack with his tomahawk (#2). He will be standing by a large rock. I would recommend that you use this object for cover. You should be able to take out the rest of the Indians from here.
 |  |
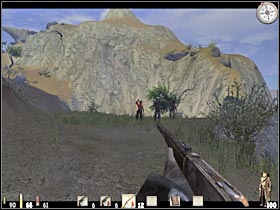
Try to make a few steps forward. You are going to be attacked by three Indians (#1). Thankfully, you won't have to worry about that. They're carrying only tomahawks, so you won't have any problems killing them. Head on to the new canyon (#2). This is the final part of the mission, so you should save your game first.
 | 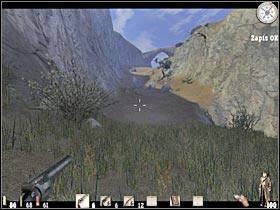 |
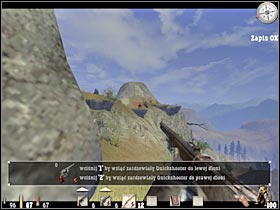
As always, you'll have some serious problems with those Indians who are hiding on the upper ledges (#1). I would recommend that you find a good cover point here. This will allow you to eliminate them without having to worry about anything else. Keep moving forward. Make sure that you're using nearby boulders for cover. You can't stay in the open for too long. You should also know that some of the Indians are equipped quite well (#2), so they will have to die first.
 |  |
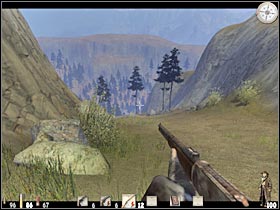
Once you've reached the junction, choose the same road as before. You will have to get down from this hill (#1). Be careful, though. You are going to be attacked by two other Indians (#2). They will be using guns, so you have to kill them quickly. Once they're gone, search the area for health bottles.
 | 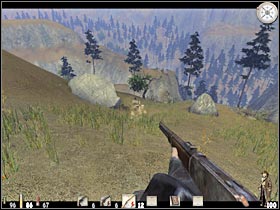 |
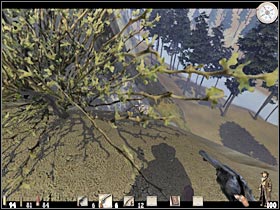
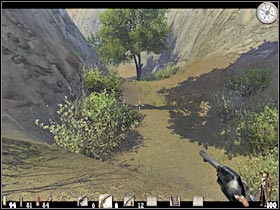
You should now exactly where you need to go. Make sure that you're careful while sliding down to a lower ledge (#1). Turn left and choose a narrow passageway. You won't have any problems here (#2). This is where the game will begin loading a second level of this chapter.
 |  |
You are not permitted to copy any image, text or info from this page. This site is not associated with and/or endorsed by the developers and the publishers. All logos and images are copyrighted by their respective owners.
Copyright © 2000 - 2026 Webedia Polska SA for gamepressure.com, unofficial game guides, walkthroughs, secrets, game tips, maps & strategies for top games.
