Star Wars The Force Unleashed: Mission 09 Death Star - part 1
Primary objective:
Rescue captured Rebel leaders
Secondary objectives:
Earn 500 000 Force Points
Find 15 holocrons
 | 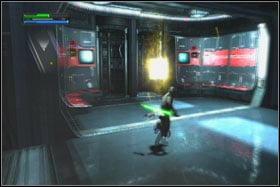 |
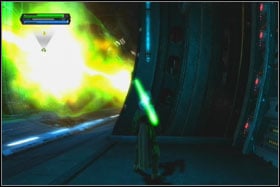
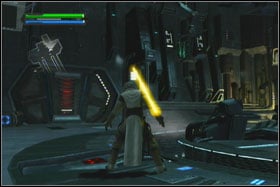
The first part of the mission is probably the most difficult moment of the whole game. You will have to fight with many stormtroopers armed with different types of the weapon. First it will be AT-CT, next AT-ST. The best method for survive is destroying the cannons E-Web, which are located in the both corners of the hall. Next find small elevator platform and ride with her on the ramp running around the room. On her shorter end, you will find the holocron (Katak Power Crystal).
 | 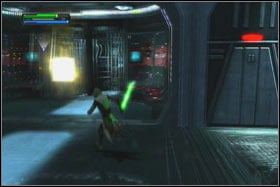 |
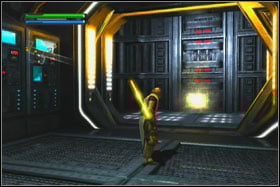
Eliminate the snipers and Jump stormtroopers and run on the other side. In the similar niche you will find second holocron. Jump back to the main part of the hall.
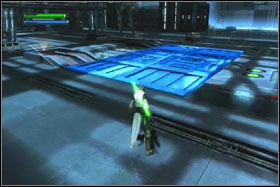 |  |
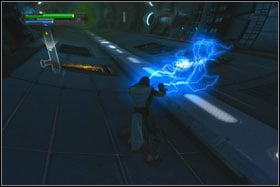
Now you can try to destroy rest of the Imperial Forces. It will be very difficult, so if you want to evade the fight, use the Force to bend floor plates and go to the lower level. But if you will decide to fight, eliminate first Purge Troopers, and after that mechs. Use most of often Force Lightning. When the enemies will be dead, jump down through the hole in the floor.
 | 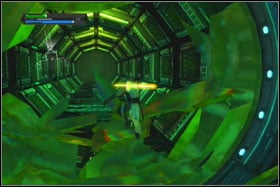 |
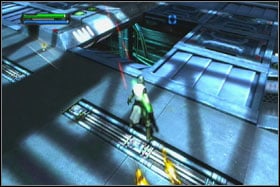
The Empire is testing gigantic stream cannon. Every several seconds in the tube, where you are is running the dangerous ray. Fortunately. Before launching, the officer is counting from 5 to launch. This should guaranty you enough time to hide somewhere. Keep moving forward, destroying by the way green lens, which are blocking pass.
 |  |
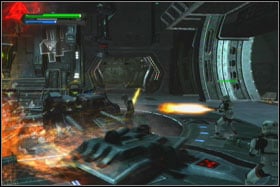
You have to watch out on the turrets, which are hidden in the floor. Threat them with Force Lightning. If you will keep yourself the right side, you will come to the holocron hidden behind the bulkhead.
 |  |
In the side rooms of the tube, you will have to fight with stormtroopers (standard and armed with flamethrowers). The exit from this part of the level is located on the right side. You will have to pull up the blockade from the bulkhead. Before you leave the area, take the holocron (Unstable Green Light Saber Crystal) from the top of the laser. Next holocron is placed in the same place but on the opposite side.
 |  |
Behind two another bulkheads you find additional holocrons.

- Star Wars: The Force Unleashed Game Guide & Walkthrough
- Star Wars The Force Unleashed: Game Guide
- Star Wars The Force Unleashed: Walkthrough
- Star Wars The Force Unleashed: The Prologue
- Star Wars The Force Unleashed: Mission 01 TIE Fighter Factory - part 1
- Star Wars The Force Unleashed: Mission 01 TIE Fighter Factory - part 2
- Star Wars The Force Unleashed: Mission 02 Raxus Prime - part 1
- Star Wars The Force Unleashed: Mission 02 Raxus Prime - part 2
- Star Wars The Force Unleashed: Mission 02 Raxus Prime - part 3
- Star Wars The Force Unleashed: Mission 03 Felucia
- Star Wars The Force Unleashed: Mission 04 The Empirical
- Star Wars The Force Unleashed: Mission 05 Cloud City
- Star Wars The Force Unleashed: Mission 06 Imperial Kashyyyk - part 1
- Star Wars The Force Unleashed: Mission 06 Imperial Kashyyyk - part 2
- Star Wars The Force Unleashed: Mission 07 Imperial Felucia - part 1
- Star Wars The Force Unleashed: Mission 07 Imperial Felucia - part 2
- Star Wars The Force Unleashed: Mission 08 Imperial Raxus Prime - part 1
- Star Wars The Force Unleashed: Mission 08 Imperial Raxus Prime - part 2
- Star Wars The Force Unleashed: Mission 09 Death Star - part 1
- Star Wars The Force Unleashed: Mission 09 Death Star - part 2
- Star Wars The Force Unleashed: Walkthrough
- Star Wars The Force Unleashed: Game Guide
You are not permitted to copy any image, text or info from this page. This site is not associated with and/or endorsed by the developers and the publishers. All logos and images are copyrighted by their respective owners.
Copyright © 2000 - 2026 Webedia Polska SA for gamepressure.com, unofficial game guides, walkthroughs, secrets, game tips, maps & strategies for top games.