Tomb Raider Legend: Kazakhstan Proj. Carbonek part 4
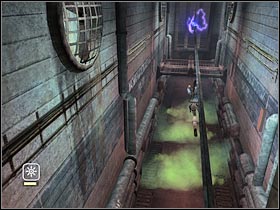
Step up to the opposite end of the platform. Once again, you will have to deal with an electrified pole. Wait for the right moment, make a jump towards the pole and start moving forward (#1). You will have to reach a new platform. Use the nearby door. You will find yourself inside a large warehouse. Lara will met a "new" Amanda for the first time (#2). As you might have suspected, she's not very friendly at the moment. Get ready! You will regain a full control over Lara's movements very soon.
 |  |
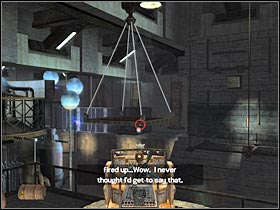
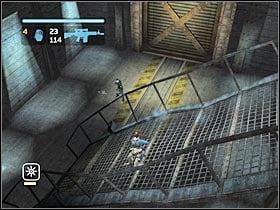
Head on to the cannon that's located on your left. You might as well try and use it (#1). Sadly, you won't be able to do anything here, because the cannon will run out of power. You will have to find a more stable power source. Leave the cannon and turn right. There's a slipway here. Use it (#1). You should also take out a nearby soldier. Head on to the left corridor. There are more soldiers here. Start killing them.
 |  |
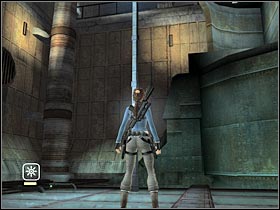
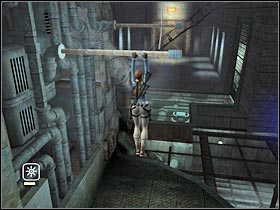
Now you will have to get closer to the vertical pole that's located on your left (#1). Be careful! Just as before, it's been electrified. Wait for the right moment. Grab the pole and start moving upwards. Make a jump. You will have to reach a nearby ledge. Climb up to the upper level. Now you must turn around and make a jump towards the new metal pole (#2). You shouldn't have any problems with that.
 |  |
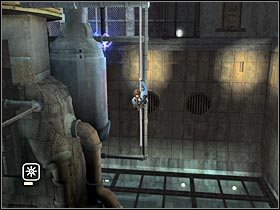
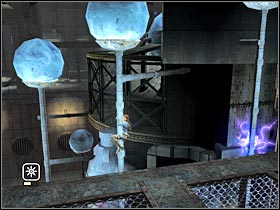
Make a jump towards the second horizontal pole. Once you're there, you should be able to reach a nearby ladder. Turn left. You must be aiming at the vertical pole (#1). Once again, you have to be VERY careful. Both vertical poles are electrified (#2). You will have to wait for the right moment. Once you're on the first pole, turn right and make a jump. From here, you should be able to reach a new balcony.
 |  |
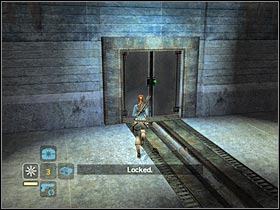
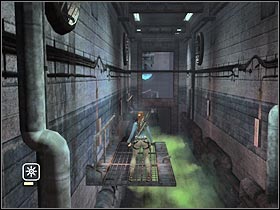
There are more bodies here. You might want to consider taking the notes from one of the dead scientists. Otherwise, head on to the only visible door (#1). Start moving forward. You won't have to do anything in particular at the moment. Be careful, though. There's some gas in the second part of this corridor. You will have to use platforms and metal poles (#2) in order to safely reach the other side. Get back to the ground floor and enter a new room.
 |  |
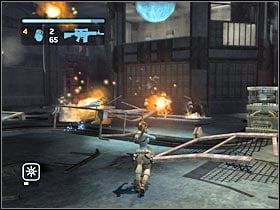
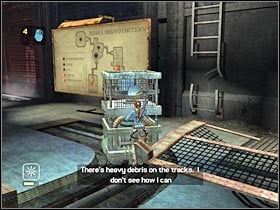
There are some enemy soldiers in the new room. You will have to start shooting at them. Just as before, I would recommend that you aim at the highlighted objects (#1). Thanks to that, you should be able to take care of the remaining units quickly. Once you're done with them, head on to the large metal object. You will have to move it closer to the nearby ladder (#2).
 |  |
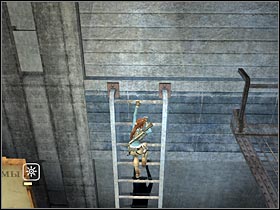
Climb up to the new object. You should be able to reach the ladder from here. Start moving upwards (#1). Now you will have to make a second jump. You should be able to land on a nearby platform. Start moving forward. You will hear Amanda's voice in a few seconds. Head on to a nearby pole. Now you will have to make a jump towards the new ledge. Turn right. Get ready for a more challenging jump (#2). You must reach a nearby rope.
 | 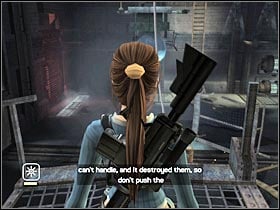 |
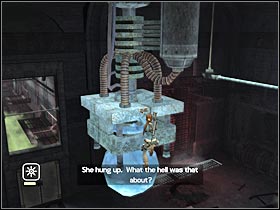
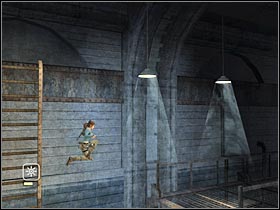
Once you're on a rope, start swinging. You will have to reach the central part of the construction. Grab a narrow ledge and star moving towards the right edge of the screen (#1). You will have to reach the opposite side of the construction. Make a jump towards a horizontal pole. You must reach a new platform. Use the ladder in order to get to the nearby balcony (#2). Keep moving forward.
 |  |
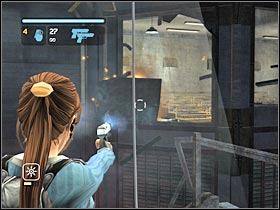
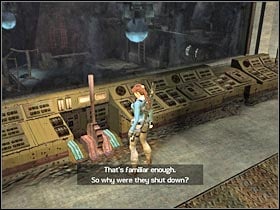
Before you decide to use a nearby rope, enter the Accurate Aim mode. You will have to destroy an explosive barrel (#1). Thanks to that, you will be able to reach the new room. You may use the rope now. Once you're there, start off by picking up a new part of the notebook. Proceed to the main console and pull the huge lever (#2).
 |  |
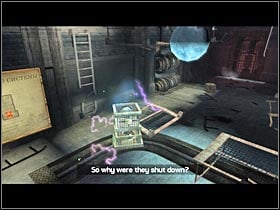
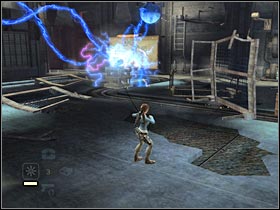
The metal object is going to be activated in just a moment (#1). Furthermore, it will increase its power. Get back to the ground floor and use the grapple. Start pulling the object towards the entrance (the same one you have used before). As you've probably noticed, the object will "swallow" metal parts along the way, so you won't have to worry about them anymore (#2). Once you've reached your destination, the device will begin moving on its own.
 |  |
You are not permitted to copy any image, text or info from this page. This site is not associated with and/or endorsed by the developers and the publishers. All logos and images are copyrighted by their respective owners.
Copyright © 2000 - 2026 Webedia Polska SA for gamepressure.com, unofficial game guides, walkthroughs, secrets, game tips, maps & strategies for top games.
