Call of Duty Black Ops: Numb3rs - p. 2
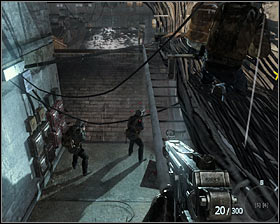 |  |
Now go straight. Stand in such place to eliminate two enemies standing in front of you #1. Jump down and follow your team, passing the roofs of the buildings #2.
 |  |
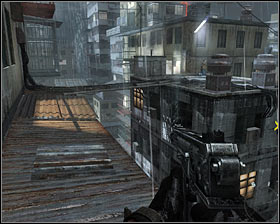
The aim is to reach the place where you start sliding down the roof in a slow time mode #1. Notice that new enemies appeared downstairs #2 and try to eliminate them all before the game slows down. If you don't succeed, you will have to eliminate the rest too.
 |  |
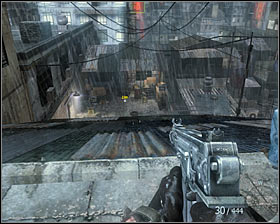
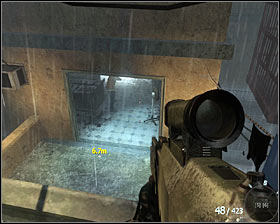
Check the area situated straight way from the place where you are standing now and you will find secret service data #1. You can now watch a short scene with a hostile helicopter and use mini-warehouse #2.
 | 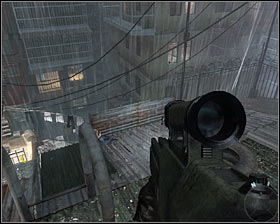 |
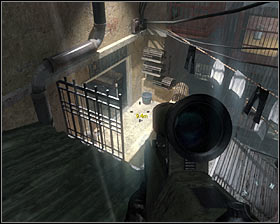
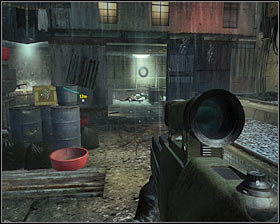
It is worth taking a machine gun with a telescope because in a moment you will have to start eliminating enemies situated nearby #1. Remember to stay behind a wall so you won't be an easy target. After securing the area, choose a good weapon for short and medium distance and follow your team #2.
 | 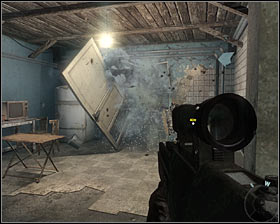 |
The aim is to reach the balcony marked by the game #1. Enter the building. Watch out for the enemies who will blow up the door situated nearby #2. It is worth shooting in a random way because reaching them will be very difficult.
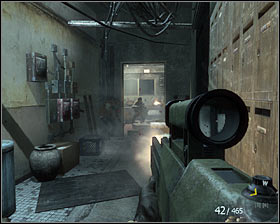 |  |
Move further, passing a narrow corridor. Watch out for the enemies jumping down to a nearby room #1, as well as for the ones who waiting upstairs #2. Carefully go outside eliminating other enemies.
 |  |
Go towards the entrance of the new building #1 and prepare for eliminating the enemies running towards you. Again watch out for the soldier standing behind the crate. After few moments you should reach a small warehouse #2.
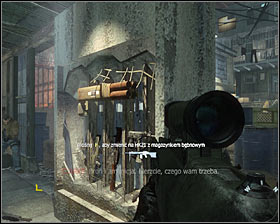 |  |
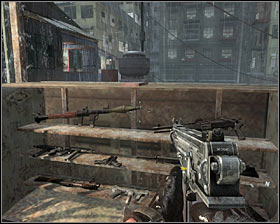
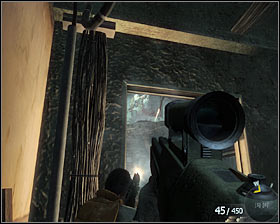
In few seconds you will have to protect this place from enemy's attack. Use the goods from the warehouse #1. I suggest machine gun HK21 or G11 and standing somewhere on the right #2.
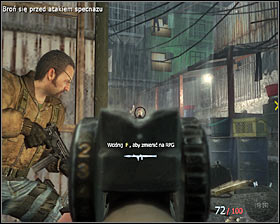 | 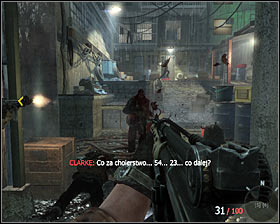 |
After starting the fight first try to eliminate the aims which are further #1. However, be ready because sooner or later some opponents will get closer #2. React to it properly by shooting in longer series.
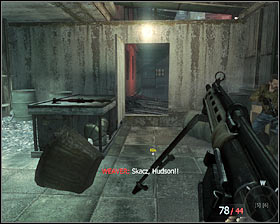 |  |
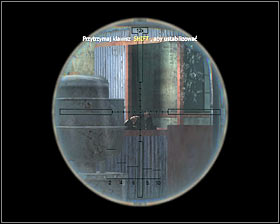
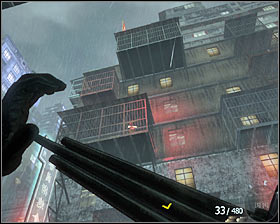
You have to defend yourself until Clark opens the door #1. Immediately head there. After going outside, jump to the fragments of the roof, performing a longer jump at the end #2, which will be finished with presenting an important cut-scene.
 |  |
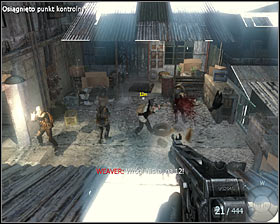
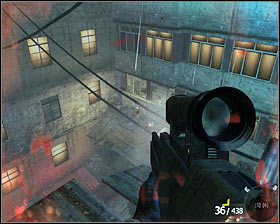
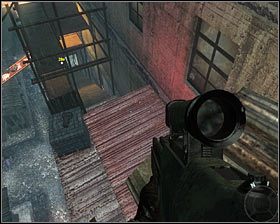
After regaining control over the main hero, follow Weaver. You will have to eliminate few enemies standing downstairs #1, as well as two men hiding on two balconies upstairs #2.
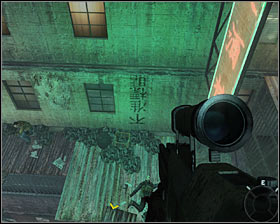 |  |
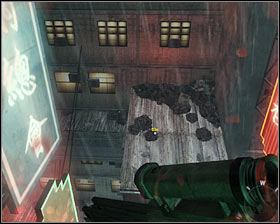
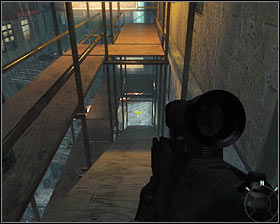
Jump towards the lower fragment of the roof #1. and then toward another one. Now turn left. Come up to the edge and kill the enemies you can see downstairs #2. After eliminating then jump towards the fragment of the roof they were standing on.
 | 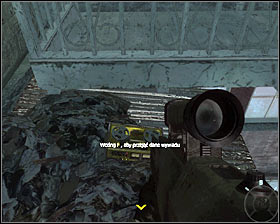 |
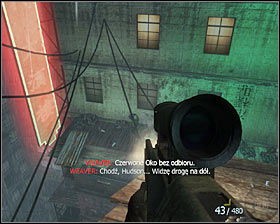
Continue following Weaver. Jump down onto a small ref fragment of the roof #1. After the landing you must turn around and look for the last in this mission secret service data #2.
 |  |
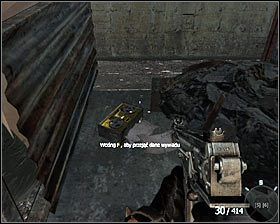
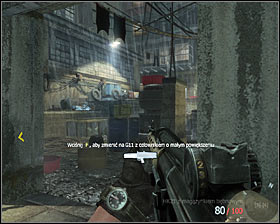
Now you can head downstairs #1. After watching the new cut-scene quickly press F key to pick up the gun #2.
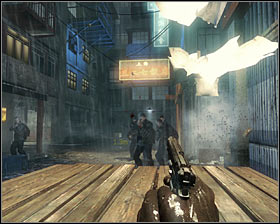 | 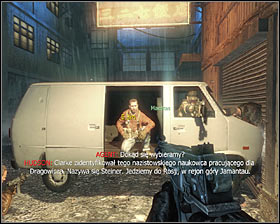 |
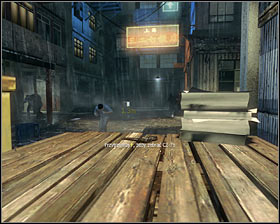
Start using the gun mentioned above to eliminate the enemies aiming at you #1. Luckily, your allies will appear soon and help you in eliminating the enemies. Come up to a van #2, which will help you to complete this mission.

- Call of Duty: Black Ops Game Guide & Walkthrough
- Call of Duty Black Ops: Walkthrough
- Call of Duty Black Ops: Walkthrough - Operation 40 - p. 1
- Call of Duty Black Ops: Operation 40 - p. 2
- Call of Duty Black Ops: Vorkuta - p. 1
- Call of Duty Black Ops: Vorkuta - p. 2
- Call of Duty Black Ops: Vorkuta - p. 3
- Call of Duty Black Ops: Executive Order - p. 1
- Call of Duty Black Ops: Executive Order - p. 2
- Call of Duty Black Ops: S.O.G. - p. 1
- Call of Duty Black Ops: S.O.G. - p. 2
- Call of Duty Black Ops: The Defector - p. 1
- Call of Duty Black Ops: The Defector - p. 2
- Call of Duty Black Ops: Numb3rs - p. 1
- Call of Duty Black Ops: Numb3rs - p. 2
- Call of Duty Black Ops: Project Nova - p. 1
- Call of Duty Black Ops: Project Nova - p. 2
- Call of Duty Black Ops: Project Nova - p. 3
- Call of Duty Black Ops: Victor Charlie - p. 1
- Call of Duty Black Ops: Victor Charlie - p. 2
- Call of Duty Black Ops: Crash Site - p. 1
- Call of Duty Black Ops: Crash Site - p. 2
- Call of Duty Black Ops: WMD - p. 1
- Call of Duty Black Ops: WMD - p. 2
- Call of Duty Black Ops: WMD - p. 3
- Call of Duty Black Ops: Payback - p. 1
- Call of Duty Black Ops: Payback - p. 2
- Call of Duty Black Ops: Rebirth - p. 1
- Call of Duty Black Ops: Rebirth - p. 2
- Call of Duty Black Ops: Rebirth - p. 3
- Call of Duty Black Ops: Revelations
- Call of Duty Black Ops: Redemption - p. 1
- Call of Duty Black Ops: Redemption - p. 2
- Call of Duty Black Ops: Walkthrough
You are not permitted to copy any image, text or info from this page. This site is not associated with and/or endorsed by the developers and the publishers. All logos and images are copyrighted by their respective owners.
Copyright © 2000 - 2026 Webedia Polska SA for gamepressure.com, unofficial game guides, walkthroughs, secrets, game tips, maps & strategies for top games.