Castlevania Lords of Shadow 2: Mission 6 - The Antidote II
#5 Pile of Sacrifice
Use your freshly acquired ability, to get through the bars, and then stand above the airflow and use the Mist power again - it will allow you to get to the upper level. Replenish you Magic by the Magic Font, climb up the scaffolding, and then, hanging in the airflow, use Mist yet again, to get to the other side.
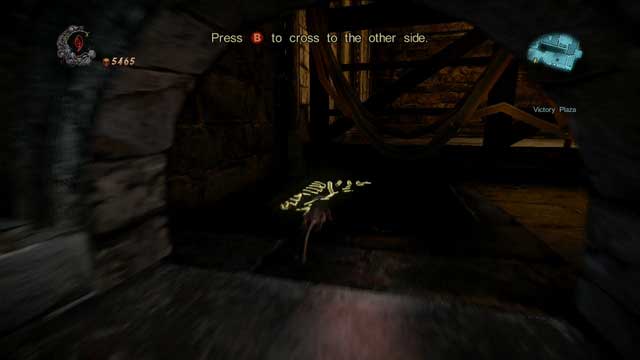
You will land on a Shadow Portal - use it, to get into your rat form and get inside the nearby grid. Go through the tunnel, until you reach a place where you can jump down through a hole in the ground - turn to the right, ignoring the hole, to reach a room with a Pile of Sacrifice (containing a Kleidos' Nail).
#6 Pile of Sacrifice
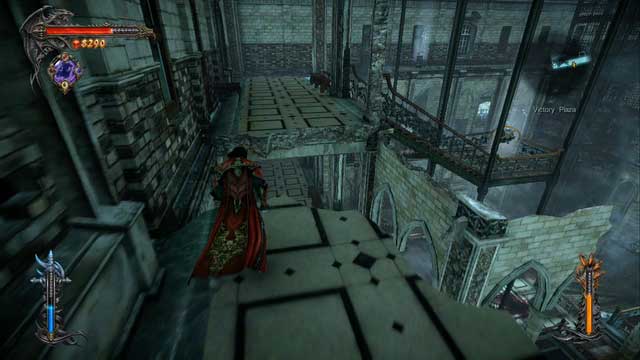
Another Pile of Sacrifice is located on the top floor of the multi-story building. Leave the elevator and go to the right, but don't go into the corridor marked by the waypoint - instead, go straight ahead. Jump over a series of gaps, to get to a Pain Box with a Life Gem inside and jump on a thick wall (located to the left from the Pain Box you just collected) to get to a place where a Pile of Sacrifice is located. You won't get a Kleidos' Nail - this time you will be awarded with an upgrade to your Ensnared Demon relic, increasing the amount you can carry at a time (from 3 to 4).
- Castlevania: Lords of Shadow 2 Game Guide & Walkthrough
- Castlevania Lords of Shadow 2: Game Guide
- Castlevania Lords of Shadow 2: Piles of Sacrifice and Dungeon Keys - First pass
- Castlevania Lords of Shadow 2: Mission 2 - The Three Gorgons
- Castlevania Lords of Shadow 2: Mission 3 - The Antidote
- Mission 4 - Next Stop: Castlevania
- Castlevania Lords of Shadow 2: Mission 5 - The Blood Curse
- Castlevania Lords of Shadow 2: Mission 6 - The Antidote II
- Castlevania Lords of Shadow 2: Mission 7 - Pieces of a Mirror
- Castlevania Lords of Shadow 2: Mission 8 - The Hooded Man
- Castlevania Lords of Shadow 2: Mission 9 - The Second Acolyte
- Castlevania Lords of Shadow 2: Mission 10 - The Mirror of Fate
- Castlevania Lords of Shadow 2: Mission 11 - Revelations
- Castlevania Lords of Shadow 2: Piles of Sacrifice and Dungeon Keys - First pass
- Castlevania Lords of Shadow 2: Game Guide
You are not permitted to copy any image, text or info from this page. This site is not associated with and/or endorsed by the developers and the publishers. All logos and images are copyrighted by their respective owners.
Copyright © 2000 - 2026 Webedia Polska SA for gamepressure.com, unofficial game guides, walkthroughs, secrets, game tips, maps & strategies for top games.