Darksiders 3: Hangman's tree Walkthrough
This page of our Darksiders 3 guide contains a walkthrough for Hangman's Tree, one of the locations which are a part of Boneland. The new area means more battles and solving (simple) puzzles.
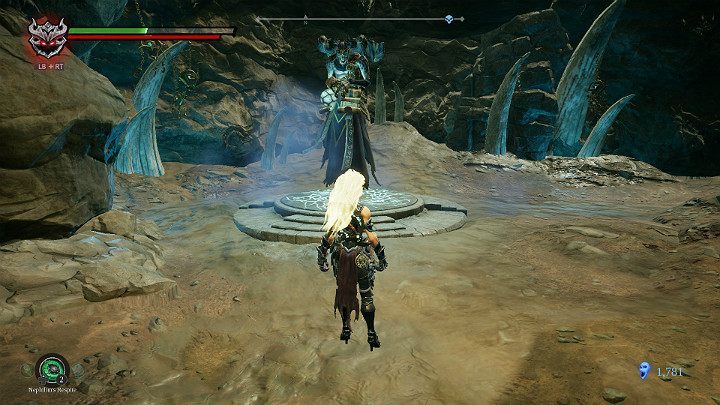
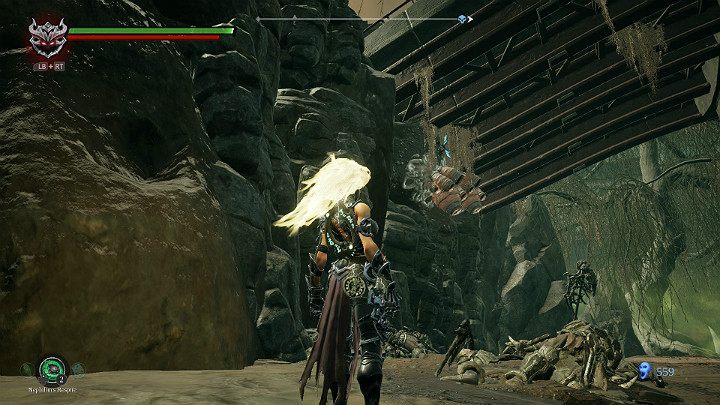
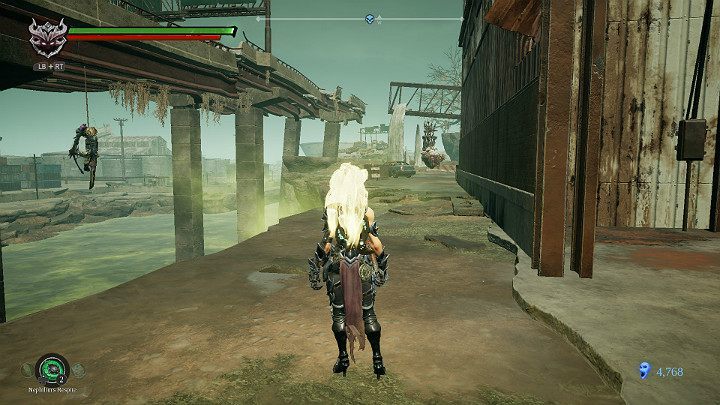
You have reached the next checkpoint. You can deposit souls and replenish supplies before you continue your journey.
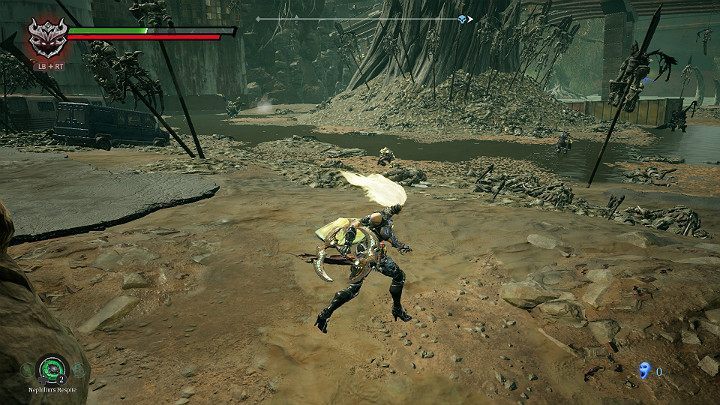
Next, you'll be facing two opponents throwing acid balls. On the right side, there is a stronger opponent with a sword. When you defeat him, you'll receive an artifact.
On the left side there is a griffon with which you have already had the opportunity to fight.
Throughout the location, the skeletons of angels and skeletal opponents are hung. Knock down all hanged men to get extra items. Use the new weapon - Salvation.
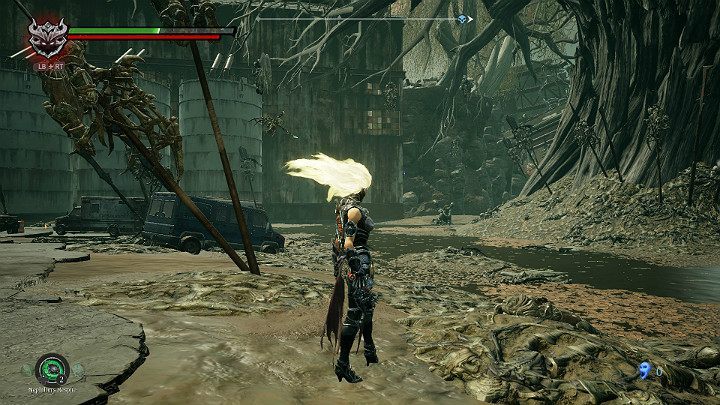
On the left, under the bridge, you'll find two wasp nests. Destroy them, otherwise a swarm of opponents will come out of them.
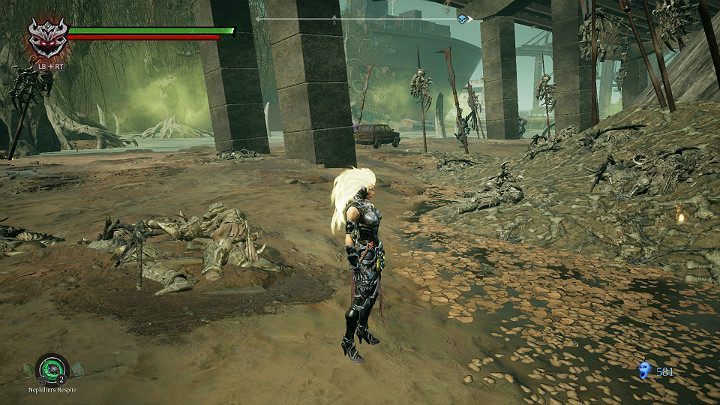
More patrols under the bridge. Eliminate them and proceed.
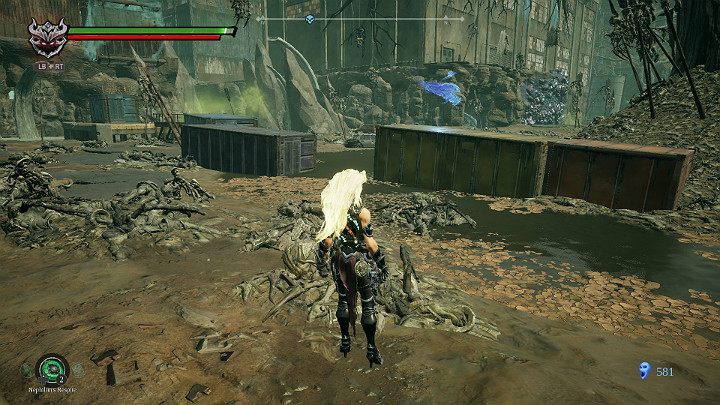
The souls floating above the containers are easy to collect.
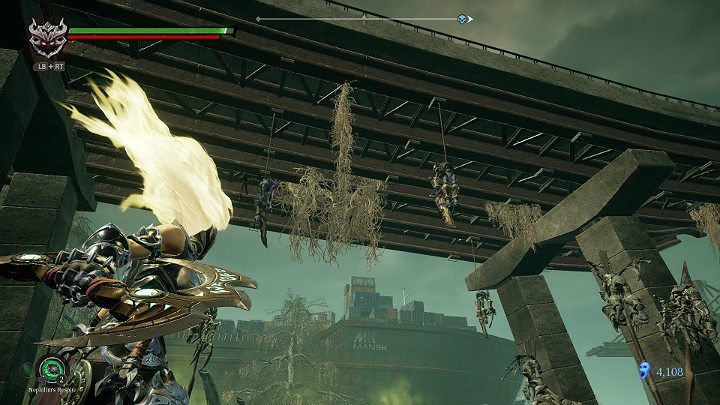
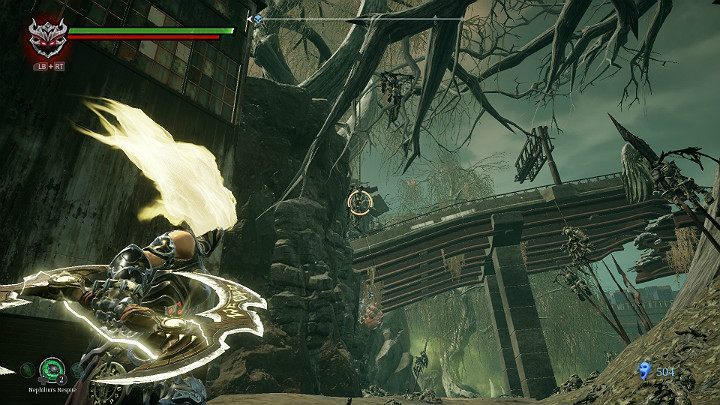
Remember to knock down opponents hanging under the bridge. This will give you extra souls.
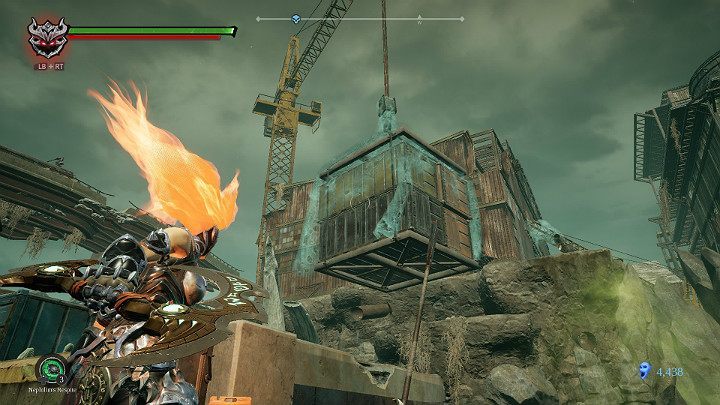
Approach the crane and use Salvation to burn the spiderweb that holds the load in the air.
The containers will fall to the ground creating a safe passage to the other side of the pool.
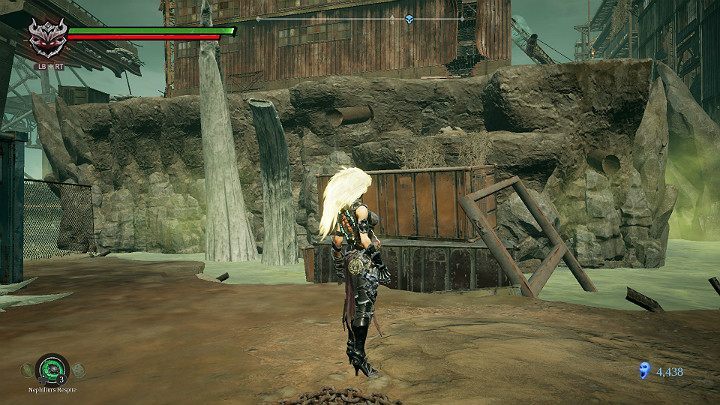
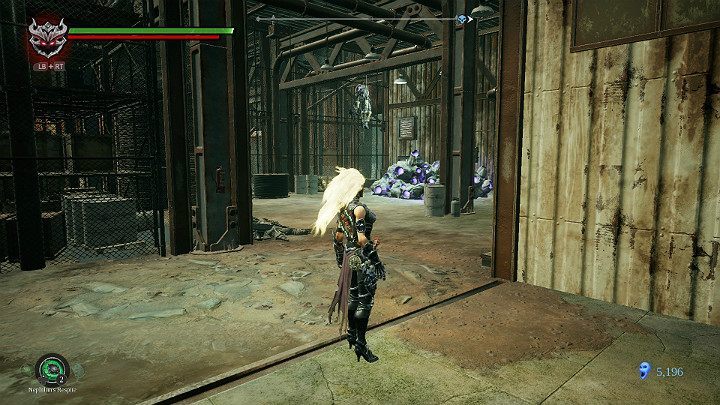
Burn the spiderweb obstructing the entrance to the hangar.
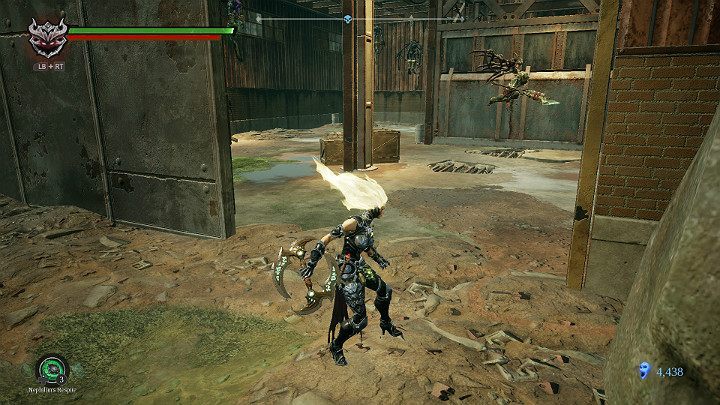
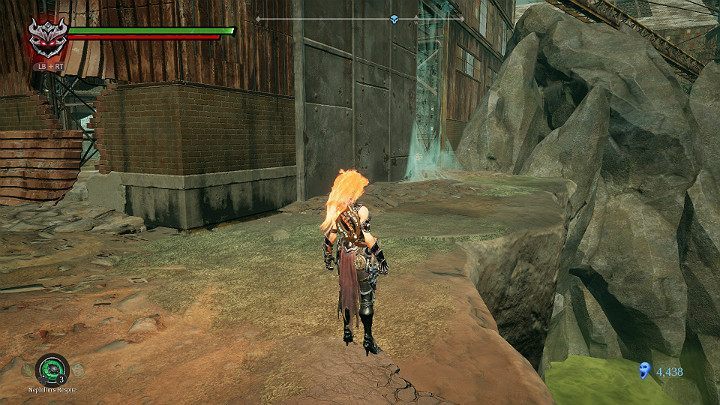
Inside you'll come across a patrolling demon. Additionally, there are a few hanged men on the ceiling.
Exit the hangar. In front of you is an opponent on the throne, with whom you had the opportunity to fight before. On the left side there is a hanged man that you can knock down for extra souls. Approach the edge of the hangar cautiously, because an opponent with a sword lurks around the corner.

On the right side you can see an insects' nest. Destroy it and then break the boxes blocking the entrance to the hangar.
Knock down another opponent, collect an item and go outside.
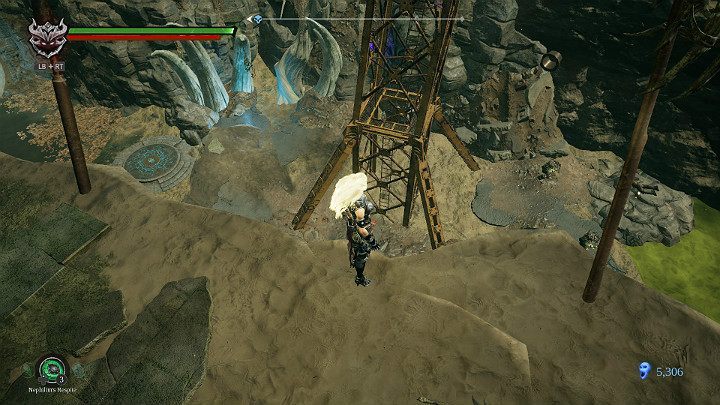
At the bottom you have two opponents to eliminate and one item to collect. On the left side you can see a checkpoint.

- Darksiders 3 Guide
- Darksiders 3: Game Guide
- Darksiders 3: Walkthrough
- Darksiders 3: List of story missions Walkthrough
- Darksiders 3: West End Walkthrough
- Darksiders 3: Haven Walkthrough
- Darksiders 3: Nether Walkthrough
- Darksiders 3: Wrath Boss Walkthrough
- Darksiders 3: Hollows Walkthrough
- Darksiders 3: Hollows - Catacombs Walkthrough
- Darksiders 3: Avarice Boss Walkthrough
- Darksiders 3: Nether part 2 Walkthrough
- Darksiders 3: Sloth Boss Walkthrough
- Darksiders 3: Haven part 2 Walkthrough
- Darksiders 3: North End Walkthrough
- Darksiders 3: South End Walkthrough
- Darksiders 3: Boneland Walkthrough
- Darksiders 3: Festering pool Walkthrough
- Darksiders 3: Hangman's tree Walkthrough
- Darksiders 3: The drowned district Walkthrough
- Darksiders 3: Mangled freeway Walkthrough
- Darksiders 3: Lust Boss Walkthrough
- Darksiders 3: Forgotten Lake Walkthrough
- Darksiders 3: Eroded Pipeline Walkthrough
- Darksiders 3: Sunken Tracks Walkthrough
- Darksiders 3: Gluttony Boss Fight Walkthrough
- Darksiders 3: Pipeline Exit Walkthrough
- Darksiders 3: The way to The Scar Walkthrough
- Darksiders 3: The Scar Walkthrough
- Darksiders 3: Abraxis and the Lord of Hollows - kill or spare? Walkthrough
- Darksiders 3: The Lowlands Walkthrough
- Darksiders 3: Wrath Boss second clash Walkthrough
- Darksiders 3: The Ending, Pride boss Walkthrough
- Darksiders 3: Envy final boss fight Walkthrough
- Darksiders 3: Walkthrough
- Darksiders 3: Game Guide
You are not permitted to copy any image, text or info from this page. This site is not associated with and/or endorsed by the developers and the publishers. All logos and images are copyrighted by their respective owners.
Copyright © 2000 - 2026 Webedia Polska SA for gamepressure.com, unofficial game guides, walkthroughs, secrets, game tips, maps & strategies for top games.