Darksiders 3: Mangled freeway Walkthrough
This page of our Darksiders 3 guide contains a walkthrough for Mangled Freeway. In this location, aside from standard exploration, you'll also have to face a mini-boss - Kraken.
First dose of exploration
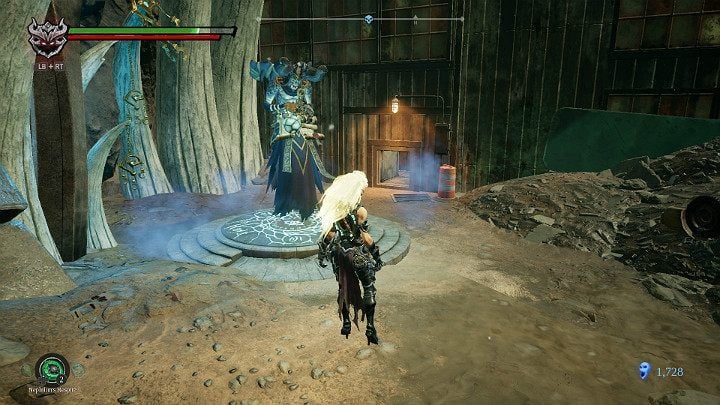
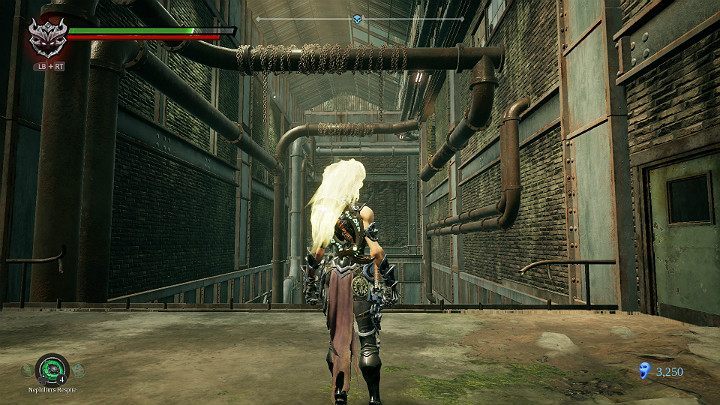
You've come to the next checkpoint. Before you are on your way, do the errands with Vulgrim. Go through the ventilation duct.
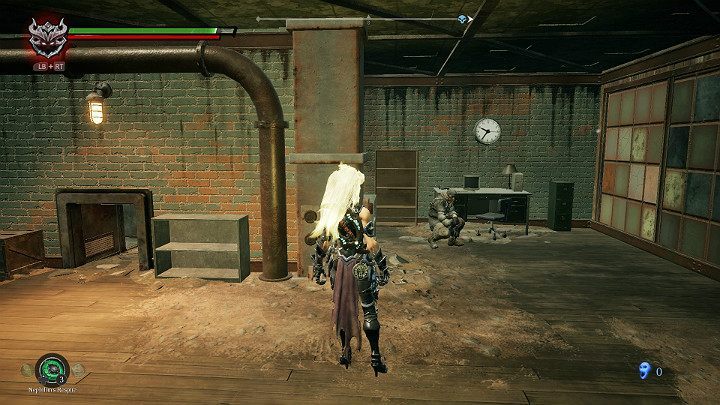
In a small room you'll find another man to save.
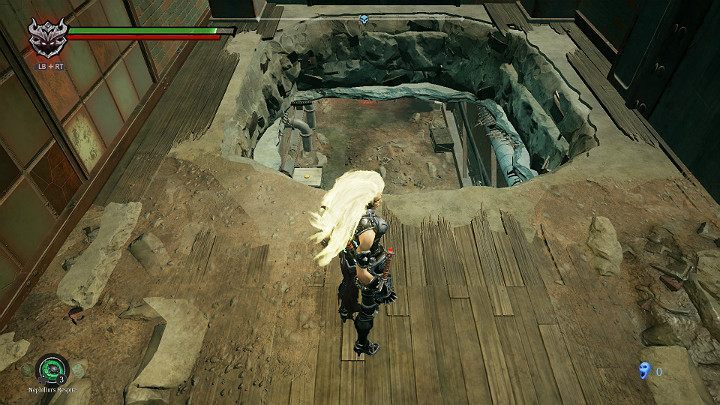
Jump down to the lower level through the hole in the floor.
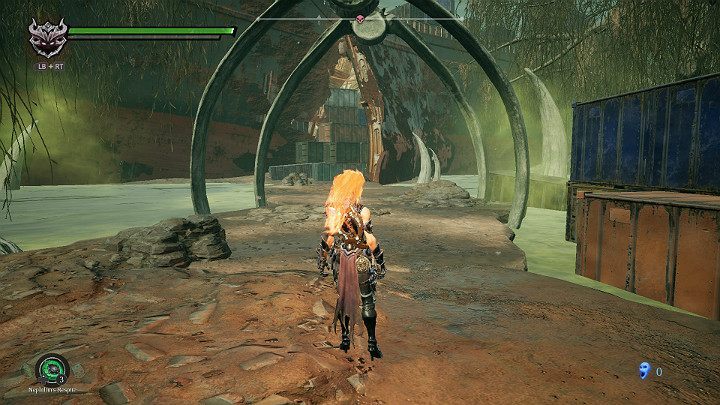
On the right side you'll find several opponents. However, before you go there, go left first.
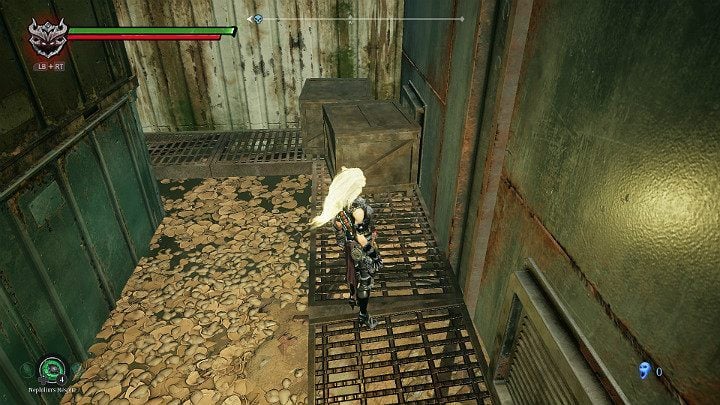
Break the crates and enter the ventilation duct.
After killing this opponent, you'll receive an artifact and an item that allows you to spend one Attribute.
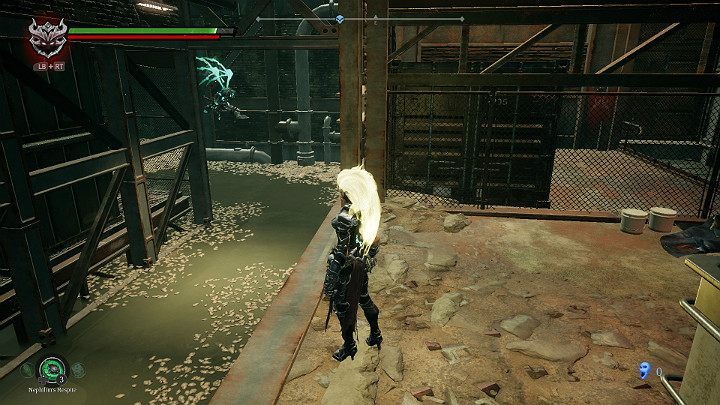
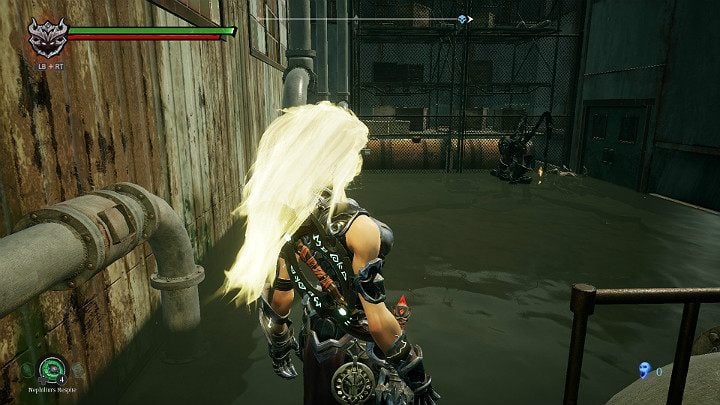
It's time to eliminate opponents in the next part of the severs. Two flying opponents and one patrolling skeleton should not cause you too many problems.
Pay attention to suspended opponents that you can knock down. On the left, on the container, you'll find another item.
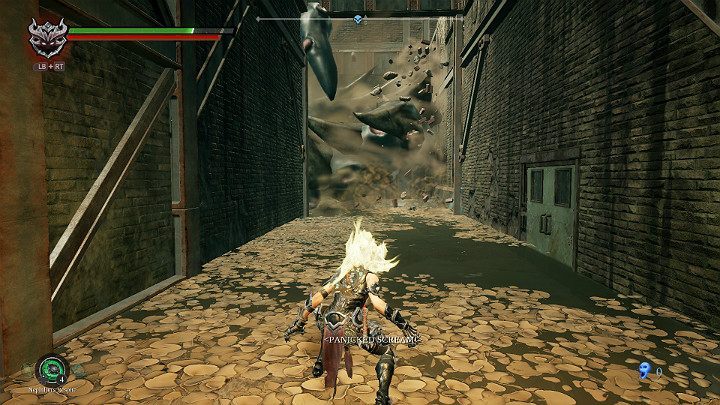
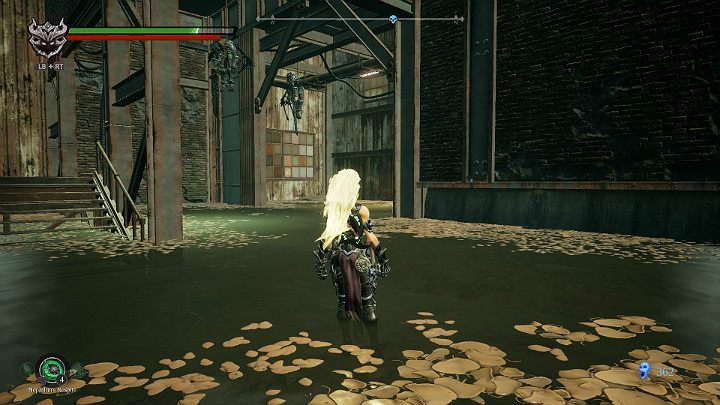
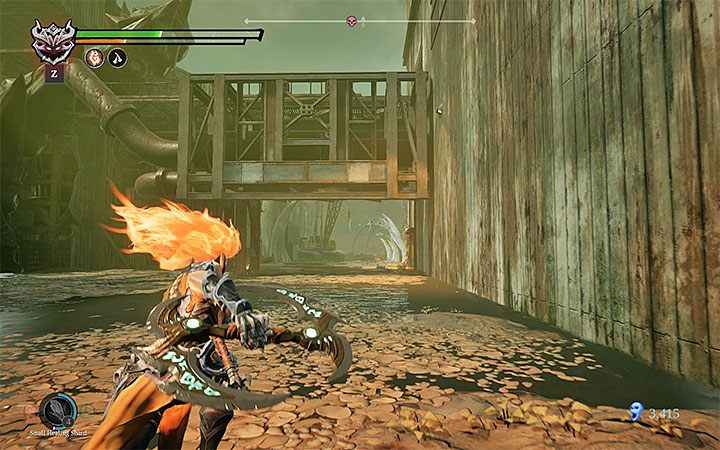
As you walk through the corridor, a large tentacle will break the wall. You don't have to worry about it yet, but know that you'll eventually have to fight this creature.
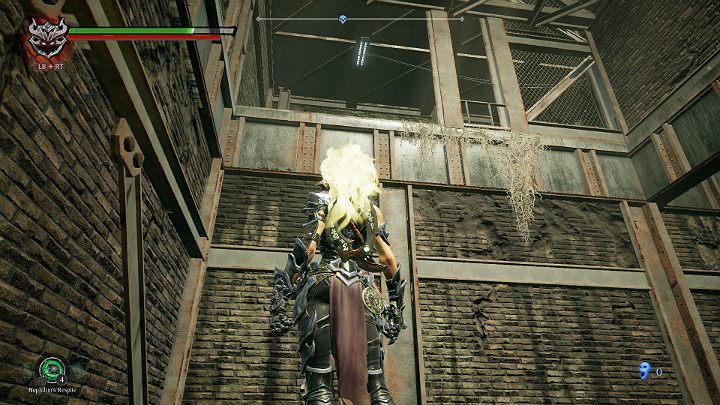
Jump to the upper level.
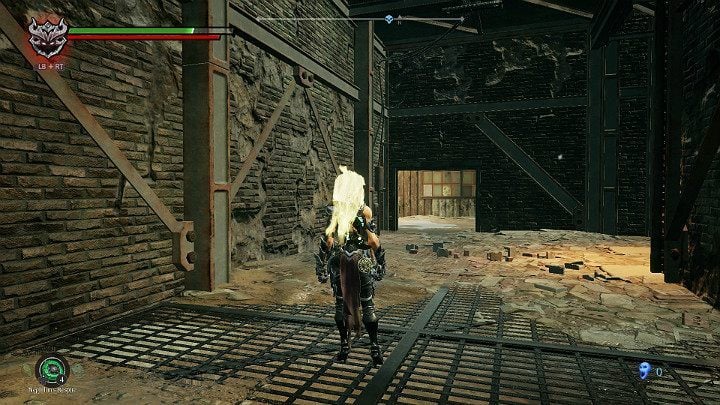
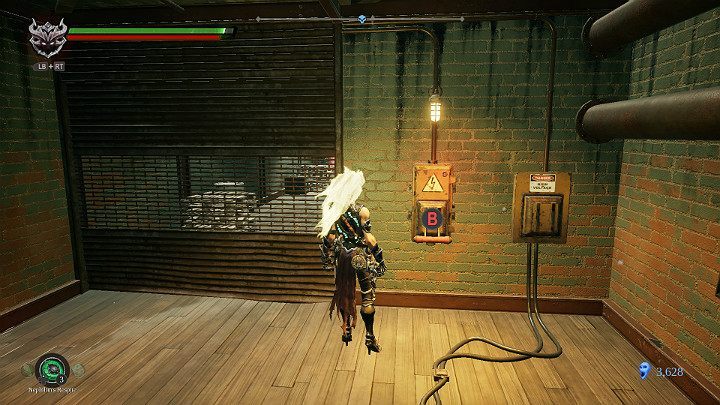
After going through the door shown in the screen above, you'll have to deal with two flying opponents.
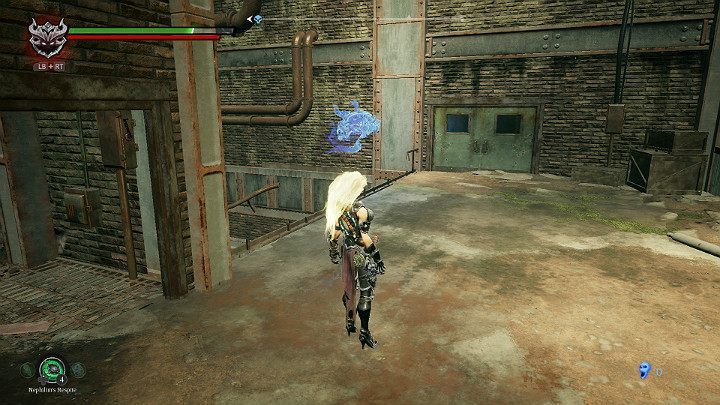
Collect the souls and look ahead.
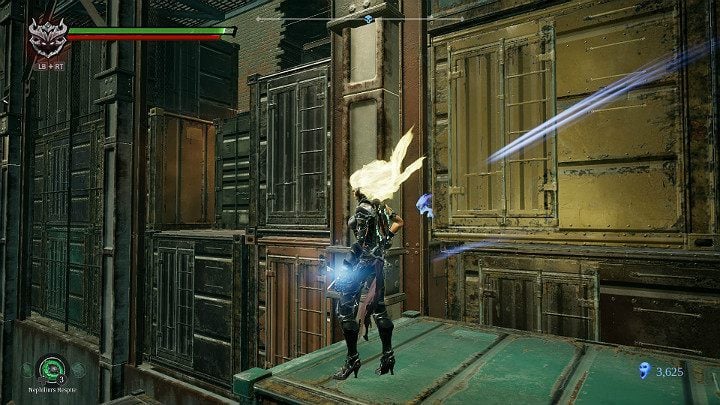
You have to jump to the other side using your main weapon.
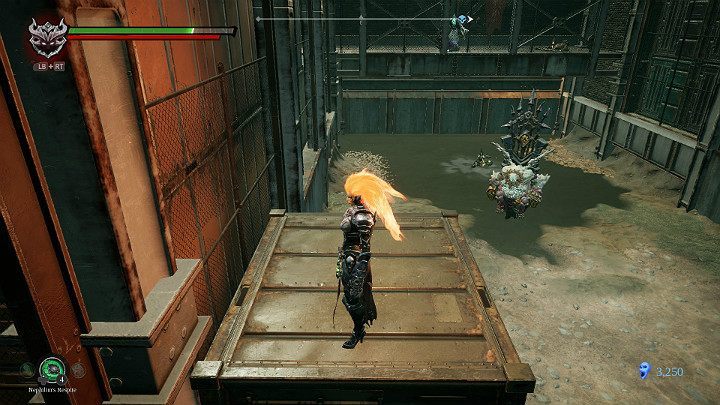
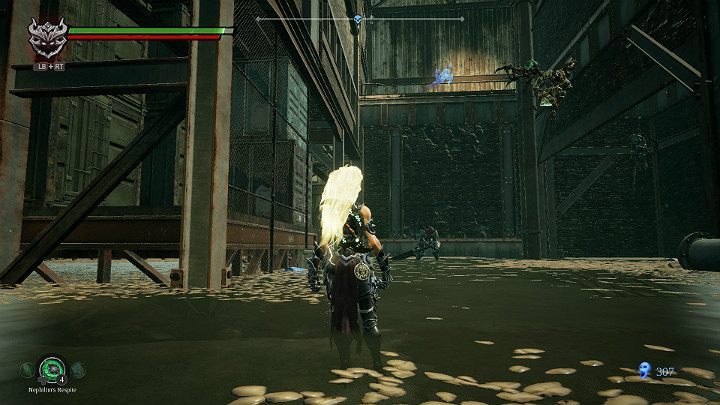
Below, there is a bigger opponent. Pay attention to the necromancer, who is behind the net and summons smaller opponents from there. It's worth taking care of the sorcerer first and then finishing off the rest of the targets. From the container shown in the screen above, you can jump higher to get to the protected enemy.
After eliminating the remaining opponents, jump onto a larger container and then up.
Open the door and get ready to fight.
Mini-boss - Kraken

Fury has gotten caught by Kraken. The battle begins once you land in shallow water.
Kraken's Attacks
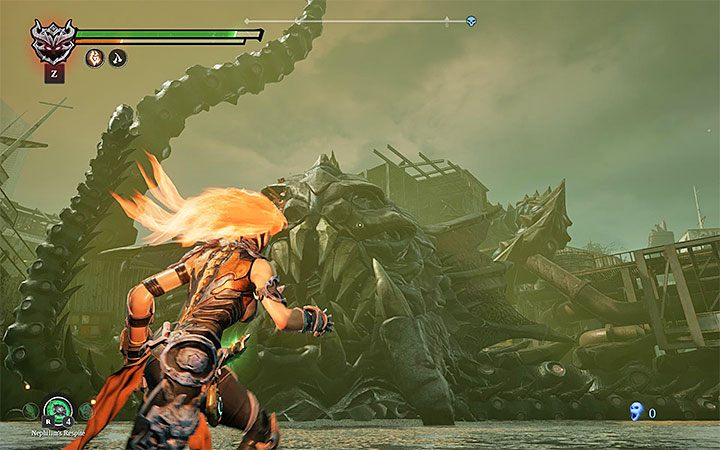
The opponent attacks in a fixed sequence - first one tentacle, then the other one and a strike to the ground. Side attacks can be avoided, and a double hit only staggers you.
Weak point
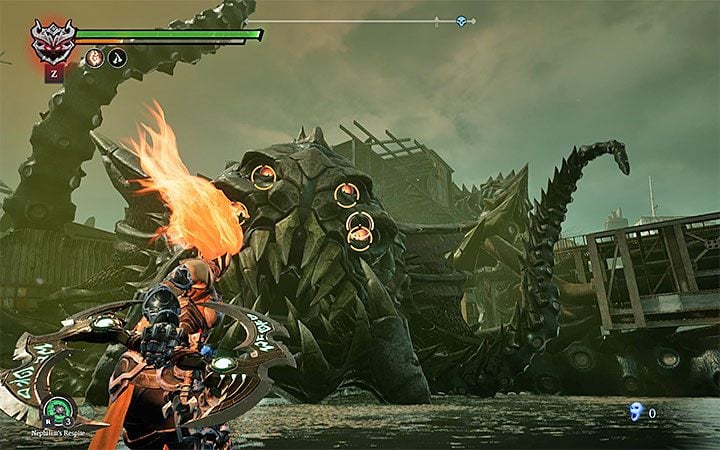
The opponent's weak point are his eyes. Unfortunately, he has 4 of them and you'll be unable to gouge them all out using single attacks. To do this you must use Salvation and block all 4 targets at once - the image above shows the correct preparation for the throw. When you mark all the targets and attack, all of the Boss's eyes will be gouged in one go.
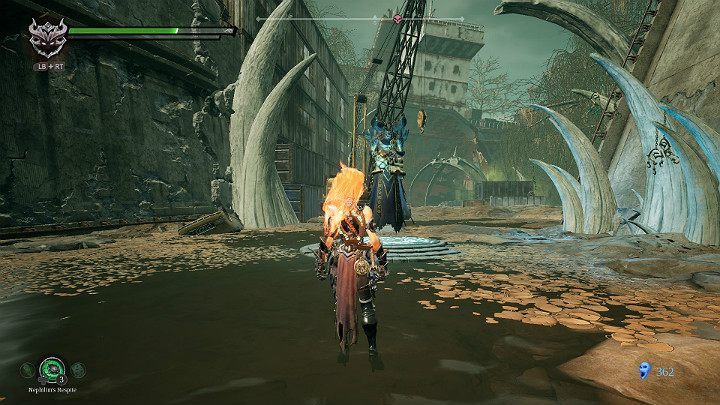
Escaping the Kraken
Stop fighting - you have to run. The blinded opponent will curl up and open a passage for you on the right side.
Cargo ship
You have reached the next checkpoint. Now will be the best moment to strengthen your weapons, upgrade and do some shopping. Soon you'll have a tough fight ahead of you.
Climb the containers to get on the freighter and get ready to fight Desire.

- Darksiders 3 Guide
- Darksiders 3: Game Guide
- Darksiders 3: Walkthrough
- Darksiders 3: List of story missions Walkthrough
- Darksiders 3: West End Walkthrough
- Darksiders 3: Haven Walkthrough
- Darksiders 3: Nether Walkthrough
- Darksiders 3: Wrath Boss Walkthrough
- Darksiders 3: Hollows Walkthrough
- Darksiders 3: Hollows - Catacombs Walkthrough
- Darksiders 3: Avarice Boss Walkthrough
- Darksiders 3: Nether part 2 Walkthrough
- Darksiders 3: Sloth Boss Walkthrough
- Darksiders 3: Haven part 2 Walkthrough
- Darksiders 3: North End Walkthrough
- Darksiders 3: South End Walkthrough
- Darksiders 3: Boneland Walkthrough
- Darksiders 3: Festering pool Walkthrough
- Darksiders 3: Hangman's tree Walkthrough
- Darksiders 3: The drowned district Walkthrough
- Darksiders 3: Mangled freeway Walkthrough
- Darksiders 3: Lust Boss Walkthrough
- Darksiders 3: Forgotten Lake Walkthrough
- Darksiders 3: Eroded Pipeline Walkthrough
- Darksiders 3: Sunken Tracks Walkthrough
- Darksiders 3: Gluttony Boss Fight Walkthrough
- Darksiders 3: Pipeline Exit Walkthrough
- Darksiders 3: The way to The Scar Walkthrough
- Darksiders 3: The Scar Walkthrough
- Darksiders 3: Abraxis and the Lord of Hollows - kill or spare? Walkthrough
- Darksiders 3: The Lowlands Walkthrough
- Darksiders 3: Wrath Boss second clash Walkthrough
- Darksiders 3: The Ending, Pride boss Walkthrough
- Darksiders 3: Envy final boss fight Walkthrough
- Darksiders 3: Walkthrough
- Darksiders 3: Game Guide
You are not permitted to copy any image, text or info from this page. This site is not associated with and/or endorsed by the developers and the publishers. All logos and images are copyrighted by their respective owners.
Copyright © 2000 - 2026 Webedia Polska SA for gamepressure.com, unofficial game guides, walkthroughs, secrets, game tips, maps & strategies for top games.