Darksiders 2: The Breach - Exploring the ruins
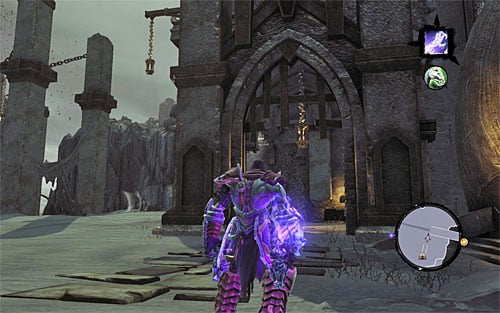
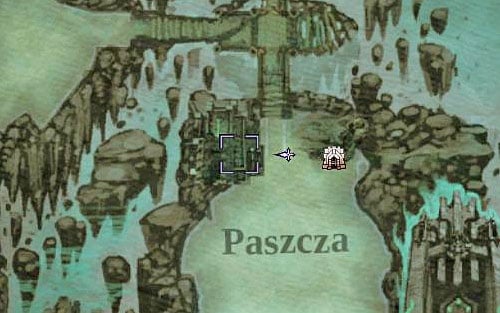
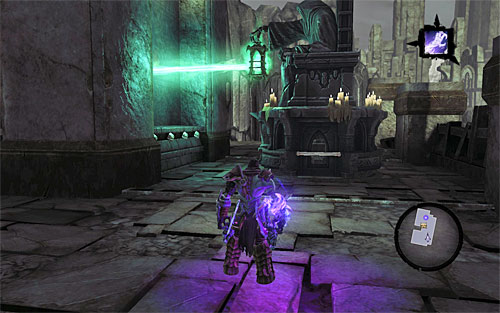
After crossing both bridges leading south, turn right towards the ruins pictures on the above screenshots. They're located west of Sentinel's Gaze.
Look around the lower level for a Boatman Coin and go up where shown on the screen. Move right as far as you can and start using interactive vines to reach a new ledge and more edges. Use both to get to the upper balcony of the ruins.

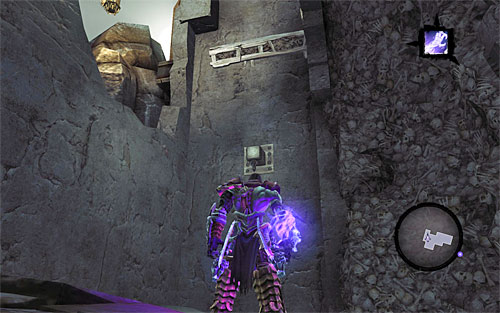
Examine the area thoroughly and you'll find a Soul Arbiter's Scroll. Locate the interactive handholds pictured above and start scaling the wall again.

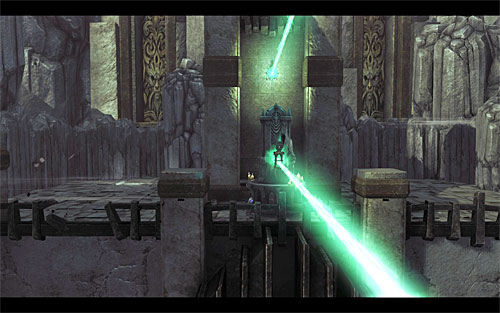
Your goal is the balcony that holds the statue with the active lantern on it. Rotate the statue twice so that the light faced the Breach (the above screen). A short cutscene will inform you that the access to the balcony in the Breach has been unlocked.
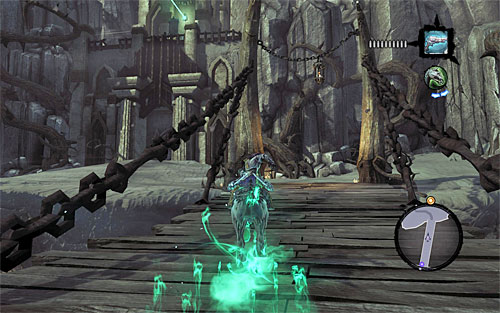
Go back all the way down (you can jump from the top ledge, you won't get any damage) and head back north, to the Breach (the above screen).
At the last chamber of the Breach, make your way up, repeating all the steps you took before to get to the balcony with the statue (the above screen). There, look around for a previously unreachable chest.
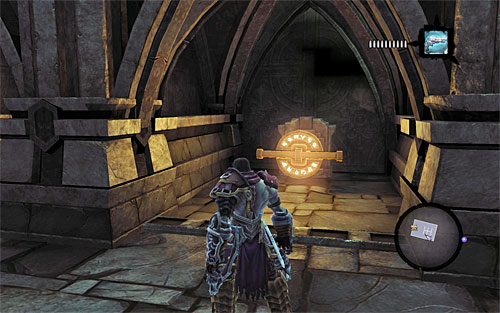
That's not all, yet - interact with the statue now. Rotate it twice as well, so that the light faced the ruins (the above screen) and unlocked a way to the secrets hidden there.
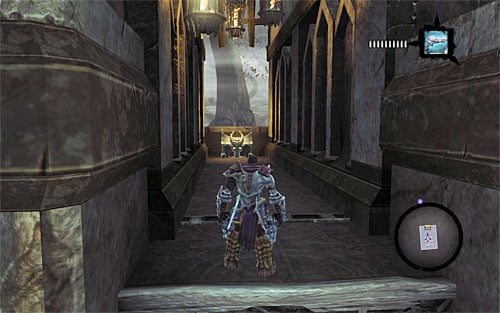
Go back to the ruins in the Maw. Get to the upper balcony, the one which had the Soul Arbiter's Scroll. There are two chests you can look inside now. Additionally, flip the switch shown above.
Finally, get to the top balcony (the one with the rotated statue). Find an interactive edge and climb to a new ledge to loot the last chest (the above screen).

- Darksiders 2 Game Guide
- Darksiders 2: Side Quests
- Darksiders 2: Additional Locations
- Darksiders 2: Introduction
- Darksiders 2: Weeping Crag
- Darksiders 2: The Nook - Reaching the central area of the dungeon
- Darksiders 2: The Nook - The central part of the dungeon
- Darksiders 2: The Nook - The lower levels of the dungeon
- Darksiders 2: The Scar - Exploring the first part of the dungeon
- Darksiders 2: The Scar - Reaching the central area of the dungeon
- Darksiders 2: The Scar - Obtaining the Skeleton Key
- Darksiders 2: The Scar - Using the Skeleton Key
- Darksiders 2: The Scar - Reaching Gharn
- Darksiders 2: Shattered Forge
- Darksiders 2: Forge Lands - Other Locations
- Darksiders 2: Lair of the Deposed King - Exploring the lower levels of the dungeon
- Darksiders 2: Lair of the Deposed King - Exploring the upper level of the dungeon
- Darksiders 2: The Breach - Exploring The Breach
- Darksiders 2: The Breach - Exploring the ruins
- Darksiders 2: Sentinel's Gaze - Exploring Sentinel's Gaze
- Darksiders 2: Sentinel's Gaze - Exploring Boneriven
- Darksiders 2: Additional Locations
- Darksiders 2: Side Quests
You are not permitted to copy any image, text or info from this page. This site is not associated with and/or endorsed by the developers and the publishers. All logos and images are copyrighted by their respective owners.
Copyright © 2000 - 2026 Webedia Polska SA for gamepressure.com, unofficial game guides, walkthroughs, secrets, game tips, maps & strategies for top games.