LEGO Harry Potter Years 1-4: Year 1 Part 2 - Walkthrough
Find out how to go through all the puzzles and beat the Voldemort. On this page we describe quests of first year in LEGO Harry Potter 1-4. Check out previous part of the missions .
A Jinxed Broom
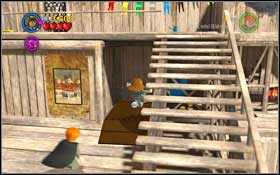 | 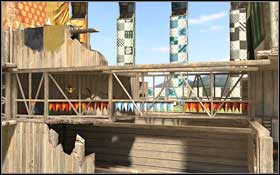 |
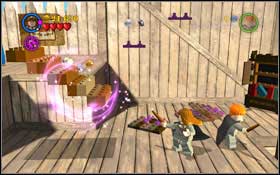
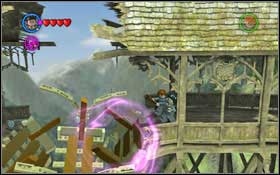
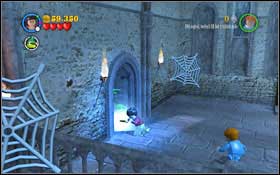
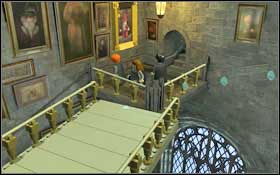
Go down the stairs and use Wingardium Leviosa on the wall to unlock a passage. The further part of the map will eventually crumble - jump on the broom and fly above the pit.
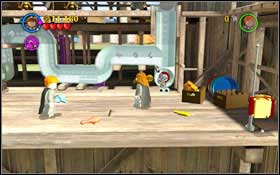 | 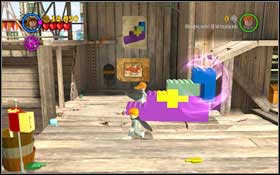 |
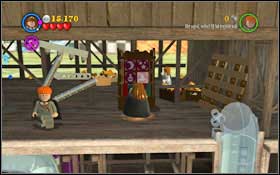
Go right until you reach a smashed pipe . Put it back together by placing the correct elements in the right places. Switch to Ron, use Scabbers and go into the pipe. Scare the student standing by the chest - spheres will fly out and smash a part of the map. Return to the knocked down bricks. You have to arrange them properly (as shown on the picture in the game) using the Wingardium Leviosa spell.
 | 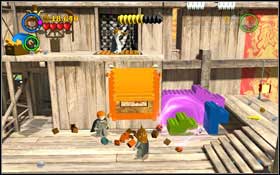 |
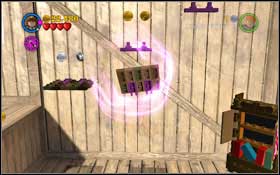
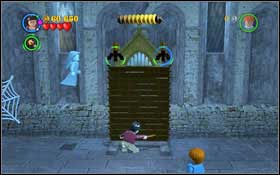
Go up, compose a shelf from the bricks and use Hermione to read it. Push in the plates in the order shown on screen. After unlocking the passage, keep heading right. Shoot the covered twice - the character on it will pull the lever and open a trapdoor below the student upstairs.
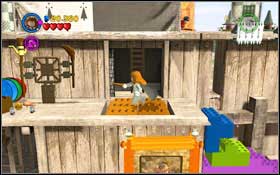 |  |
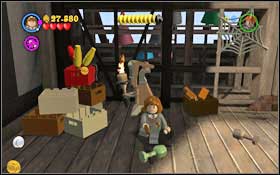
Arrange the bricks so you can get upstairs Go up the ladder. Approach the shelf and read the signs using Hermione.
 |  |
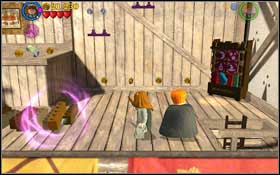
Use the bricks on the left and arrange a staircase; use the bricks gained from the shelf and attach them to the wall, creating more stairs this way.
 | 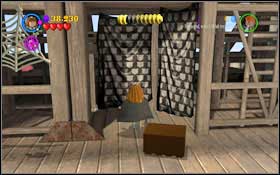 |
Jump to the very top and destroy the chests on the left, which will unlock a passage.
Hogwarts
 |  |
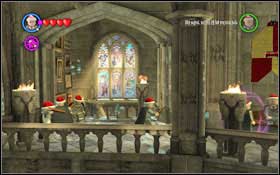
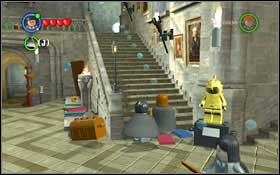
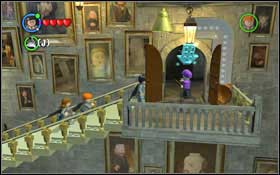
Return to Hogwarts and follow Nearly Headless Nick. Use Lumos Solem to chase away the Devil's Snare from the door. Once on the bridge, repair it using Wingardium Leviosa.
 |  |
You will end up in the House Hallway. Go to the Gryffindor Dormitory - wave to the painting to open the passage.
The Restricted Section
 | 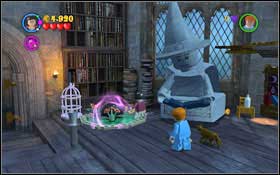 |
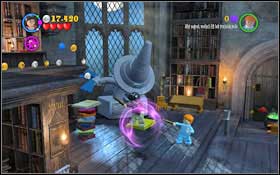
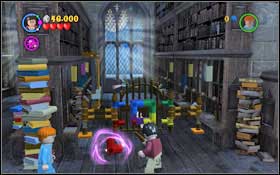
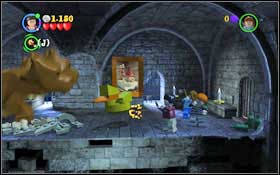
Put on the Invisibility Cloak and approach the books jumping round the room. Once you get close enough to one of them, jump onto it. Get rid of both of them this way. Go to the end of the room - a female ghost will knock down a book and a small garden will appear - dig up the cauldron.
 |  |
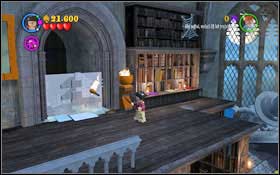
You need a couple ingredients in order to prepare the potion. The flower can be found on the balcony on the right. Jump onto the book held by the statue - Ron will eventually use his magic and push you upwards. Pull out the flower from the middle pot.
 |  |
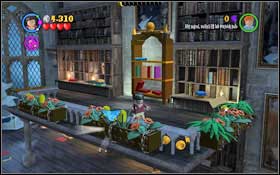
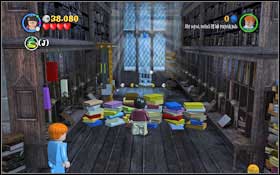
Get onto the right balcony once more- destroy the shelf by the wall - a part of the wall will fall down and a spider will appear behind it. The last ingredient can be found on the left balcony. To get on it, you first have to knock down the books. Use magic on the desk by the left statue and then to put together the big book - the statue will knock down the books.
 |  |
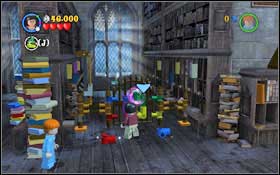
Jump on the yellow book and Ron will once more use Wingardium Leviosa for you to be able to jump on the next books - use jump to get higher. Use Wingardium Leviosa to get fire and melt down the door - behind them you will find an ice cream.
 |  |
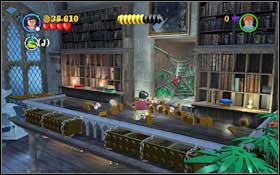
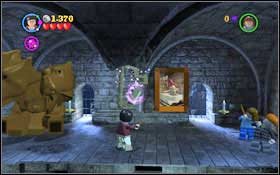
After throwing all the ingredients in, the gate will explode - move on. Above all, look out for the guard - if he does catch you, switch to Ron and use Lumos Solem to chase him away. Use magic on the books right next to the entrance between the bookshelves. Right behind them you will find a green piece, which you have to put into the door between the other bookshelves.
 | 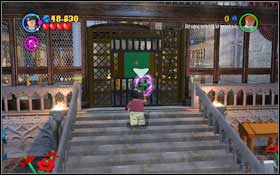 |
The two other missing fragments can be found right next to the door - use Wingardium Leviosa on them and aim them at the correct spots (so that the colours match up). Take the key lying at the end and use it to open the gate leading further.
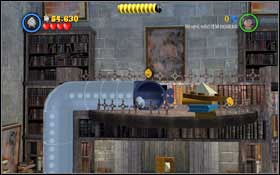 |  |
Move the books by the pipe entrance using magic, switch to Ron and use Scabbers to get up. Knock down the missing part of the gate handle down and pick it up using Wingardium Leviosa.
 |  |
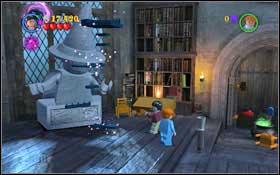
Use Lumos Solem to get rid of the Devil's Snare from the nooks. A female ghost and two bats will come out. Knock them down using magic - you can find them right above the mirror.
Hogwarts
 | 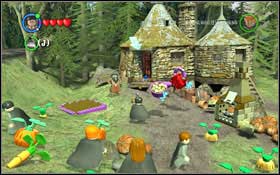 |
You will begin at the Main Hallway. Follow Nearly Headless Nick towards Hagrid's Hut, to the garden to be precise.
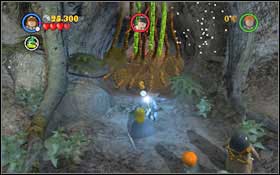
The Forbidden Forest
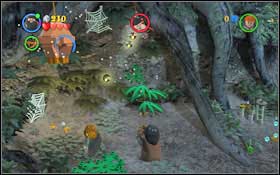 |  |
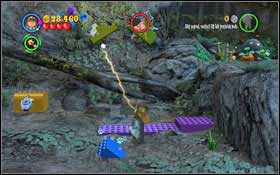
Right after the mission begins, you will get attacked by a giant hornet. Quickly destroy the nest, or else the hornets will keep coming out. Move right - you will find round bricks lying on the ground. Put them together creating a cloud, which will water the tree, causing a ladder to appear.
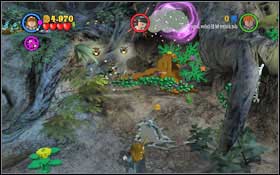
 |  |
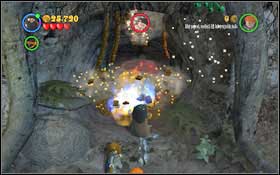
Switch to Fang and climb up. You will find a digging spot there with another ladder to dig up. Climb it and move right. You will once more be attacked by a hornet. Don't forget to destroy the nest. You will get to a digging spot. Use Fang's abilities once more and dig up a big hole - head into it.
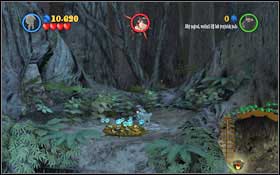
 |  |
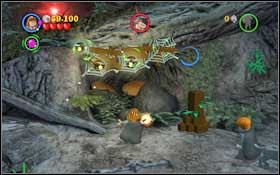
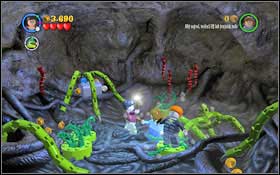
Deal with a hornet nest once again. To unlock the further path, use (LS) on the Devil's Snare and then get rid of the blocking bricks with Hagrid's crossbow.
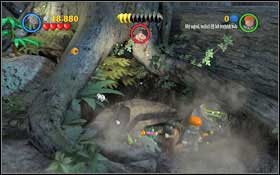
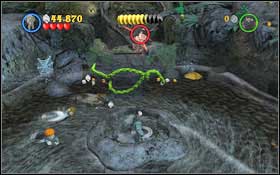 |  |
Move right and swim to the island, where you will find a digging spot - use Fang. Get rid of the Devil's Snare and then pull the chain with Hagrid to raise the passage. Return left.
 | 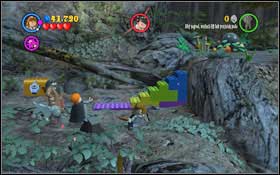 |
Dig up the blue brick sticking out of the ground with Fang and then use whichever character to knock down the yellow and blue bricks attached to the wall. Arrange them so that they create a staircase, like in the second screen.
 | 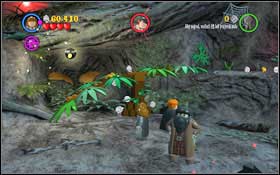 |
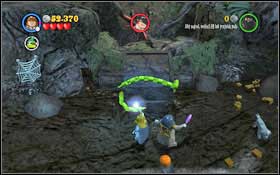
Upstairs, keep on heading right. You will get to the last rock ledge by creating a ramp. Knock down the bricks stuck in the spider webs by using magic. Use Wingardium Leviosa twice to connect the bricks to create a construction and widen the arms. Get rid of another Wriggling Vine in front of the cave.
Hogwarts
 |  |
You begin at the Grand Staircase. After getting up the first set of stairs, wave to the wizard on the painting and he will move the staircase for you. Go up and follow professor Quirrell into the room.
Face of the Enemy
 |  |
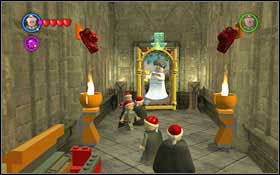
You will face Fluff - Hagrid's three-headed dog. Use magic on the painting showing a bathing wizard. He will throw out a rubber duck - use magic on it as well and it will increase. Throw it to Fluff - the dog will move away and you will be able to put together the destroyed harp. Jump through the opened hatch.
 | 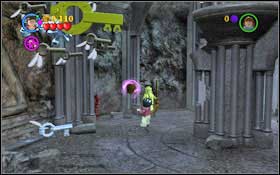 |
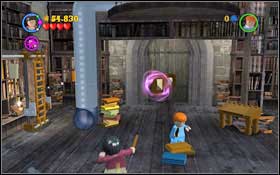
Use Lumos Solem to get rid of tall the Devil's Snare and jump into the hole on the right. Keep using Lumos Solem and head right, to the room with the flying keys. Place the barrel onto the armour's head and he will let go a flying broom.
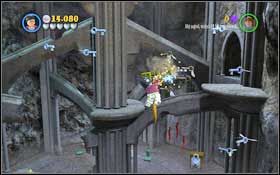 |  |
Jump onto the broom and begin shooting the large gold key with magic. After a couple shots (after you shoot down all the small keys flying round the big one), it will fall down to the ground. Use it to open the door.
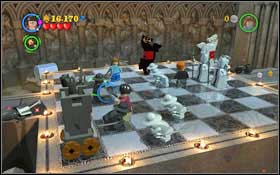 | 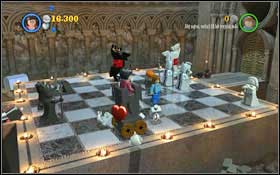 |
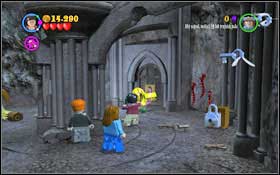
You will end up on a chess board. You have to move the particular chess pieces - each time you can shoot only one piece, so there's not too much of a choice here. You play with the black. Use magic to find the next pieces. At some point, when you won't be able to shoot any of the pieces, jump onto the tower - you will make another move.
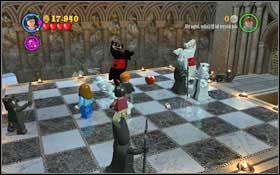 |  |
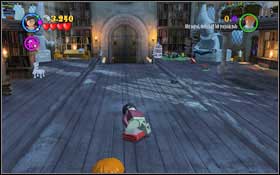
After making a move with the Bishop and destroying the white queen, assemble your own queen from the blocks and then attack - checkmate, the gate will open. Now you will have to fight Voldemort. He'll be throwing fireballs at you - try to avoid them.
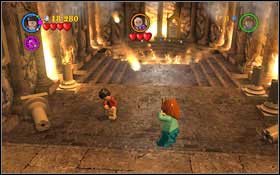
How to win with Voldemort?
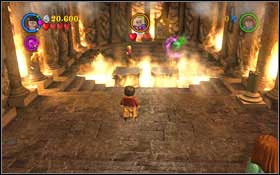 | 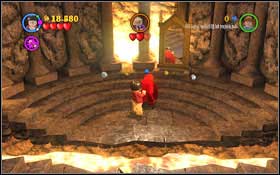 |
Once he throws his poisoned head, use Wingardium Leviosa to catch it and throw away. Voldemort won't be able to attack for a bit - use this, jump over the pit and approach the enemy - you will attack him automatically. After a while you will be pushed back. You have to repeat this process two more times - at first another pit will appear and in the end only two little platforms will be left.
- LEGO Harry Potter Years 1-4 Guide & Walkthrough
- LEGO Harry Potter Years 1-4: Game Guide
- LEGO Harry Potter Years 1-4: Walkthrough
- LEGO Harry Potter Years 1-4: Year 1 Part 1 - Walkthrough
- LEGO Harry Potter Years 1-4: Year 1 Part 2 - Walkthrough
- LEGO Harry Potter Years 1-4: Year 2 Part 1 - Walkthrough
- LEGO Harry Potter Years 1-4: Year 2 Part 2 - Walkthrough
- LEGO Harry Potter Years 1-4: Year 3 Part 1 - Walkthrough
- LEGO Harry Potter Years 1-4: Year 3 Part 2 - Walkthrough
- LEGO Harry Potter Years 1-4: Year 4 Part 1 - Walkthrough
- LEGO Harry Potter Years 1-4: Year 4 Part 2 - Walkthrough
- LEGO Harry Potter Years 1-4: Walkthrough
- LEGO Harry Potter Years 1-4: Game Guide
You are not permitted to copy any image, text or info from this page. This site is not associated with and/or endorsed by the developers and the publishers. All logos and images are copyrighted by their respective owners.
Copyright © 2000 - 2026 Webedia Polska SA for gamepressure.com, unofficial game guides, walkthroughs, secrets, game tips, maps & strategies for top games.