Outlast: Administration Block | Collectibles - Documents
Document 1
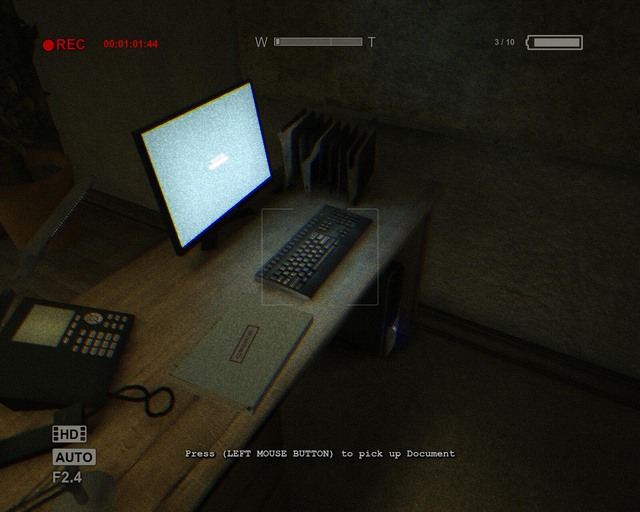
The second room in the corridor you walk out to from the room with the hissing TV.
Document 2
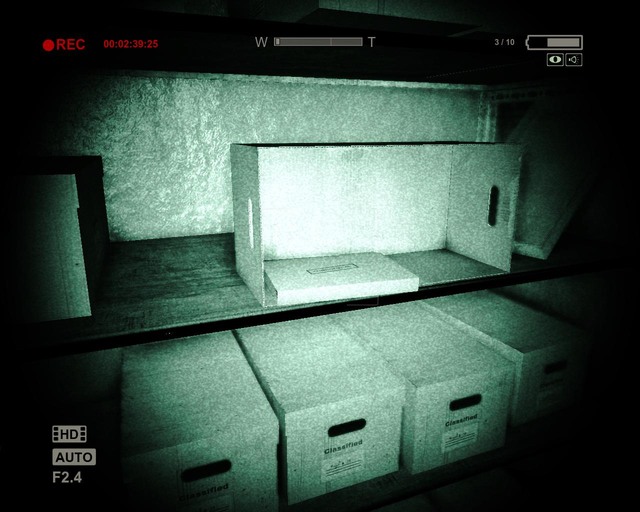
The corridor from the computer lab, after you're thrown out by the giant man.
Document 3
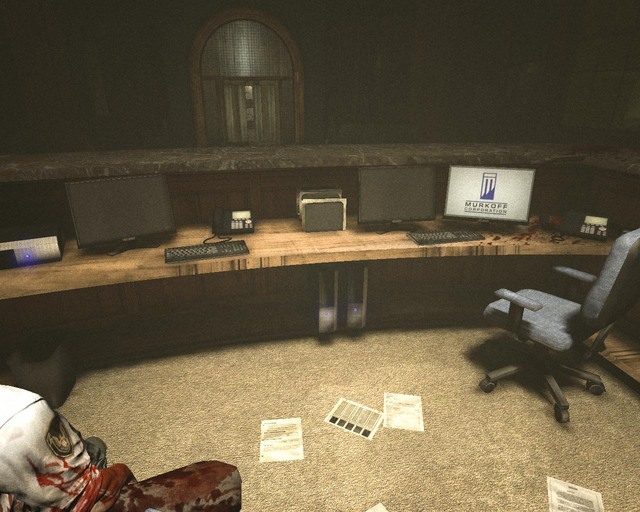
After you're thrown out, you'll wake up near the reception desk. The document should lie next to the dead guard.
Document 4
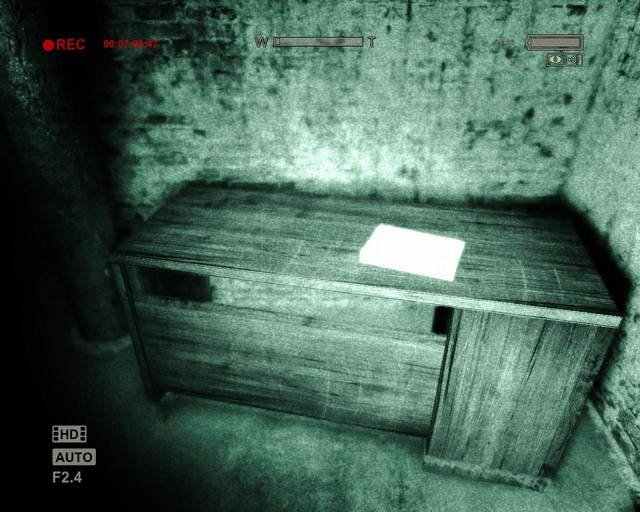
After the failed attempt at opening the main door, you'll be forced to go down to the basement. There will be a hole in the wall, and you'll find the document on the right.

- Outlast Game Guide & Walkthrough
- Outlast: Game Guide
- Outlast: Collectibles - Documents
- Outlast: Administration Block | Collectibles - Documents
- Outlast: Prison Block | Collectibles - Documents
- Outlast: Sewer | Collectibles - Documents
- Outlast: Male Ward | Collectibles - Documents
- Outlast: Courtyard | Collectibles - Documents
- Outlast: Female Ward | Collectibles - Documents
- Outlast: Return to the Administration Block | Collectibles - Documents
- Outlast: Underground Lab | Collectibles - Documents
- Outlast: Collectibles - Documents
- Outlast: Game Guide
You are not permitted to copy any image, text or info from this page. This site is not associated with and/or endorsed by the developers and the publishers. All logos and images are copyrighted by their respective owners.
Copyright © 2000 - 2026 Webedia Polska SA for gamepressure.com, unofficial game guides, walkthroughs, secrets, game tips, maps & strategies for top games.