Prey 2006: Second Chances
First things first. The most important thing is - Tommy can't die from now on. When your Health reaches zero, you'll be teleported to a spirit realm. You'll have a bow in your possession in there, which will enable you to shoot the objects flying around. Depending on which creature you hit, you'll get a boost to your energy. Blue mantas increase your spiritual energy, and the red ones - your health.
The second thing is Talon. The falcon will help your along your way almost through the entire game. The bird sits on the panels you have to use in a certain moment, and also shows you the right passages and stuff. Talon will also translate the alien language whenever necessary. You'll soon find it very useful.
You can leave your body anytime you want. Moving around while taking astral form is useful not only when you have to cross an obstacle of sorts. Remember than when spirit walking you have a bow in your possession. It's a powerful weapon, allowing you to kill enemies quickly and effectively. The number of your arrows is determined by the amount of your blue energy. You can enhance it by collecting dead enemies' souls.
Look down (#43). There's an opening in the floor, but it's blocked by a fleshy barrier. Kill the enemies wandering around and wait for a cocoon to appear. Push it towards the hole and then shoot it. Jump down.
 | 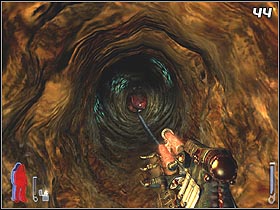 |
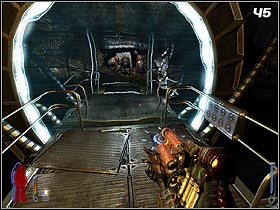
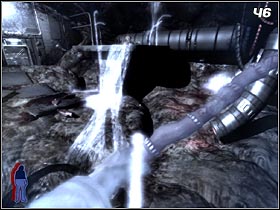
You'll find yourself in a narrow tunnel (#44). Go forth. After a short walk, you'll reach a passage blocked by a force field. Spirit walk to the other side. Notice the platform nearby and you'll see a glowing path that will lead you to some additional ammo. You'll see such paths from time to time, and you'll only be able to use them while spirit walking.
 |  |
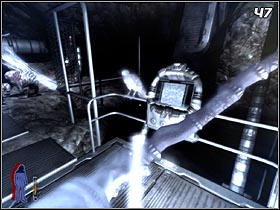 | 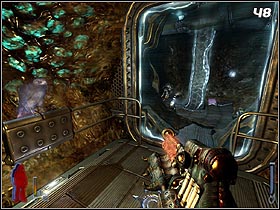 |
Use the button (#47) to turn off the force field, and then get back to your normal form. Go further, using the only passage available. After a while you'll reach another passage blocked by a force field (#48). Spirit walk to the other side. Use the bow to kill the enemy and use the panel (#49) to open the way.
 | 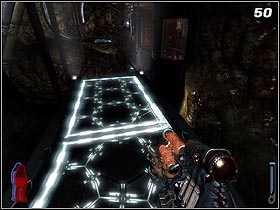 |
There's a wall walk before you. Use it and continue on further, watching out for teleporting enemies. When you reach the end of the wall walk (#50), approach the edge and spirit walk again. Tommy's body can hang upside down for now.
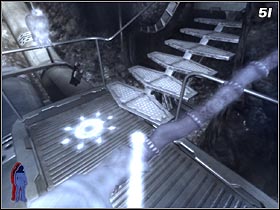 | 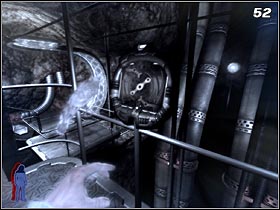 |
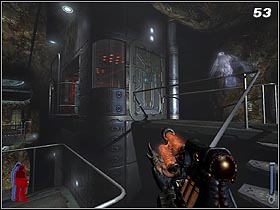
You'll find yourself on a platform. Go forth (#51), use the stairs and enter a small room through the force field. Push the button (#52) to initiate the machinery that will transport your body to another wall walk. Get back to it and when you're on the other side, get down and use the stairs to enter the small room from the other side (#53).
 | 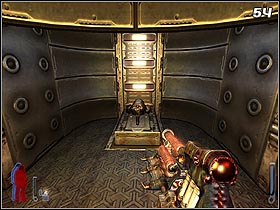 |
When you're inside, you'll see a new type of weapon (#54). The alarm will go off. Take the gun and use it to kill the hunters. You can continue on now.
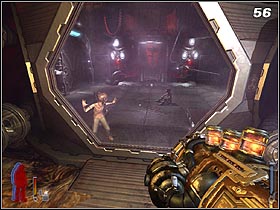
You'll see a red dot at the end of the corridor (#55). You can use such devices to charge the weapon you've just found. The ammo type will vary depending on the color of the light. Get down and go forth. After you see the drastic cutscene and one of the kids breaks the glass (#56), enter the room and use the door.
 |  |
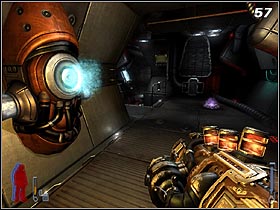 | 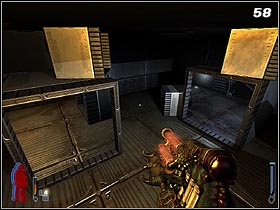 |
You'll see another weapon-charging terminal (#57). This time you'll get ice ammo from it. You can check it out by defeating the creatures around here. To go further, approach the stairs and look at the crates (#58) under the platform. Enter the box on the right and prepare for a mockery of gravitation.
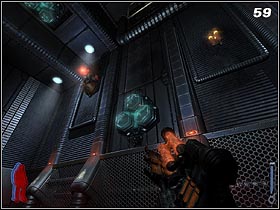 | 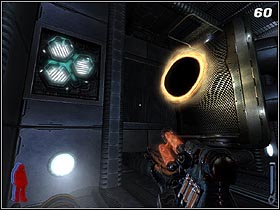 |
You'll be in a big hall. There are green dots on each of the walls (#59). Hitting them will change the gravity in the room and rotate it in a corresponding way. Shoot to get near the weapon-charging terminal (red). Move to the left and look up to see a portal (#60). Change the gravity by shooting the dot near it and use the portal to get to the next room.
 | 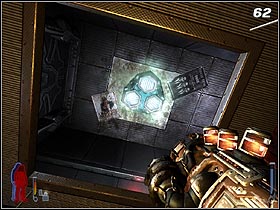 |
In a huge room (#61) you'll be attacked by hunters. Eliminate them all and run forth. At the end, jump down to the platform below and look up (#62). Shoot the gravity switch to get to a small corridor.
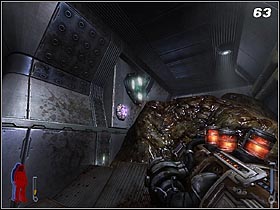
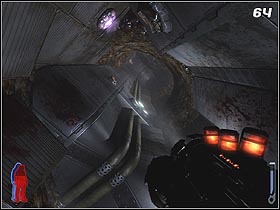
You'll see that the way is blocked by a huge piece of meat (#63). Approach it as much as you can (don't touch it) and shoot the gravity switch to the left. Now go forth, watching out not to get harmed by the green ooze. When you reach the corner, look for another grav-switch (#64) and shoot it.
 |  |
 |  |
Jen's bar, or what remains of it, is now overrun by aliens. Kill the enemies and shoot the grav-switch behind the table (#65) to fall down. You can now spirit walk (#66) to grab some ammo. When you're done with that, go down.
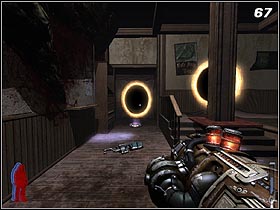 | 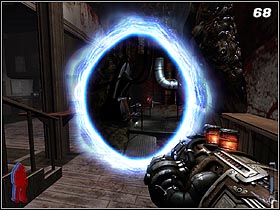 |
More enemies appear. Deal with them and load the energy gun with ammo of your choice. Heal your wounds and use the portal (#67). You'll then see another passage (#68). Use it to end this level.
- Prey (2006) Game Guide & Walkthrough
- Prey 2006: Walkthrough
- Prey 2006: Last Call
- Prey 2006: Escape Velocity
- Prey 2006: Downward Spiral
- Prey 2006: Rites of Passage
- Prey 2006: Second Chances
- Prey 2006: All Fall Down
- Prey 2006: Crash Landing
- Prey 2006: Sacrifices
- Prey 2006: There are Others
- Prey 2006: Guiding Fires
- Prey 2006: The Old Tribes
- Prey 2006: Hidden Agenda
- Prey 2006: Jen
- Prey 2006: The Dark Harvest
- Prey 2006: Following Her
- Prey 2006: The Complex
- Prey 2006: Ascent
- Prey 2006: Center of Gravity
- Prey 2006: Resolutions
- Prey 2006: Oath of Vengeance
- Prey 2006: Facing the Enemy
- Prey 2006: Mother's Embrace
- Prey 2006: Walkthrough
You are not permitted to copy any image, text or info from this page. This site is not associated with and/or endorsed by the developers and the publishers. All logos and images are copyrighted by their respective owners.
Copyright © 2000 - 2026 Webedia Polska SA for gamepressure.com, unofficial game guides, walkthroughs, secrets, game tips, maps & strategies for top games.
