Quake 4: Data Processing Security
Realign the Data Nodes
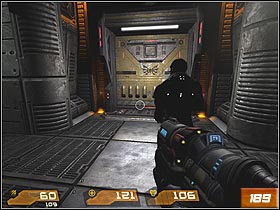
After going top, notice of red laser's rays located under the ceiling. They will lead you through all rooms of the complex and the main purpose of the game is now to correct arrange them.
Break through the next rooms and eliminate all enemies on the way. You'll find the elevator that can take you on another level. The considerable number of monsters will also appear there.
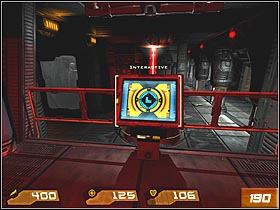
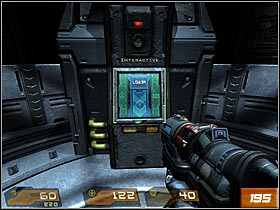
Eventually you will reach the closed door (#189). Sledge will instruct you to find the solution to unlocking them. Turn left and move straight ahead. After a while you'll see the panel (#190) which will permit to rotate the device located in front of you (it emits laser beam). Click twice on the right arrow and return to the door.
 |  |
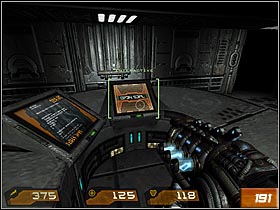 |  |
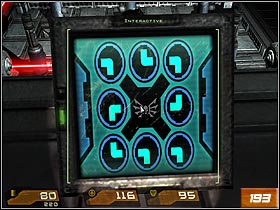
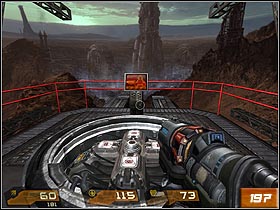
Again, hard braking through the enemy's rooms is waiting for you. A t the end of the route, you'll see the next interface (#191). Push the button to open the central part of large hall (#192). Turn right, and use elevator. Run straight ahead and look at the next interface. Now, you have to direct laser beams to open the door at the end of the hall (for details look onto the picture #193). Join Sledge and (together) move forward.
 |  |
 | 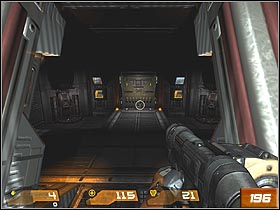 |
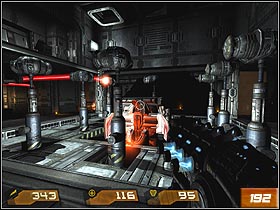
Walk straight ahead all the time, killing the enemy's soldiers' big group. At the end of the route you'll see the elevator (#194). Light Tank will show up inside. Eliminate him and travel up. Now, you'll have to face two Iron Maidens. Next, push the button on the panel (#195). Wait until you'll travel down. The bridge leading to the Sledge will advance. Move on the other side and go trough the open door.
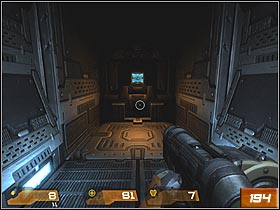
In the next room (#196), a difficult fight awaits you. Light Tanks, Iron Maidens and Stroggos' soldiers (from teleports) will try to stop you. First, eliminate Iron Maidens, than throw a few grenades towards enemies below. After the fight, go to the door.
Walk ahead all the time. Eventually you'll reach the elevator which will take you to the tower's roof. Two Heavy Hover Tanks and the Gladiator will show up. Eliminate them and move on the other side of the building. Push the button (#197), wait until the second signal will be sent towards the main complex and prepare yourself for the way back.
 |  |
Return to Tram Wagon
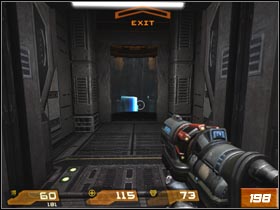
Get into the elevator and push the button. Below, run straight ahead all the time. Eventually you'll reach the next cabin. Enter it (#198) to end the stage.

- Quake 4 Game Guide & Walkthrough
- Quake 4: Game Guide
- Quake 4: Walkthrough
- Quake 4: Air Defense Bunker
- Quake 4: Air Defense Trenches
- Quake 4: Hangar Perimeter
- Quake 4: Interior Hangar
- Quake 4: MCC Landing Site
- Quake 4: Operation Advantage
- Quake 4: Canyon
- Quake 4: Perimeter Defense Station
- Quake 4: Aqueducts
- Quake 4: Aqueducts Annex
- Quake 4: Nexus Hub Tunnels
- Quake 4: Nexus Hub
- Quake 4: Strogg Medicial Facilities
- Quake 4: Construction Zone
- Quake 4: Dispersal Facility
- Quake 4: Recomposition Center
- Quake 4: Putrification Center
- Quake 4: Waste Processing Facility
- Quake 4: Operation Last Hope
- Quake 4: Data Storage Terminal
- Quake 4: Data Storage Security
- Quake 4: Data Storage Terminal - Return
- Quake 4: Tram Hub Station
- Quake 4: Tram Rail
- Quake 4: Data Processing Terminal
- Quake 4: Data Processing Security
- Quake 4: Data Processing Terminal - Return
- Quake 4: Data Networking Terminal
- Quake 4: Data Networking Security
- Quake 4: Nexus Core
- Quake 4: The Nexus
- Quake 4: Walkthrough
- Quake 4: Game Guide
You are not permitted to copy any image, text or info from this page. This site is not associated with and/or endorsed by the developers and the publishers. All logos and images are copyrighted by their respective owners.
Copyright © 2000 - 2026 Webedia Polska SA for gamepressure.com, unofficial game guides, walkthroughs, secrets, game tips, maps & strategies for top games.