Splinter Cell Conviction: The White House
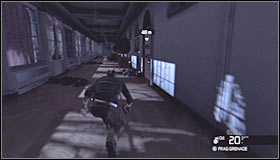 |  |
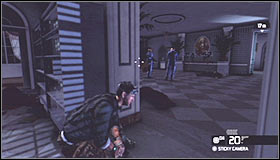
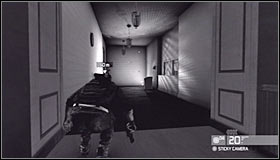
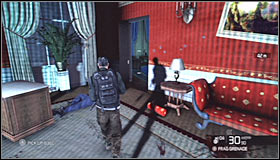
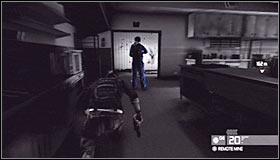
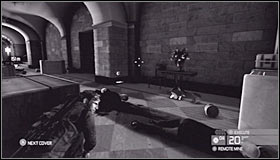
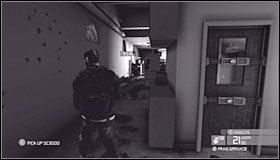
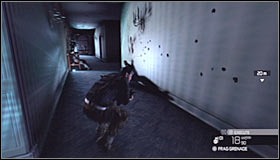
Walkthrough: Start off by heading forward #1 and ignoring smaller rooms found along the way (only one of them is accessible and there's nothing interesting inside). Carefully approach a room guarded by two mercenaries #2.
 |  |
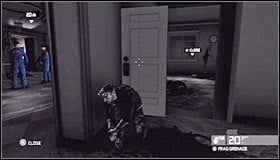
There are two ways of dealing with the mercenaries. If you want to earn a point needed for Mark and Execute action you should kill the left opponent #1 and then quickly enter a room located to your right before you're seen by his colleague. Surprise the second guard from the back #2.
 |  |
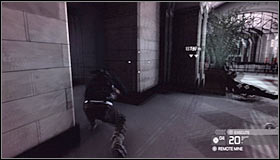
If you don't want to fight the mercenaries you should enter the room to your right without any additional delays #1. Carefully start moving towards the passageway leading go the next room #2. Leave this area without being seen. You should also know that when the guards are done talking one of them will show up here to stand next to the passageway you've just used.
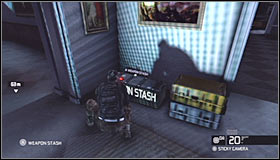 |  |
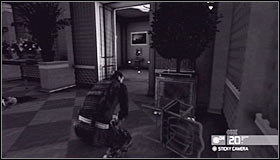
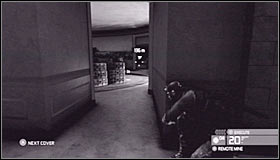
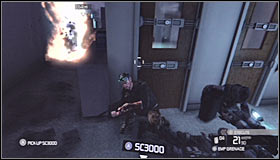
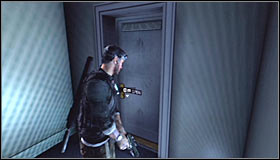
It doesn't really matter which method you'll choose, because in both cases you should interact with a nearby equipment crate #1. You may now proceed towards the stairs #2 in order to get to the first floor.
 | 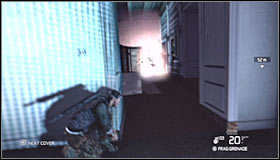 |
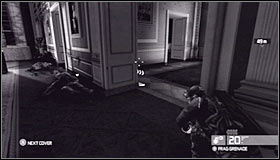
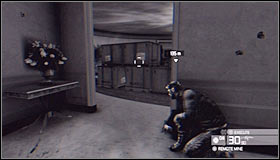
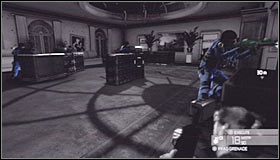
Three nearby rooms (two bigger ones and one smaller one) are occupied by enemy units and it'll be up to you to get rid of them. I would recommend that you start off by heading towards a corridor located to your right #1. Take cover behind the left corner and throw a grenade at enemy units seen in the distance #2.
 |  |
Throw several other grenades (or mines) to the next room, because new mercenaries will show up there #1. You'll have to prepared to defend yourself in case someone decides to check the corridor you're hiding in #2.
 | 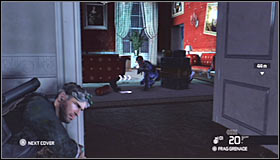 |
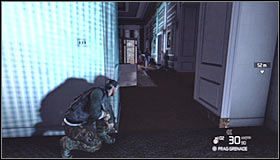
You should be able to secure two out of three rooms from here. Enter the main room and then proceed to the one located to your right #1. Take cover near the passageway leading to the next room #2.
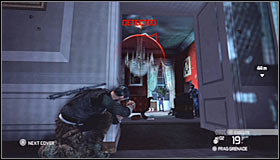 |  |
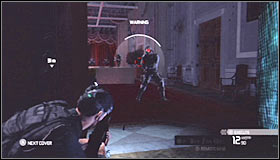
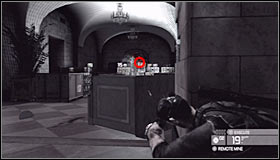
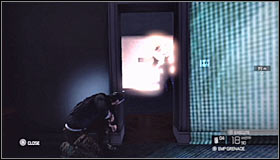
Several mercenaries should be hiding in the next room. You can use grenades, distract them by shooting at the chandelier #1 or get rid of them using Mark and Execute system #2 (I wouldn't recommend this option, because M&E action will be more useful in the next area of the White House).
 |  |
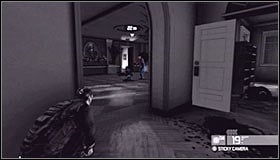
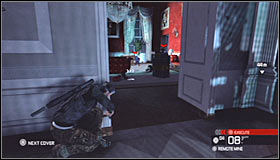
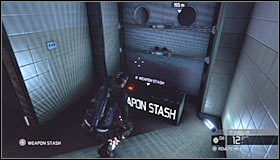
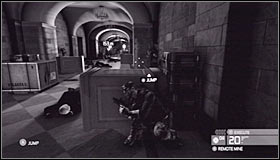
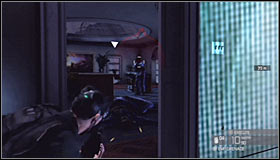
Make sure that all nearby rooms have been fully secured and then GO BACK to the equipment crate. It's important to take an assault rifle with you, because you'll take part in a very difficult battle in a few minutes. Return to the last room on the first floor and choose the only available passageway #1 leading to the next area. It shouldn't take long for you to make your way to a much bigger ball room #2 where you'll have to interrogate the vice-president.
 |  |
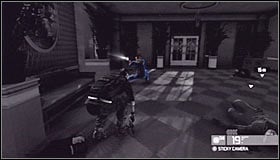
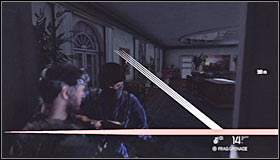
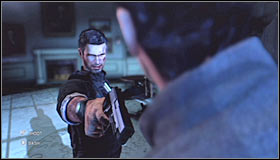
The rules of this interrogation are similar to previous interrogations so you'll have to deal your escort #1 before you'll have a chance to talk to the main target. The easiest way to get rid of all mercenaries would be to use Mark and Execute action #2.
 |  |
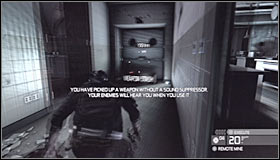
If you can't use Mark and Execute system to get rid of enemy units you'll have to think of a different way. You could try using a remote mine #1, however I would recommend leaving explosives for later. You could also use pipes to surprise mercenaries #2. Don't forget that most of your opponents are heavily equipped so a single shot to the head might not do the trick.
 | 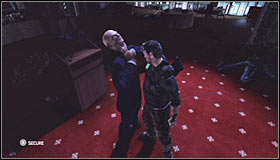 |
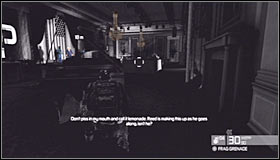
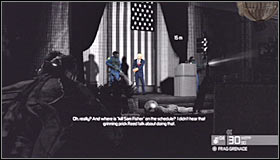
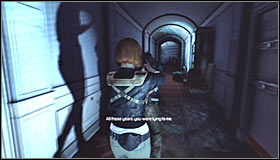
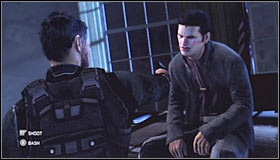
Make sure that you've eliminated all mercenaries, approach the vice-president #1 and press the action key to grab him. You'll have to press this key a few more times during this interrogation #2. GET READY for a very difficult battle as soon as this interrogation has ended. Choose an assault rifle and remote mines from your arsenal.
 | 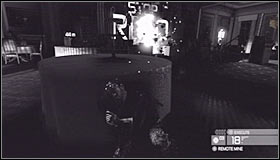 |
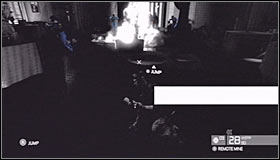
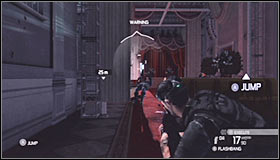
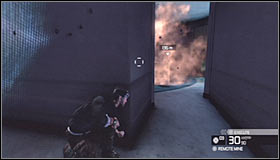
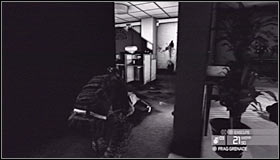
New enemies will enter the ball room in just a few seconds and they will blow up one of the main doors to get here #1. I would recommend taking cover next to one of the tables located to the left #2.
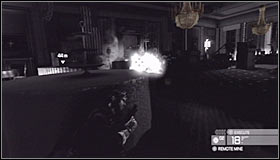 |  |
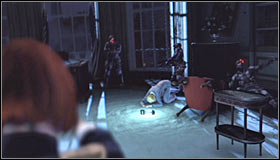
Wait for the explosion to occur and start throwing remote mines to that area, detonating them #1 when two or more mercenaries are standing nearby. I would recommend leaving the table cover after the initial attack, because enemies will be aggressive and elite units will be among them. Try hiding somewhere to your left #2 so that it'll be more difficult for them to get to you or to surround you.
 |  |
An assault rifle will be very useful in this battle, however you may also consider choosing a silenced pistol to eliminate four targets thanks to Mark and Execute action #1. Don't use all explosives here, because you'll need some for the second part of this mission. Flashbang grenades should do the trick for now, allowing you to take out remaining enemy forces easily. Keep fighting until everyone's dead and then carefully approach the passageway blown up by Black Arrow mercenaries #2.
 | 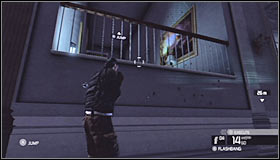 |
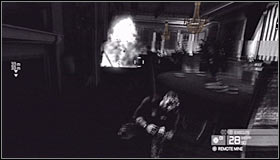
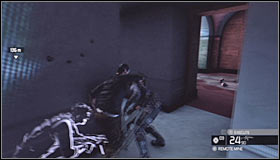
Get ready to take part in a new battle after entering the next corridor #1. You can try defending yourself here, you can try retreating to the ball room or you can climb over a balustrade found to your left #2.
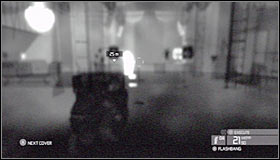 |  |
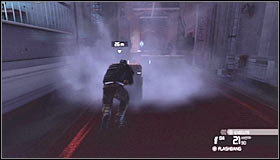
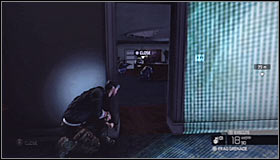
If you decide to remain here you'll have to use sonar goggles so that it'll be easier to locate hostiles through the mist #1. Keep throwing grenades, targeting larger groups #2.
 |  |
I would recommend retreating after dealing with the closest enemies. Find a good cover and continue attacking enemy units #1. You'll have to continue fighting until they're all dead. You may now choose the only available passageway leading to the next area #2.
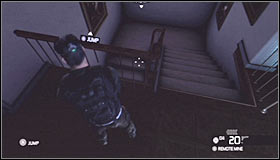 |  |
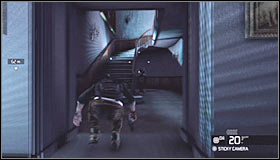
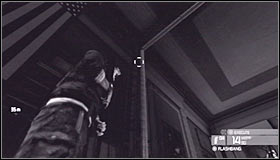
I wouldn't recommend choosing the stairs #1, because it would be very difficult to avoid or even to surprise enemy units after making your way to the lower level. Remain on this floor and locate a nearby elevator shaft #2.
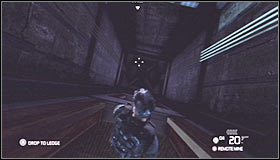 |  |
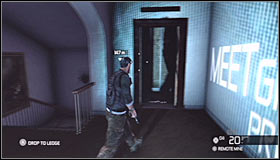
Approach the ledge and press the action key to drop down to a lower floor #1. Thankfully you won't sustain any injuries and your actions won't be heard by anyone. Climb up to exit the shaft #2 and you should end up close to the first guard.
You must now decide how you want to get through the kitchen:
OPTION A - eliminating all enemy units
OPTION B - stunning a single opponent
 |  |
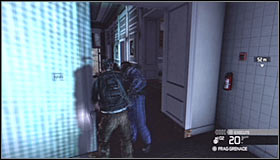
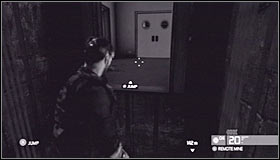
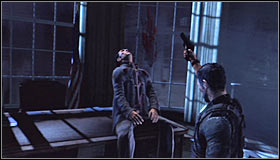
Option A: This is a MUCH better option as long as you don't mind killing all enemy units and it'll also be easier to execute this plan. Start off by surprising the first guard and eliminating him in hand to hand combat #1. Choose the left corridor once he's gone #2.
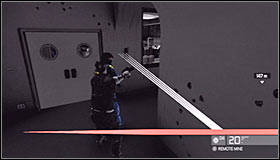
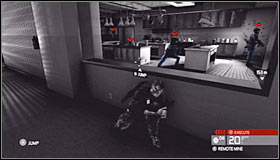 | 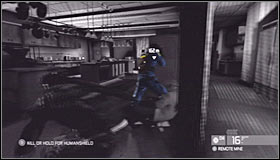 |
Approach a large opening in the right wall. Use Mark and Execute system here to target and eliminate four nearest guards #1. Take cover once they're gone, because their colleague may show up here to investigate. If he stays inside the kitchen you'll have to go to him and neutralize him with a melee move #2.
 |  |
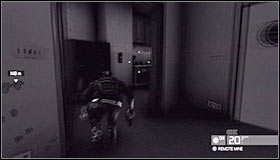
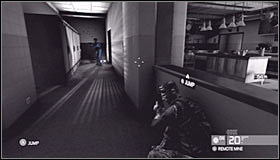
If the last guard decide to investigate the corridor from where the shots took place you should use sonar goggles to locate him and then eliminate him in direct combat #1. You may exit the kitchen via the only available passageway #2.
 |  |
Option B: Ignore the first guard and proceed towards a corridor located to your left #1. Notice that one of the mercenaries from the kitchen will be patrolling this area. Stay in the shadows and wait for him to show up #2.
 |  |
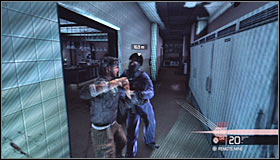
Remain here until the guard turns around and starts moving back to the kitchen. Follow him there and attack him once he's close to the exit #1. Quickly leave the kitchen #2 before his colleagues find out what's happening.
 |  |
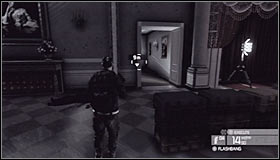
Walkthrough (continued): The good news is that a new checkpoint will be created here, so even if someone is following Fisher you'll be allowed to reload the last save. Interact with an equipment crate #1 to pick up an assault rifle and carefully enter a larger corridor #2. You'll have to avoid stationary machine guns here.
 |  |
Avoiding the gunfire is easier than it sounds. Use the fact that Fisher can run between nearby objects and keep moving from one side of the room to the other #1. It shouldn't take long until you've reached a new side corridor #2.
 |  |
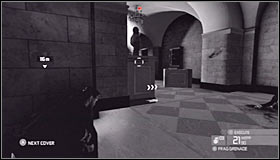
There are two passageways leading to the next room #1 #2 and in both cases you'll have to be ready to defend yourself against enemies with sonar goggles.
 |  |
I would recommend throwing a remote mine before entering the room mentioned above. Move back after the enemy attack and wait for the elite units to show up in order to blow them up #1. Throw at least one single grenade to that room and be prepared to defeat the elite guards in melee combat #2. Thankfully you can locate them and predict their attacks using your own sonar goggles.
 |  |
Keep heading towards your current destination and it shouldn't take long until you've returned to the main corridor #1. A new checkpoint will be created here and you'll have to avoid a stationary gun for the second time. Run towards the right side of the corridor #2.
 |  |
You should be able to locate and eliminate the gunner from here #1 using one of your own weapons. If you don't want to stress yourself out too much you can also throw a grenade, forcing him to leave the stationary gun. Make sure that the corridor is safe before leaving cover. Choose the only available passageway leading to the next area #2.
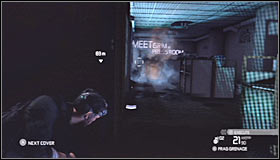 |  |
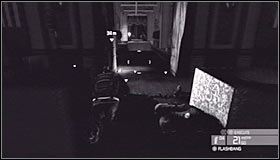
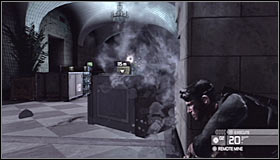
You'll have to be ready to engage new enemy units in battle here. Enemies will show up on the other end of the room. Throw a grenade or a remote mine there as soon as you've seen them #1. Detonate the charge and move back to a safe spot #2. You'll now have to eliminate the rest heading your way.
 |  |
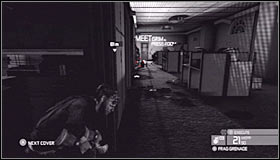
Choose a narrow passageway leading to the next area #1. Plant a new mine near this passageway, make a few steps forward and retreat as soon as enemies have revealed their positions. Wait for them to get there and detonate the mine #2.
 |  |
There should be only a few survivors of the recent explosion left. You can eliminate them from the distance or try surprising them #1. Proceed to the next area when it's safe here #2.
 |  |
Keep moving forward #1. Ignore two mercenaries seen in the distance for a fraction of a second, because they'll be heading towards a nearby room and they'll ignore you entirely. Turn left twice to get there as well #2.
 |  |
There are three passageways leading to the room where a huge battle is taking place. I would recommend choosing between the main passageway #1 and the entrance at the end of the left corridor #2.
 |  |
Notice several mercenaries in the large room. The most effective way to kill them would be to use Mark and Execute system #1, however you can also try different methods, including throwing grenades at them #2. If you decide to use explosives you'll have to remember that grenades and mines must blow up close to the mercenaries to kill them.
 |  |
Your initial attack probably won't kill all Black Arrow mercenaries, so you'll have to be ready to deal with the remaining units. You can wait for them to get to you #1, attack them with an assault rifle while hiding behind a good cover #2 or surprise them from the back. Don't worry about running out of ammunition and supplies, because you won't need them anymore.
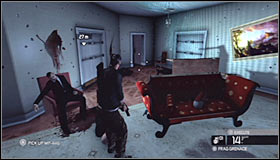 |  |
Choose a passageway located behind a red sofa after you've dealt with all enemy units #1. You'll find yourself in a long corridor and you should be moving forward. Opening a nearby door #2 will trigger a cut-scene.
 |  |
You'll now have to take part in a similar scene to one of the previous missions and all you have to do is to keep pressing the movement key #1. Allow Anna to escort Sam to a room with Reed and the president #2.
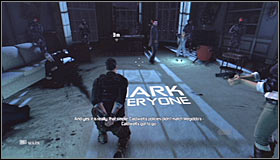 |  |
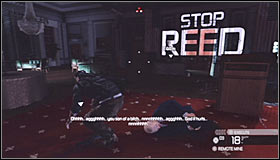
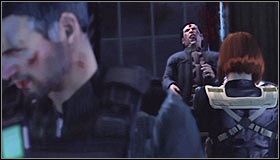
You'll now have a chance to listen to Reed's speech #1 and if you won't do anything Sam will be executed once Reed is done talking #2.
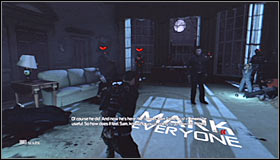 | 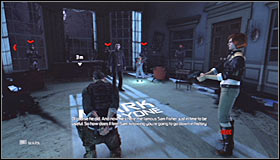 |
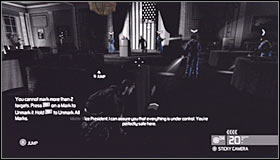
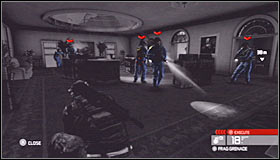
The only way to avoid certain death is to do what the game says and that is to mark five standard opponents seen in this room #1 #2. Ignore the fact that the red icons will disappear once the fifth mercenary has been targeted, because everything is proceeding according to plan.
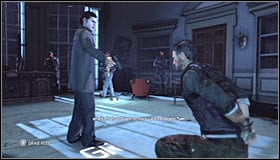 |  |
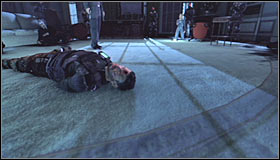
Allow Reed to continue with his speech and wait for him to move closer to Fisher. Wait until you're informed about the possibility of grabbing him and press a corresponding key to do so #1. Grim and Fisher will now eliminate the opposition without your help #2.
 |  |
Fisher will soon start interrogating Reed and you'll be allowed to choose twice #1 #2 whether he should fire the gun or use it to beat Reed up. Don't worry, because he will stay alive no matter what you decide.
 |  |
Choosing the ending: You'll have to make your final decision after the president has been escorted out of the building. You can choose between killing Reed #1 and not using your weapon. Notice that if you don't kill him then Grim will do it for you #2. Congratulations! You've just finished the game!

- Tom Clancy's Splinter Cell: Conviction Game Guide & Walkthrough
- Splinter Cell Conviction: Game Guide
- Splinter Cell Conviction: Walkthrough
- Splinter Cell Conviction: Hints
- Splinter Cell Conviction: Merchant's Street Market
- Splinter Cell Conviction: Kobin's Mansion
- Splinter Cell Conviction: Price Airfield
- Splinter Cell Conviction: Diwaniya, Iraq
- Splinter Cell Conviction: Washington Monument
- Splinter Cell Conviction: White Box Laboratories - part 1
- Splinter Cell Conviction: White Box Laboratories - part 2
- Splinter Cell Conviction: Lincoln Memorial
- Splinter Cell Conviction: Third Echelon HQ - part 1
- Splinter Cell Conviction: Third Echelon HQ - part 2
- Splinter Cell Conviction: Third Echelon HQ - part 3
- Splinter Cell Conviction: Michigan Ave. Reservoir - part 1
- Splinter Cell Conviction: Michigan Ave. Reservoir - part 2
- Splinter Cell Conviction: Downtown District
- Splinter Cell Conviction: The White House
- Splinter Cell Conviction: Walkthrough
- Splinter Cell Conviction: Game Guide
You are not permitted to copy any image, text or info from this page. This site is not associated with and/or endorsed by the developers and the publishers. All logos and images are copyrighted by their respective owners.
Copyright © 2000 - 2026 Webedia Polska SA for gamepressure.com, unofficial game guides, walkthroughs, secrets, game tips, maps & strategies for top games.