Uncharted The Lost Legacy: Infiltration
In this page you can find a walkthrough for the second chapter in Uncharted: Lost Legacy called "Infiltration". Completing the initial sections of this stage isn't that difficult. They are focused on exploration and it should be mentioned that if you rush through locations you can miss some of the secrets. The end part of the mission is a little bit more challenging because you have to escape and reach the safe space without stopping in one place for too long.
Going through the city
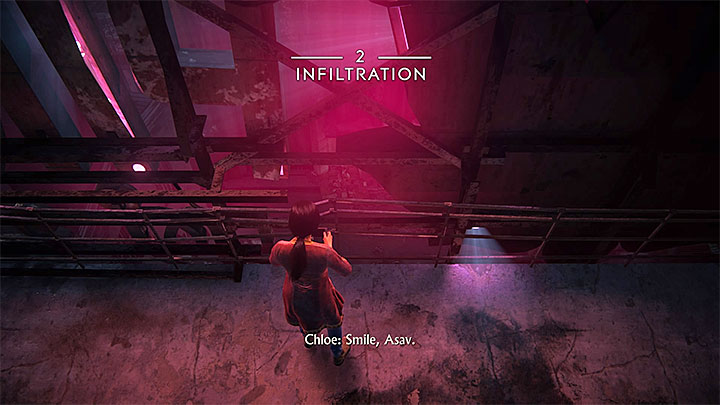
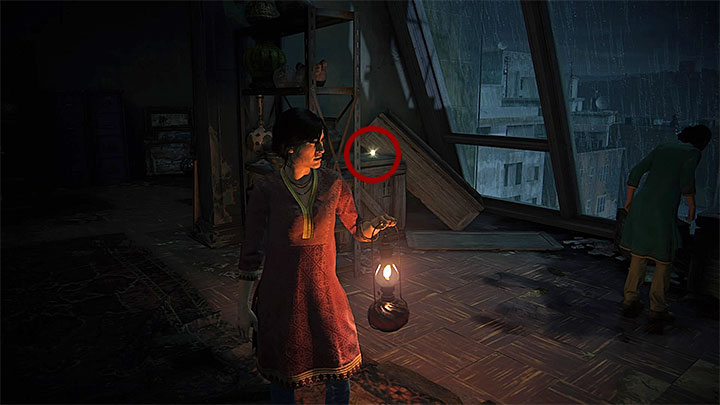
Shortly after starting the chapter you must go to the part of the rooftop presented in the picture above. There, you can find a place to take a photo (1/1).
When you take a photo of Asav you must approach the ladder nearby and press the corresponding button to help Nadine climb up and unlock a way to get to the top. Then, you must jump on the steep neighbor roof. When you do that you will start sliding down. You must perform another jump in the right moment, this will allow you to safely catch a small vertical net.
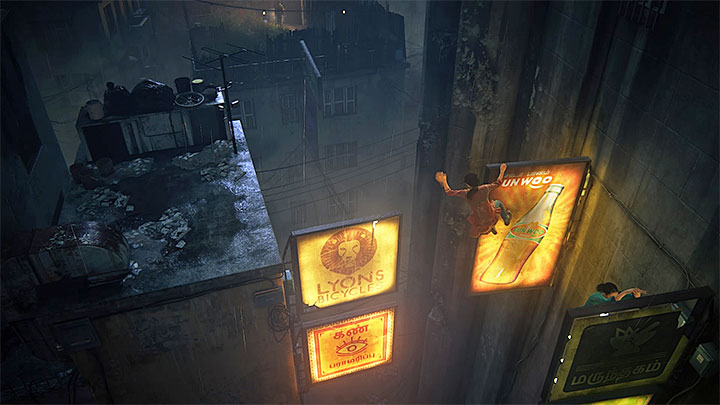
Face the wall that is adjacent to working neon signs and jump in its direction. When you catch the cornice you must start climbing up a pipe. Reach the upper level and move left so you can jump on the first neon sign. Now, keep jumping on adjacent neon signs, this will allow you to reach the roof of the building nearby.
When you are on the new roof you must approach the wall and start moving left on a narrow cornice. Then, jump and reach the upper pipe and climb up a balcony. You can reach the next location in two ways - by jumping on neon signs or climbing on top of a tin roof and then jumping on the adjacent one.
Soon, you will reach a part of the roof with tall grass. DO NOT HURRY and move forward, instead, you should examine area on the right. Thanks to that you can find a treasure (1/5 - Bullet Whistle) which is presented in the picture.
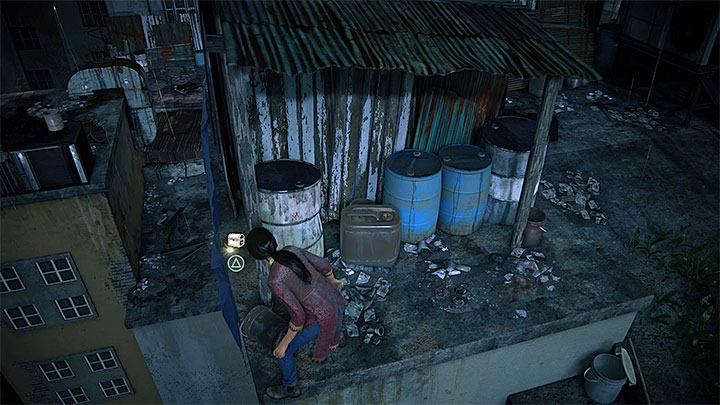
After that you can catch a rope and slide down on a roof of the smaller building on which you can also find tall grass. You must carefully approach the guard from behind and eliminate him. Then, you can examine the small tin hut, the one in which the guard was, and you will find another treasure (2/5 - Military Service Lighter).
Inside of the tin hut you can also find an orange chest on wheels which can be moved. Take it outside, place right next to the tin hut and use it to climb on the hut's roof. Now, you must jump in the direction of the yellow adjacent building and climb on its roof.
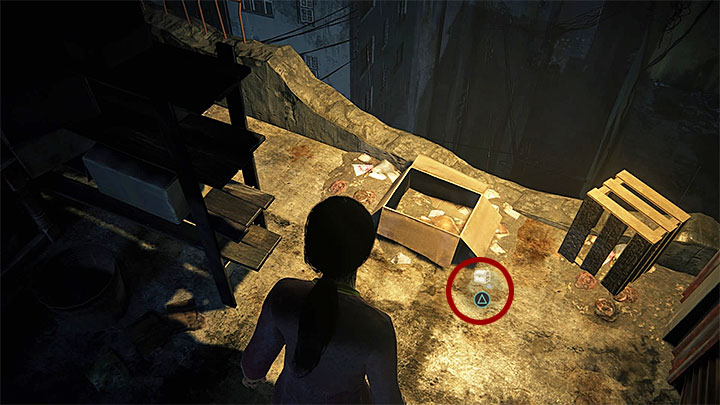
Walk on a new cornice and reach new neon signs that are a little bit farther away. Jump over the highest neon sign and, when you reach the new wall of a building, you must go right until you reach a vertical drainpipe. Use it to climb up and find another chest on wheels. Move it a little bit and you absolutely need to explore the place in which it was "parked" earlier because there is another treasure (3/5 - Utility Spork) presented in the picture above.

Now, you can continue pushing the chest on wheels. You must move it to the lower part of the roof where Nadine is. By doing that you accidentally collapse a part of the roof. You must go down carefully and when you reach the lower floor you must move forward.
Reach the end of metal beam and jump. Swing on the metal rod before you make another jump. After performing that action you can start moving left. Soon, you reach the destroyed part of the building. When you get there the first thing that you can do is to find and take another treasure (4/5 - Traveling Inkwell) which is located at the end of the dark corridor presented in the picture above.

Explore the building and reach new metal elements that are hanging above a chasm. Here, you must complete a rather easy climb to get behind a single guard. Catch him and pull down into chasm.
Approach the edge and when you go down you can go left or right. The direction isn't important because your goal is to reach the upper floors. Climb on a big balcony and approach the closed door. Complete the familiar mini-game with lock picks. This allows you to break into a warehouse located at the attic.
Examining the attic
There are a few interactive artifacts at the attic, although examining them is completely optional. The only thing that must be carefully examined is the area near the big window because there you can find the last treasure (5/5 - Tactical Compass).

Picking the lockbox should be your last action because this ends your exploration of the attic and plays a cut-scene during which you will meet with Asav.
Escape
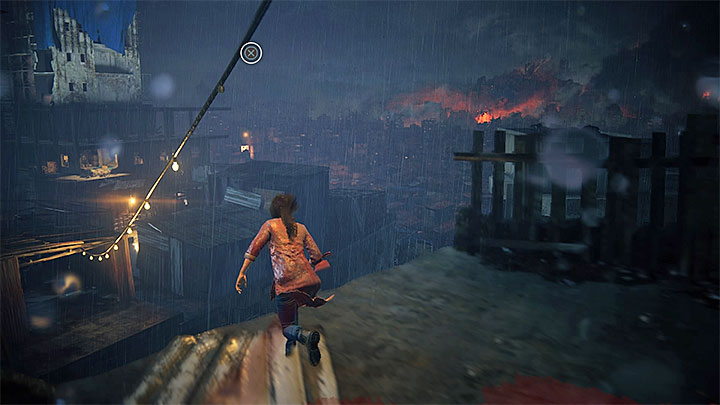
During the last part of this stage you must escape from insurgences that keep shooting at Chloe and Nadine. Start with going through the broken window. Don't stop anywhere for too long, especially if you play on one of the higher difficulty levels because you won't be safe, even if you hide behind a cover. While you are escaping you must use ropes and jump on adjacent roofs.
A cut-scene will play during the escape. After that you must avoid enemy fire again. During the second part of the escape you must remember to jump in the right moment when you are sliding down a steep roof. Also, there are a few places in which you have to quickly climb up on hanging objects that are under fire so try to not make any mistakes. The sequence ends during your slide on a rope.

- Uncharted: The Lost Legacy Game Guide
- Uncharted The Lost Legacy: Walkthrough and Secrets
- Uncharted The Lost Legacy: Walkthrough
- Uncharted The Lost Legacy: Prologue
- Uncharted The Lost Legacy: The Insurgency
- Uncharted The Lost Legacy: Infiltration
- Uncharted The Lost Legacy: Homecoming
- Uncharted The Lost Legacy: The Western Ghats Map
- Uncharted The Lost Legacy: Reaching the tower
- Uncharted The Lost Legacy: Exploring the Parashurama Fort (bow and arrow)
- Uncharted The Lost Legacy: Shiva's Fort (Axe)
- Uncharted The Lost Legacy: Ganesha's Fort (Trident)
- Uncharted The Lost Legacy: Hoysala's Tokens and the Queen's Ruby
- Uncharted The Lost Legacy: Leaving Western Ghats
- Uncharted The Lost Legacy: -The climb
- Uncharted The Lost Legacy: Examing the cave
- Uncharted The Lost Legacy: Going through the ruins
- Uncharted The Lost Legacy: Meeting Asav
- Uncharted The Lost Legacy: The Gatekeeper
- Uncharted The Lost Legacy: Explore the first part of Belur
- Uncharted The Lost Legacy: A visit to the library
- Uncharted The Lost Legacy: Solution to the puzzle with Shiva's statue
- Uncharted The Lost Legacy: Solution to the puzzle with prisms
- Uncharted The Lost Legacy: Solution to the puzzle with Parasharma and Ganesha
- Uncharted The Lost Legacy: Reach the railway station 8. Partners
- Uncharted The Lost Legacy: Destroy the enemy chopper
- Uncharted The Lost Legacy: End of the Line
- Uncharted The Lost Legacy: Walkthrough
- Uncharted The Lost Legacy: Walkthrough and Secrets
You are not permitted to copy any image, text or info from this page. This site is not associated with and/or endorsed by the developers and the publishers. All logos and images are copyrighted by their respective owners.
Copyright © 2000 - 2026 Webedia Polska SA for gamepressure.com, unofficial game guides, walkthroughs, secrets, game tips, maps & strategies for top games.