Assassin's Creed 3: Sequence 4 - Feathers and Trees
Sequence 4 - Feathers and Trees
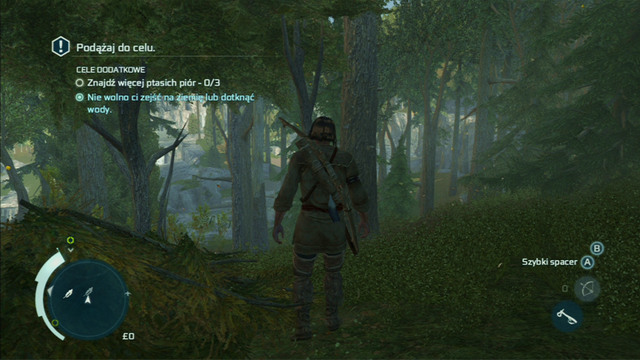
Feathers and trees is the name of the first task in the fourth sequence of Assassin's Creed 3 Remastered. Below you'll find a walkthrough for the mission, along with the list of Optional objectives.
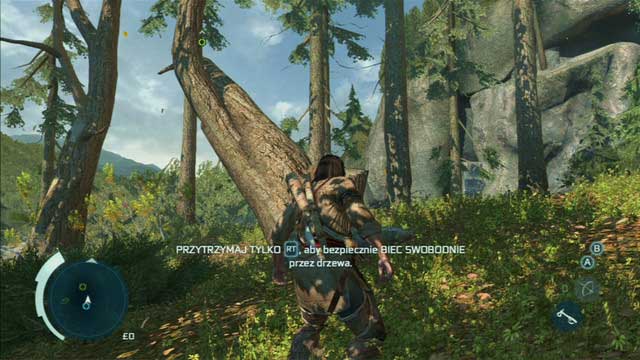
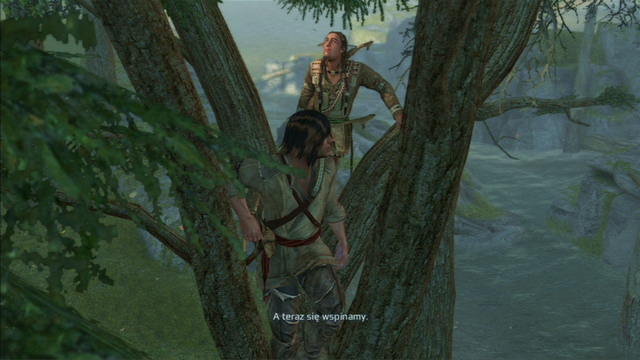
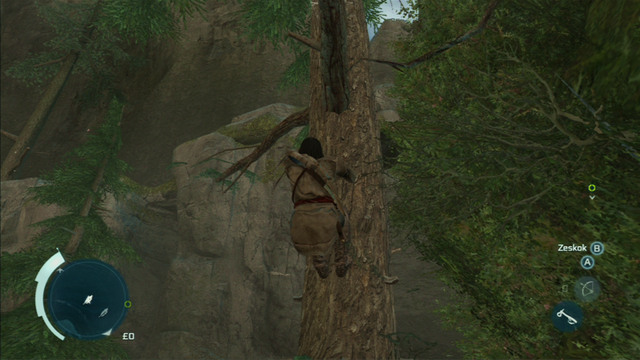
The mission will start with a tree jumping tutorial. Hold down the free run button, climb onto the leaning tree and afterwards jump to where the branches form a V.
In order to climb higher, you have to press the jump button.

Optional objective: Do not touch ground or water.
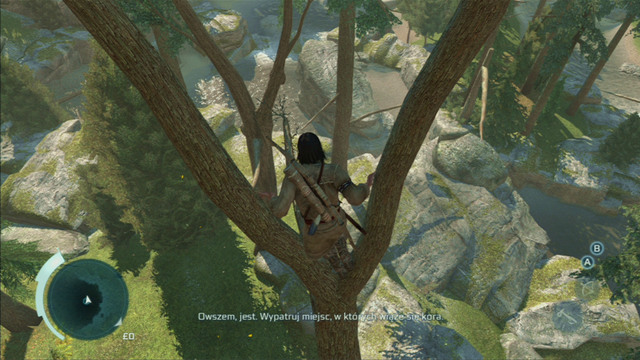
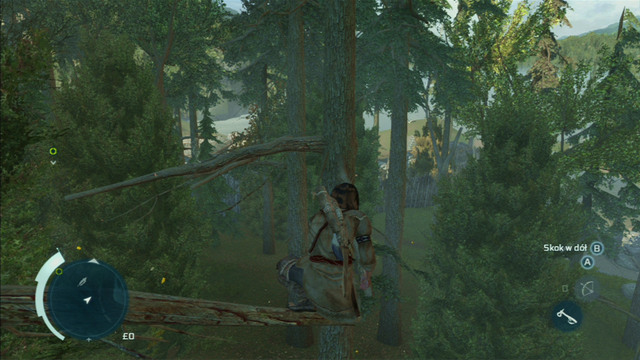
After a short cutscene you will have to reach the stream by jumping between branches. The path is rather simple, but to complete the optional objective you can't touch the ground or water even once. As you run, hold down only the free run button and control your character with the left analog stick.
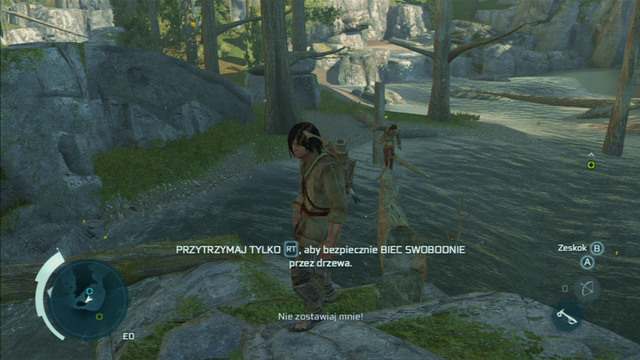
As you reach the rock at the shore, your friend will start drowning.
Save him and afterwards jump to the tree forming a V growing on the other side of the water.
There you will receive a task of obtaining a feather lying at the top of the rock.
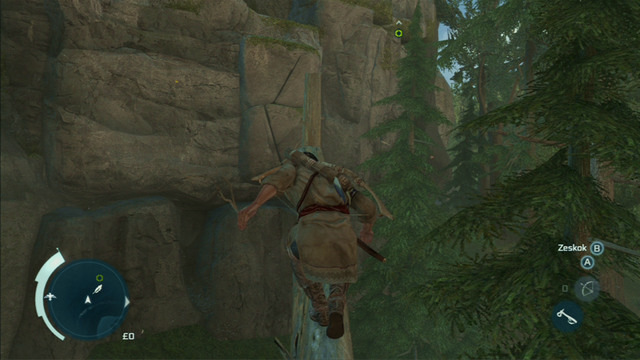
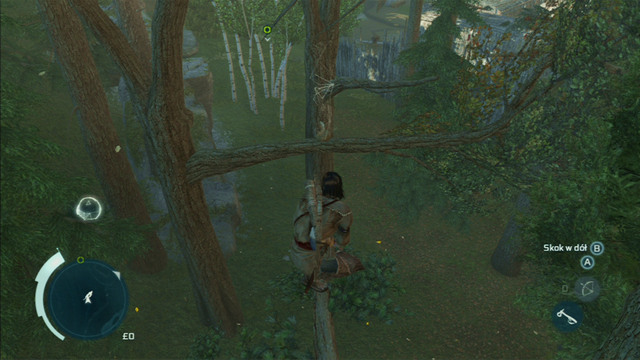
Start off by reaching the rock wall by jumping between branches and the fallen trunk.
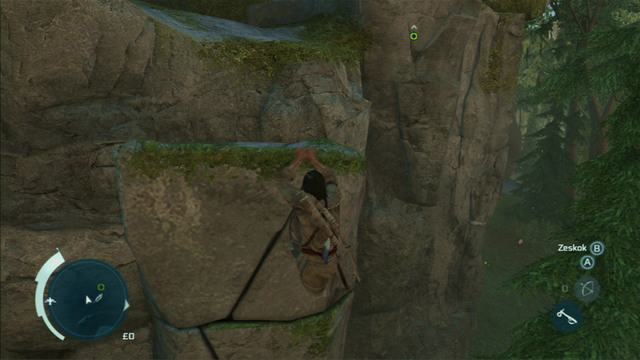
Hold onto the ledge and slowly move to the right end of the rock to climb up. don't do it beforehand, as you might fail the optional objective (you'll touch the ground).
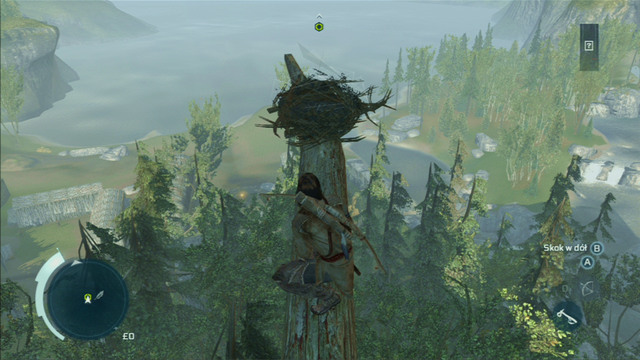
At the top, approach the marked nest and press the interaction button.
Optional objective: Find more feathers - 3.
Optional objective: Complete all optional objectives during a single playthrough.
After falling down you can return to your friend and end the mission, though for full synchronization you still need to collect three feathers.
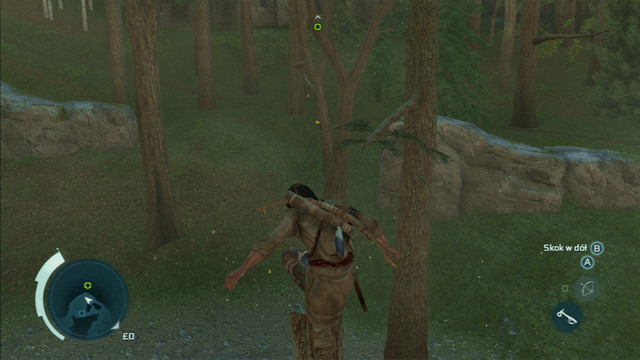
Two of them will be immediately marked on your map. To get the first one, climb up the bark onto the tree growing in the marked spot.
The item you seek is lying on one of its branches.
From there you can also jump to the second feather.

To get the last one, run towards the green point symbolizing your friend. The feather is hidden south of him and will be marked on the location map as you get nearby it.

After collecting all the items, return to the young Indian to end the mission.

- Assassin's Creed III Game Guide & Walkthrough
- Assassin's Creed 3: Game Guide
- Assassin's Creed 3: Walkthrough
- Assassin's Creed 3: Sequence 1 - Refresher Course
- Assassin's Creed 3: Sequence 1 - Deadly Performance
- Assassin's Creed 3: Sequence 1 - Journey to the New World
- Assassin's Creed 3: Sequence 2 - Welcome to Boston
- Assassin's Creed 3: Sequence 2 - Johnson's Errand
- Assassin's Creed 3: Sequence 2 - The Surgeon
- Assassin's Creed 3: Sequence 2 - The Soldier
- Assassin's Creed 3: Sequence 2 - Infiltrating Southgate
- Assassin's Creed 3: Sequence 3 - Unconvinced
- Assassin's Creed 3: Sequence 3 - Execution is Everything
- Assassin's Creed 3: Sequence 3 - The Braddock Expedition
- Assassin's Creed 3: Sequence 4 - Hide and Seek
- Assassin's Creed 3: Sequence 4 - Feathers and Trees
- Assassin's Creed 3: Sequence 4 - Hunting Lessons
- Assassin's Creed 3: Sequence 4 - Something to Remember
- Assassin's Creed 3: Sequence 5 - A Boorish Man
- Assassin's Creed 3: Sequence 5 - A Trip to Boston
- Assassin's Creed 3: Sequence 5 - Boston's Most Wanted
- Assassin's Creed 3: Sequence 5 - Lying Low
- Assassin's Creed 3: Sequence 5 - Stop the Press
- Assassin's Creed 3: Sequence 5 - River Rescue
- Assassin's Creed 3: Sequence 5 - Training Begins
- Assassin's Creed 3: Sequence 5 - The Hard Way
- Assassin's Creed 3: Sequence 5 - First Power Source
- Assassin's Creed 3: Sequence 6 - On Johnson's Trail
- Assassin's Creed 3: Sequence 6 - The Angry Chef
- Assassin's Creed 3: Sequence 6 - The Tea Party
- Assassin's Creed 3: Sequence 6 - Hostile Negotiations
- Assassin's Creed 3: Sequence 7 - The Midnight Ride
- Assassin's Creed 3: Sequence 7 - Lexington and Concord
- Assassin's Creed 3: Sequence 7 - Conflict Looms
- Assassin's Creed 3: Sequence 7 - Battle of Bunker Hill
- Assassin's Creed 3: Sequence 8 - Something on the Side
- Assassin's Creed 3: Sequence 8 - Bridewell Prison
- Assassin's Creed 3: Sequence 8 - Public Execution
- Assassin's Creed 3: Sequence 8 - Second Energy Source
- Assassin's Creed 3: Sequence 9 - Missing Supplies
- Assassin's Creed 3: Sequence 9 - Father and Son
- Assassin's Creed 3: Sequence 9 - The Foam and The Flames
- Assassin's Creed 3: Sequence 9 - A Bitter End
- Assassin's Creed 3: Sequence 10 - Alternate Methods
- Assassin's Creed 3: Sequence 10 - A Broken Trust
- Assassin's Creed 3: Sequence 10 - Battle of Monmouth
- Assassin's Creed 3: Sequence 10 - Third Energy Source
- Assassin's Creed 3: Sequence 11 - Battle of the Chesapeake
- Assassin's Creed 3: Sequence 11 - Lee's Last Stand
- Assassin's Creed 3: Sequence 12 - Laid to Rest
- Assassin's Creed 3: Sequence 12 - Chasing Lee
- Assassin's Creed 3: Walkthrough
- Assassin's Creed 3: Game Guide
You are not permitted to copy any image, text or info from this page. This site is not associated with and/or endorsed by the developers and the publishers. All logos and images are copyrighted by their respective owners.
Copyright © 2000 - 2026 Webedia Polska SA for gamepressure.com, unofficial game guides, walkthroughs, secrets, game tips, maps & strategies for top games.