Trek to Yomi: Chapter 7 - walkthrough
This page of the Trek to Yomi guide contains the walkthrough for the final chapter 7 - getting to the dojo, the final boss Kagerou, all 3 endings.
This page of the guide to Trek to Yomi contains a walkthrough of the last, seventh chapter. You will learn, i.a. how to defeat the final boss Kagerou (a two-stage boss fight), how to pass through the burning village, how to escape the flames and how to unlock the 3 available endings.
- Face Kagerou
- Mini-boss - General
- Escape the flames
- Kagerou (final boss) - the first stage of the fight
- Kagerou (final boss) - the second stage of the fight
- All game endings
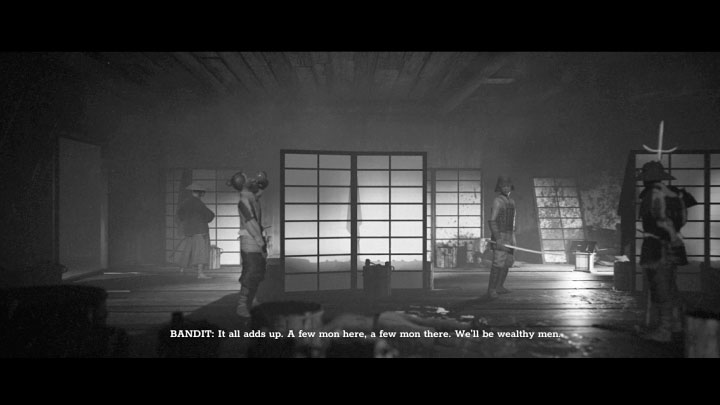
Face Kagerou
You will begin the final chapter 7 back "in the world of the living," and your task will be to go through the burning village to eventually fight the main antagonist - Kagerou.
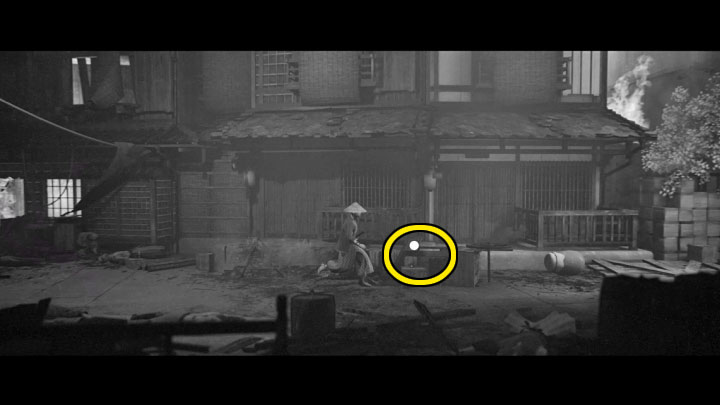
You'll find some arrows to the left of the starting location, and while going right you should notice the artifact marked in the picture - Matching Kai-Awase Shell.
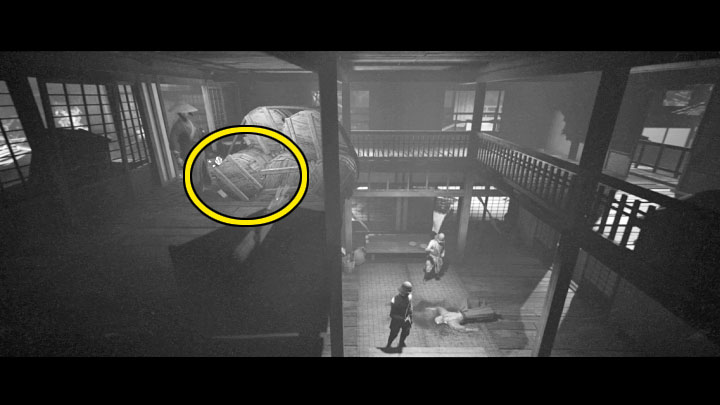
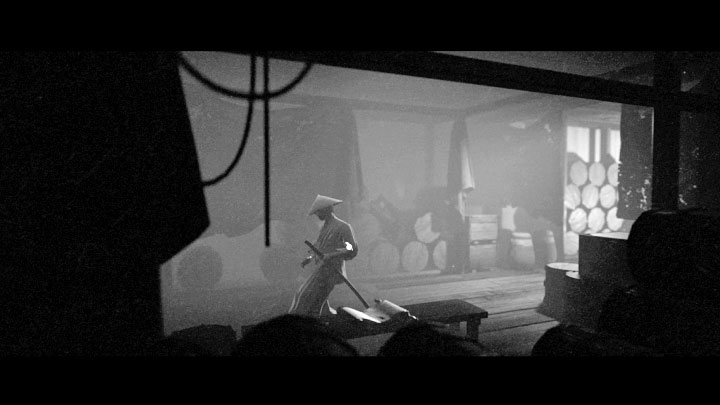
Keep going right to find the first shrine. Use the stairs that lead to one of the buildings. Next to the corpse, you will find another artifact marked in the picture - Hiogi Remnant.

The passage on the right leads to a small side area, where the only thing you can find are shurikens.
You will encounter enemies after you select the left path, and you'll face the first sniper right at the very beginning - you can quickly attack him with a bow or approach him by doing a roll.
On your way you will find some ammo for ozutsu, which you should consider using when you jump down to the area with a group of enemies, as it will allow you to take out several enemies with one shot.
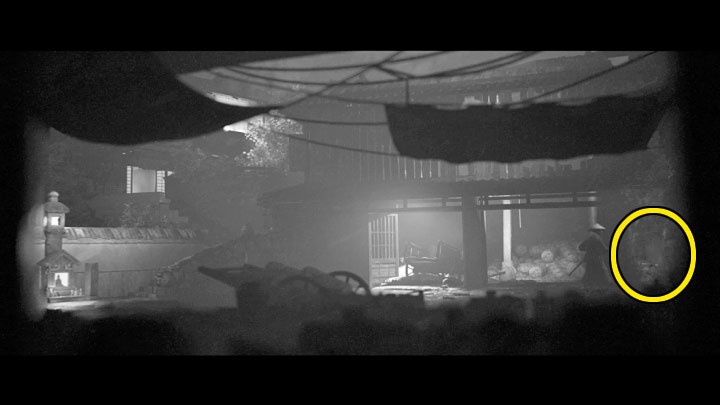
Go left when you're done fighting. In the next location, check the upper area marked in the picture to find an artifact there - Kiseru Remnant.
Now, choose the path in the bottom left corner of the screen that leads to a shrine.
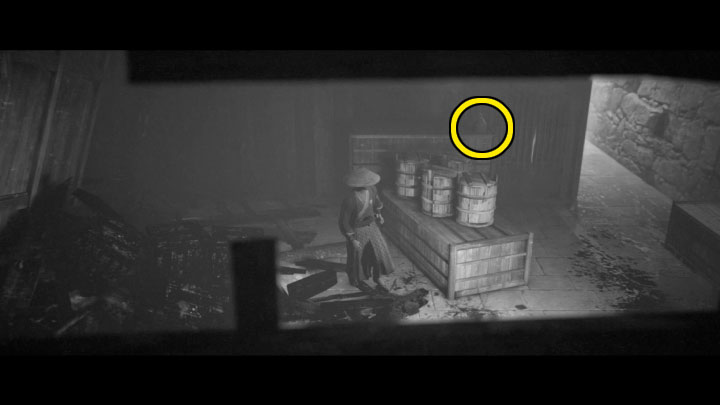
You will arrive at a fork where you should choose the upper path and follow the route shown in picture 1. This way, you will go above a group of enemies. In the area shown in picture 2, you can push the barrels onto the enemies below.
Keep going left; you'll have to find more enemies on the rooftops. Watch out for the enemy with a spear - it's best to block his attacks and wait until you can strike him or kill him from a distance.
Another part of the roof will collapse, but it's not a bad thing this time. Take the shurikens and jump down. After leaving the building, examine the barely visible wall on the right, marked in picture 1. You will find yourself in the side area with the artifact - Death Warrant from picture 2.
Return to the main path and go left, saving the game by the shrine along the way. You have two paths to choose from - upper and lower. First, choose the bottom path marked in the picture.
Defeat the enemies in the next corridor and go left. You will reach the room shown in picture 2, where you can find the Ozutsu Upgrade.
Mini-boss - General
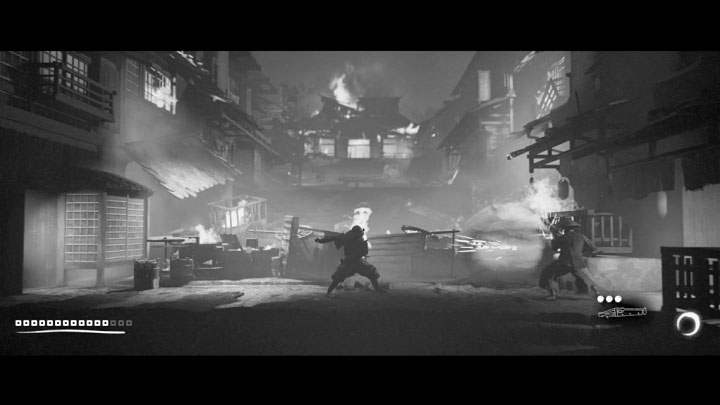
Go back to the shrine and this time choose the upper path. Again, you must first break through some "ordinary" opponents. This path leads to the place where you meet the General.
The General is not a fully-fledged boss, but he does use heavy armor. You can weaken him with ozutsu (picture 1) or enter open combat and block or parry (picture 2), hoping for the chance to attack. Defeating the General will unlock a new skill.
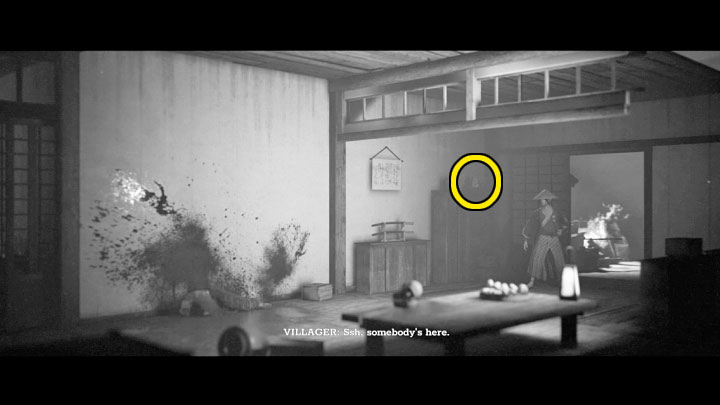
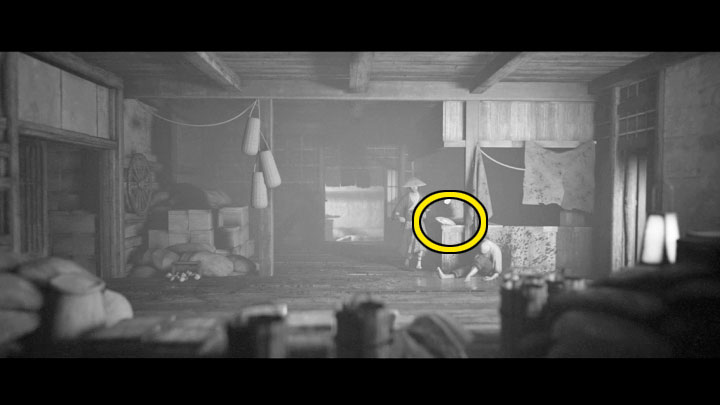
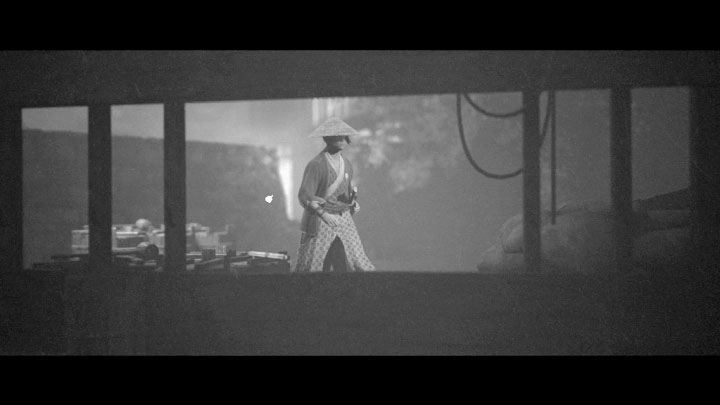
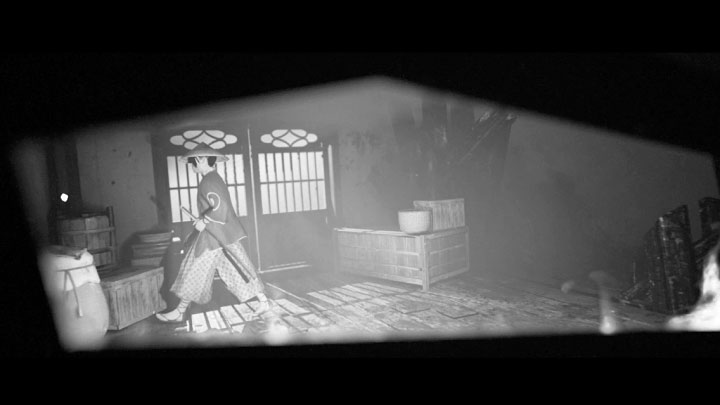
Keep going further to the left. Upon entering the new building, you will hear the hiding villagers. There is also a new artifact here - Omoikane Mask, marked in the picture.
The floor in the next room will collapse, but it won't kill you. In the basement, first check the passage on the right marked in picture 1.
In the next room, you can push a heavy item and save the villagers. They will leave behind the Health Upgrade marked in picture 2.
You can now return to the ladder you passed previously and use it to leave the basement. In the left room you will find a new shrine.
After leaving the building, you will be able to attack by surprise, thanks to which you won't have to fight one of the bandits directly. Expect new enemies to appear in the area, though. After the fight, head towards the upper left corner of the screen, picking up shurikens and arrows on your way. Another shrine is hidden around the corner.
Go left, and expect more fights along the way; eliminating snipers should be your priority. Archers will also conduct heavy fire on you in this area; you should try to fight from behind cover (they will be gradually destroyed, unfortunately).
Soon, you will reach a stable with a new shrine to save your progress. If you go left, you will have to avoid the archer fire again. Use the opportunity to attack the first sniper by surprise.
When you reach the next safe location, first check the left area. You can look into the hut next to the crying villager and collect shurikens and arrows from it.
Return to the ladder, reach the balconies above and enter the building. You will notice a group of bandits in the foreground; fight them only when you move enough to the right. Watch out for the heavily armored enemy with a long melee weapon - use ozutsu and / or skillfully block and parry his attacks. In the room to the right you will find arrows and a shrine.
Right after you leave the building, use the bow to eliminate the enemy archer. You can also get rid of the other archers in a similar way, or sprint and roll to get closer to them.
You will see a lightning strike the tree, which will block the upper path. You can take the ammo for ozutsu here and save the game at the shrine.
Choose the right entrance to the building and defeat the bandits looting the house - use a bow or ozutsu. You'll have to fight some more when you leave the building. Consider using ozutsu to attack the group of bandits (including a sniper).
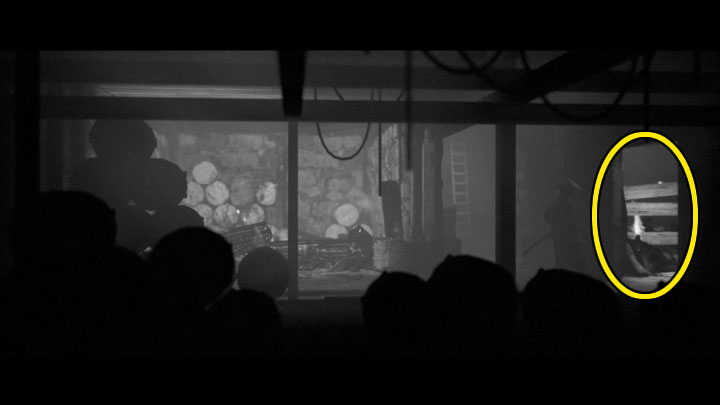
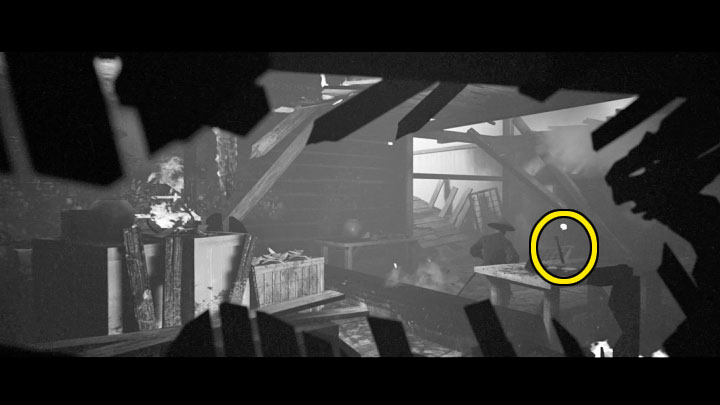
In the next ruined building, jump over a small obstacle and collect the artifact shown in the picture - Tsurugi - from the table on the right. Another artifact - Kanke Koshu - is on the upper floor, which you can see in picture 2.
Get out of the building and jump down to the street. At the bottom of the screen you can find shurikens and ozutsu ammo. When you go up, a part of the building will collapse, and you will have to choose the passage on the right.
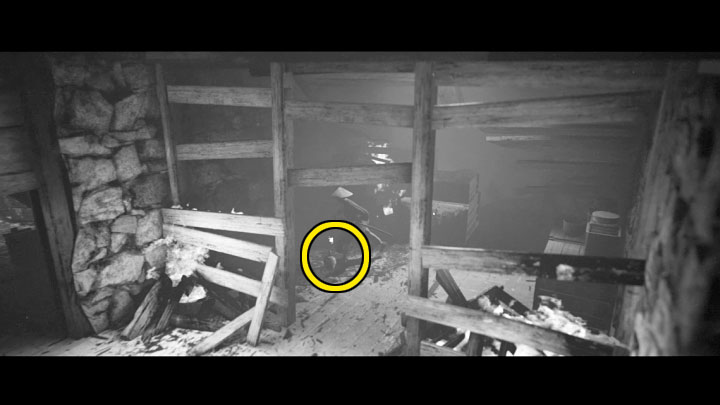
Jump over the shutter, go down to the basement and look around to find the Stamina Upgrade shown in the picture. When you use the exit to the right, you will reach a shrine.
Escape the flames
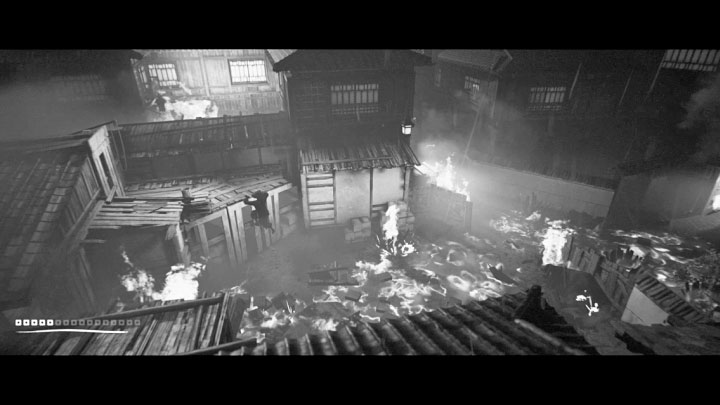
There will be an explosion soon after you leave the shrine. From this point on, you will have to escape the fire. There will be more fires along the way, and the key to survival is just staying on the move. You don't need to explore the area carefully, because you won't find any collectibles for now.
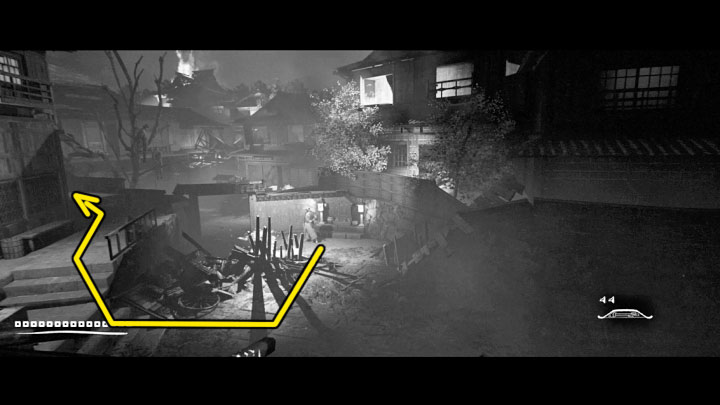
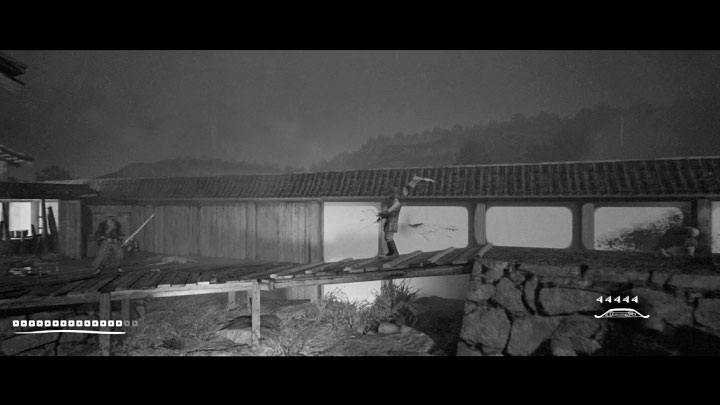
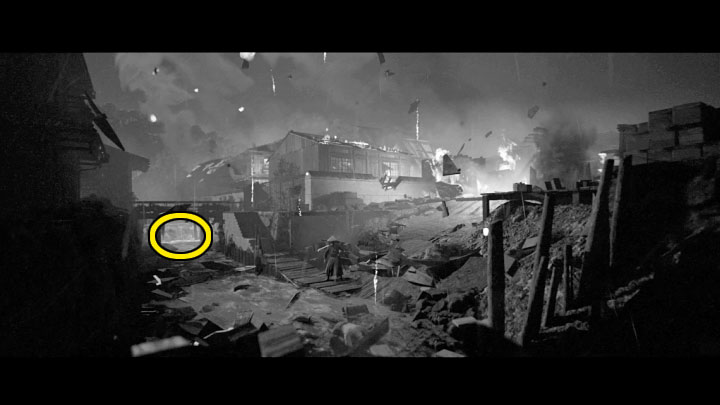
The escape itself is not difficult, because the camera will suggest the correct route. In the place shown in the picture, you have to climb to the higher ledge and then to the roof.
Run left across the rooftops. One of them will partially collapse, which you can't prevent. Keep running, this time through one of the buildings. The escape will end after you reach the stream that runs through the village.
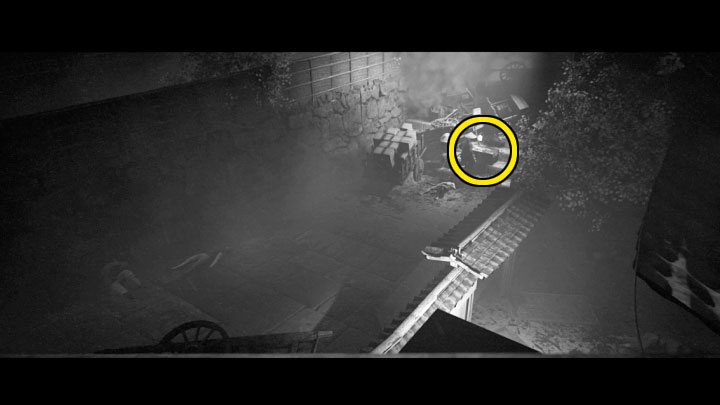
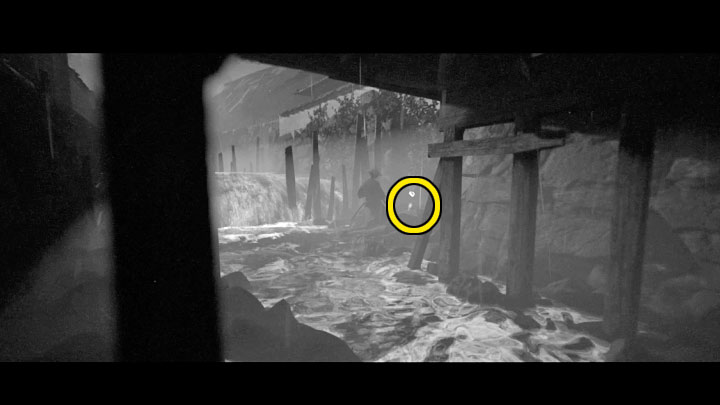
Take your time and check the area under the bridge marked in picture 1. Next to the stream and the bridge you can find an artifact - Kagami, shown in picture 2.
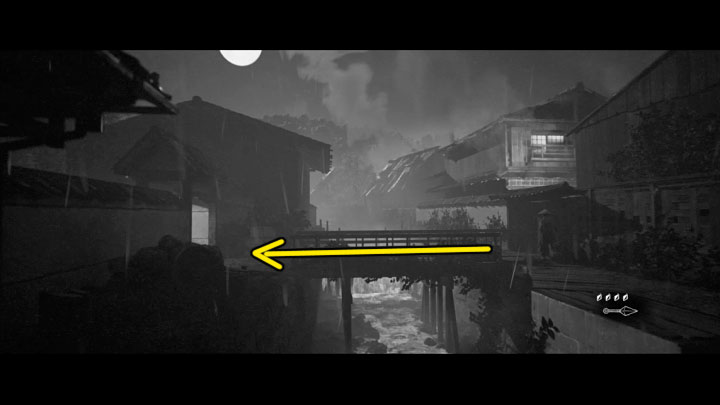
Return to the place where your escape ended, and this time choose the path that allows you to cross the bridge (picture above). Go left and collect the ammo for ozutsu on your way.
The last shrine is a bit further.
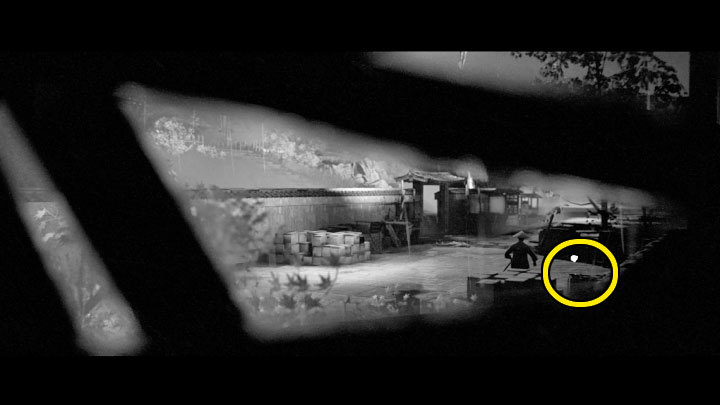
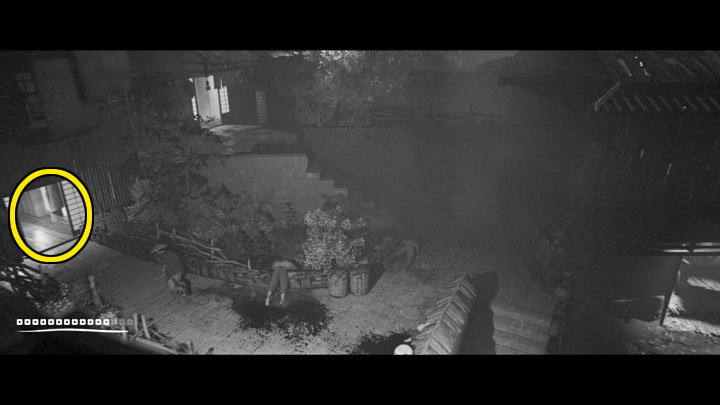
First, check the area to the left of the shrine. Pick up the ammo; you'll use it in the final battle. Additionally, in the place shown in the picture, you will find the last secret, which is an artifact - Sake Cup.
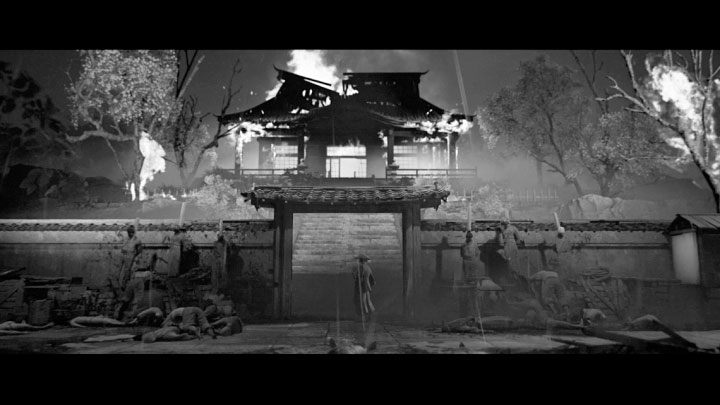
To start the final boss fight, choose the stairs that lead towards the dojo. The game will create a checkpoint here, and if you lose the final fight, you will resume the game on the stairs, not at the shrine.
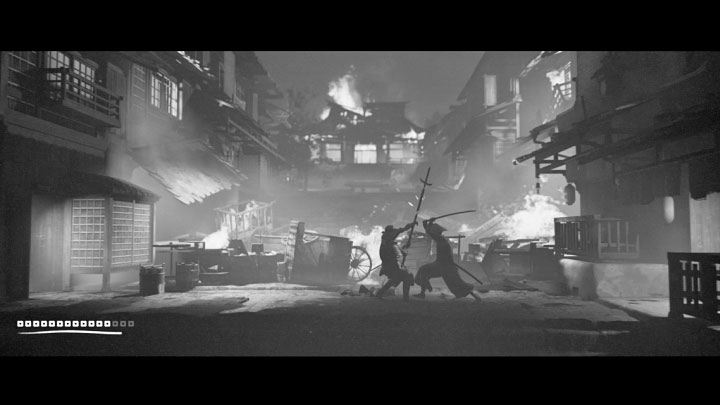
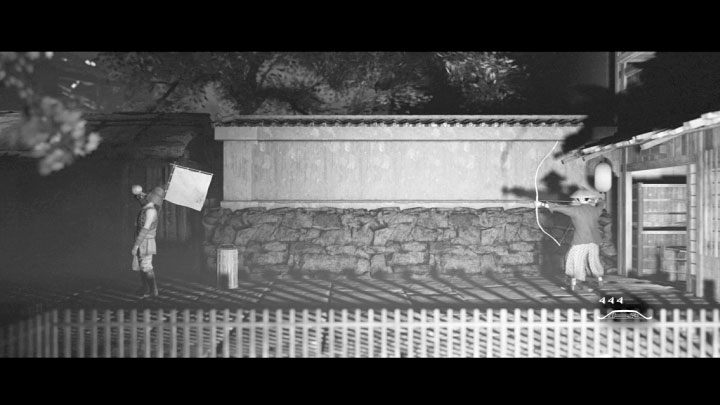
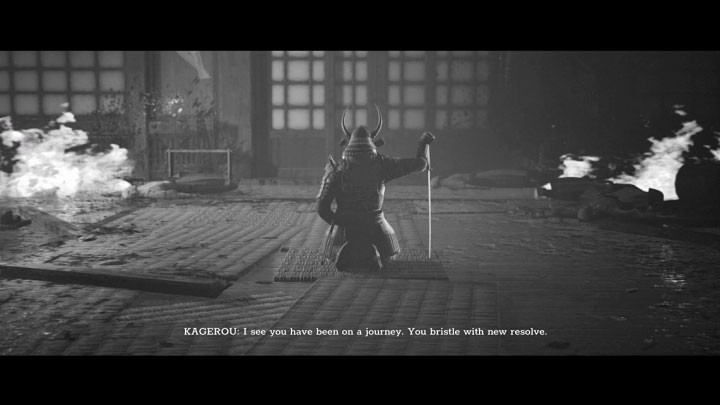
Kagerou (final boss) - the first stage of the fight
The final boss of the game is Kagerou, whom you've fought in Chapters 1 and 3. This time, the confrontation won't end prematurely.
The fight with the final boss is also quite confusing. The first phase of the fight is much simpler, and you should try to save as much of your health points as possible. Having a lot of health will be very important in the second part of the fight.
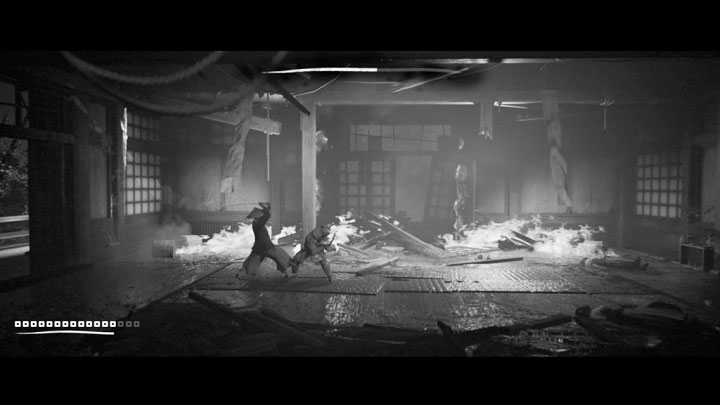
You can attack Kagerou with:
- Katana - in this case, it's safer to block and attack only after the boss finishes his combo. However, watch Hiroki's stamina bar to avoid the tired state.
- Ranged weapons - don't use all of them now, because they will be more useful later in the fight.
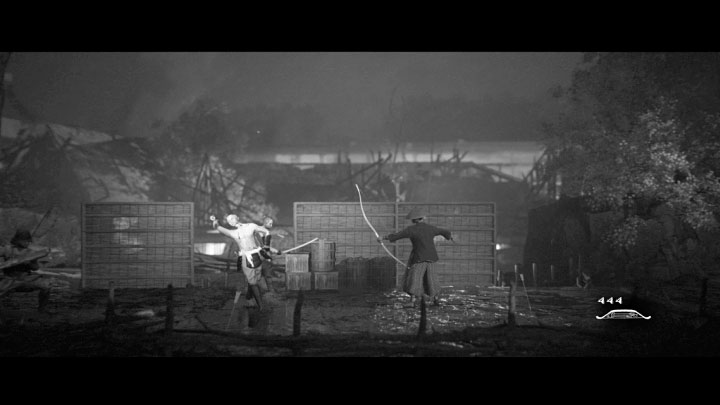
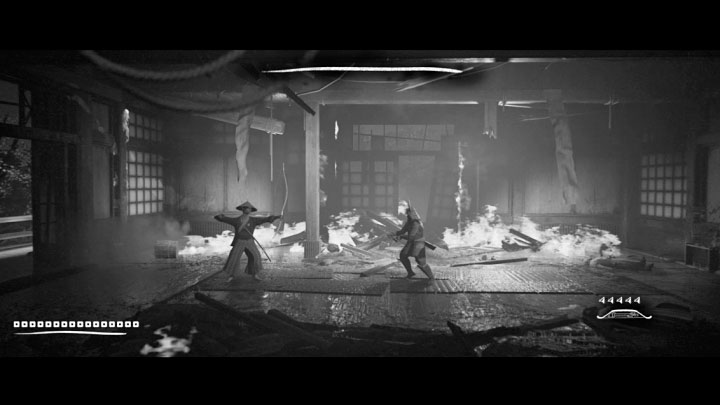
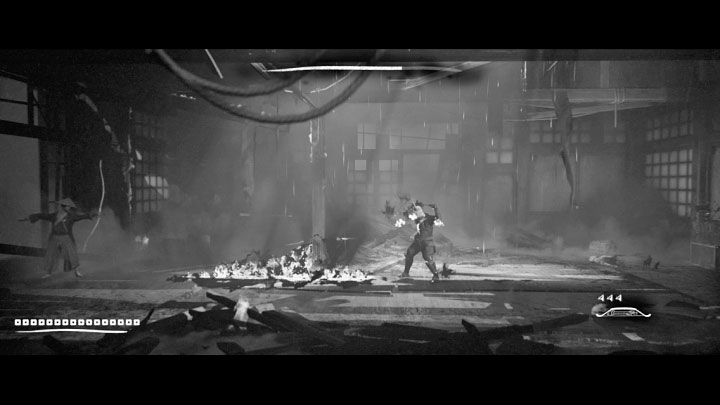
Kagerou (final boss) - the second stage of the fight
Even if you take away all of Kagerou's health, it won't kill him. Kagerou will turn into a demonic form, which will begin the second, more challenging part of the boss fight.
During the fight, try to attack the boss from a distance, at least until you run out of ammunition. The bow and ozutsu will be especially effective, but in the case of the latter, remember to reload it while standing as far away from the boss as possible.
Switch to melee combat only after you use up your supplies for ranged weapons - look for opportunities to attack after blocking the boss's attack combo and every time he misses the mark one of his unique abilities.
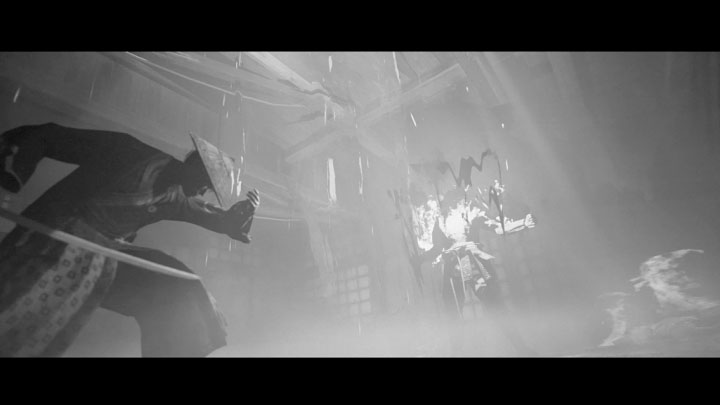
"Demonic" Kagerou has gained new skills:
- Fire trail (example in picture 1) - Try to avoid contact with the fire by quickly moving away from it. If it's impossible (e.g. you are standing close to the edge of the arena), try to roll over to dodge Kagerou and change the direction of the fight.
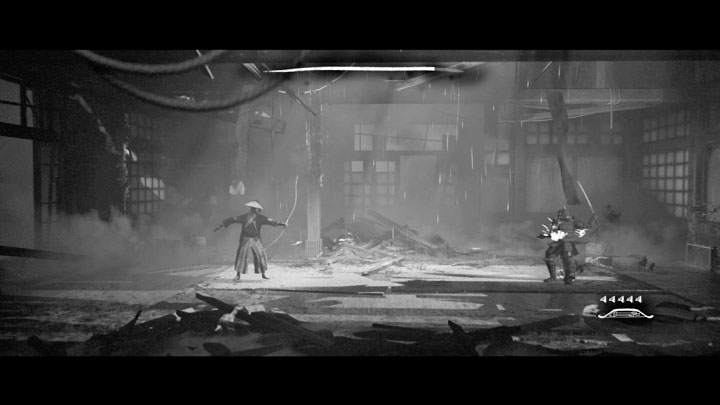
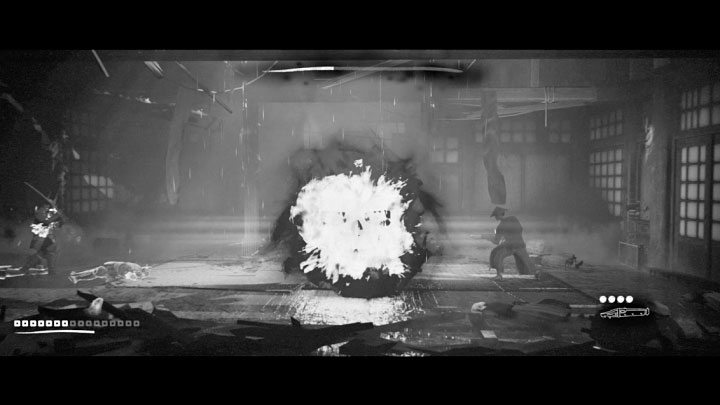
- Explosions (example in picture 2) - They are hinted at a short time in advance, which should allow you to roll to the right or left to avoid taking damage.
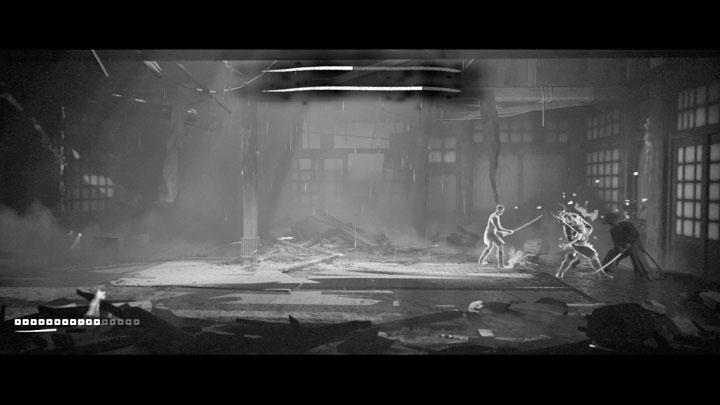
One of the explosions will "switch" the main boss, who will be replaced by two spirit mini-bosses. You will be fighting one of them at a time, but they will switch places from time to time.
When you fight the spirits, act carefully, because you can't easily defeat them with finishers to regain your health. Block a lot and attack when the opponent finishes his combo. You can also, for example, knock your enemies out of the rhythm by throwing shurikens.
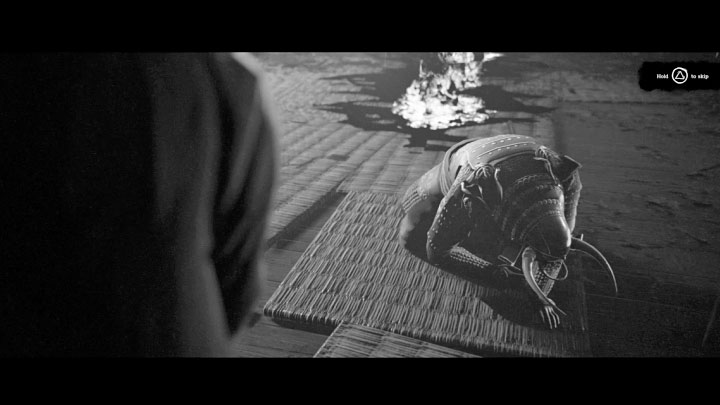
Once you've defeated the spirits, you have to finish the fight with the demon. In the final phase of the duel, Kagerou will no longer surprise you with any new moves or attacks. Destroying Kagerou's second health bar will end the final boss fight.
All game endings
After defeating the final boss, you will see one of the 3 available endings. What's very important is that the game won't let you choose the ending in chapter 7.
The ending you'll see will be a result of your previous choices, i.e. the ones you had to make after defeating the bosses in Chapters 4, 5 and 6. It also means that during a given playthrough, you can only see one ending that is a consequence of your previous decisions. If you want to see a different ending, you will have to play through the whole game again (Trek to Yomi, unfortunately, does not have the chapter select option) and choose other options in scenes with important choices.
Here is a list of all possible endings and their requirements:
- Path of Love - In each of the 3 choices, choose the first option.
- Path of Duty - In each of the 3 choices, choose the second option.
- Path of Fury - In each of the 3 choices, choose the third option.

You are not permitted to copy any image, text or info from this page. This site is not associated with and/or endorsed by the developers and the publishers. All logos and images are copyrighted by their respective owners.
Copyright © 2000 - 2026 Webedia Polska SA for gamepressure.com, unofficial game guides, walkthroughs, secrets, game tips, maps & strategies for top games.