Wolfenstein 2 The New Colossus: Under Siege Walkthrough - Mission 1 - Reunion
Last update:
Table of Contents
In this chapter you will find full walkthrough of Under Siege (second part of Reunion mission).
Reach controller bay
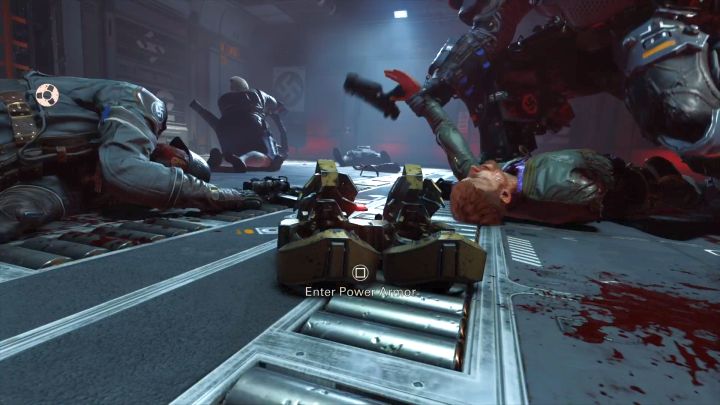
After putting on the armor, you will finally be able to walk again.
- When you're back in control of BJ, press the relevant button to enter the Power Armor. The power armor allows Blazkowicz to move just like he used to - run, jump, crush enemies, walk the stairs. It also allows carrying more armor (200) but on the expense of health points (50).
- From now on, you're also able to use two guns simultaneously - the game will instruct you on how to do it. The armor also provides a special skill, used to break through walls and floors in contextual spots. Exit to the corridor, stand on the hatch on the floor and press the relevant button to try it out.
- Upon entering the next room, pick up the Axe lying on the left. This simple weapon is used for melee attacks and stealth kills. Additionally, after obtaining more of these, you will be able to stealthily attack enemies from a distance.
- The axe is also used to open vent shafts - one of them is right next to you. Open it and get to the other side.
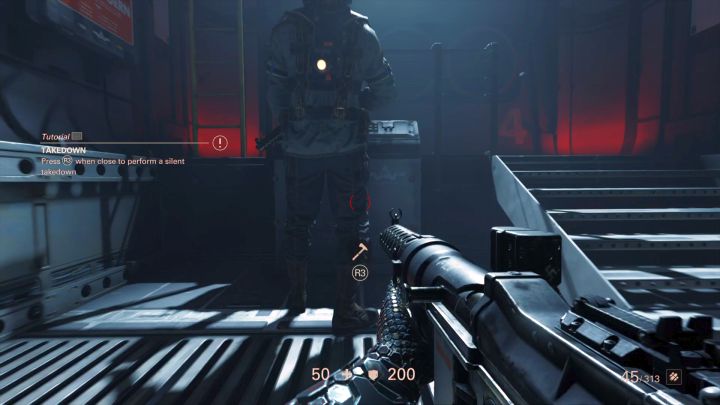
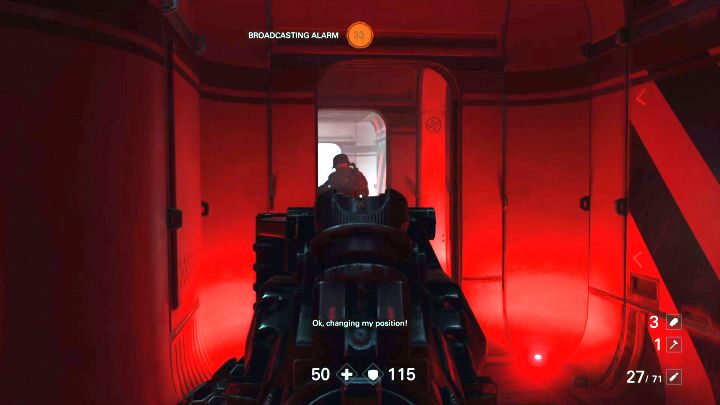
Try to perform a stealth kill on this dude.
- You will encounter an enemy facing away from you - try out your new axe on him. Climb the ladder up, then another one to reach a higher floor. Turn left here and take the Pistol lying next to the chest, and then enter the vent shaft next to the ladder.
- You will see some icons with numbers appear on the screen. They indicate the positions of special enemies - the commanders - who are able to call in reinforcements. You should always prioritize these targets (preferably take them down quietly) first to avoid troubles.
- These enemies also drop the Enigma Codes - special items that can be used to pin down unique enemies called the Übercommanders. This issue is discussed in detail elsewhere - right now, you have no access to this feature.
- Exit the shaft and right away kill the commander on the right - don't forget to collect the enigma code.
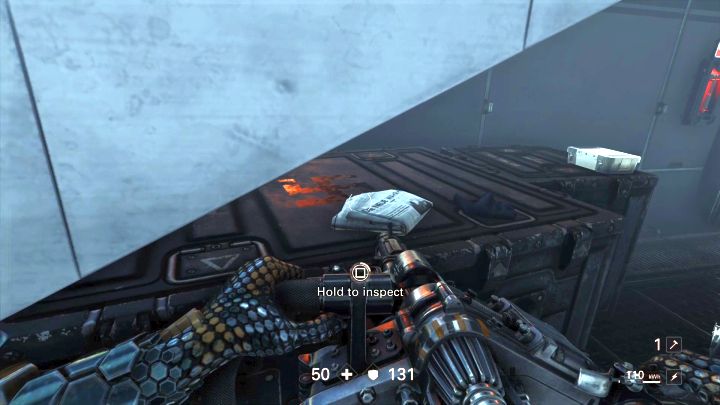
Here you can collect quite a few readables.
- Try to reach another commander - use the indicator at the top of the screen to do that. If taking him down quietly isn't an option, shoot him. The most important thing is to prevent him from calling reinforcements - the noise will lure some other enemies, but not as many as an alarm.
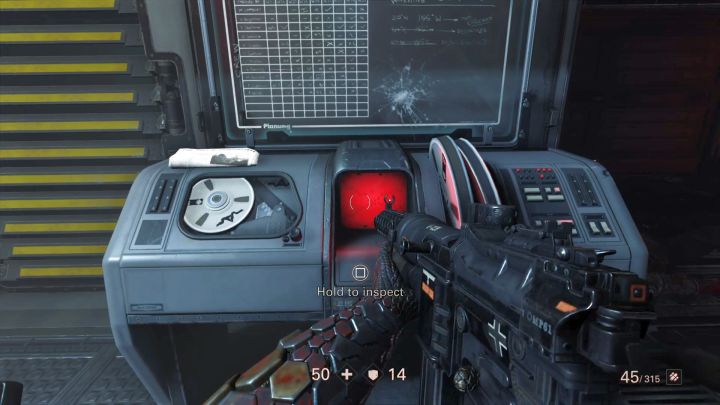
- Kill everyone you must kill and search the room through. In the southern part, on one of the computers, there's a readable - exactly to the north-east from the bird icon on the map.
- Next to the ladder (north from the bird icon) there's another readable - first of a few here. The next readable is right beside the stairs. The fourth readable is on the computer, next to the door with yellow stripes, near the southern ladder. You can ignore the door for now - it will open later.
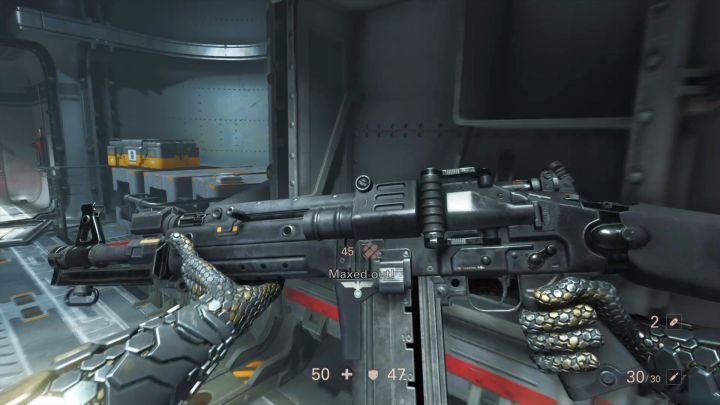
A new toy - Sturmgewehr.
- Go to the next part of the room, open the cage on the left and go through the vent shaft. Inside will be a new weapon - Sturmgewehr. This assault rifle has lower fire rate than the Machinepistole, but it deals much greater damage and it's much more effective at greater distance.
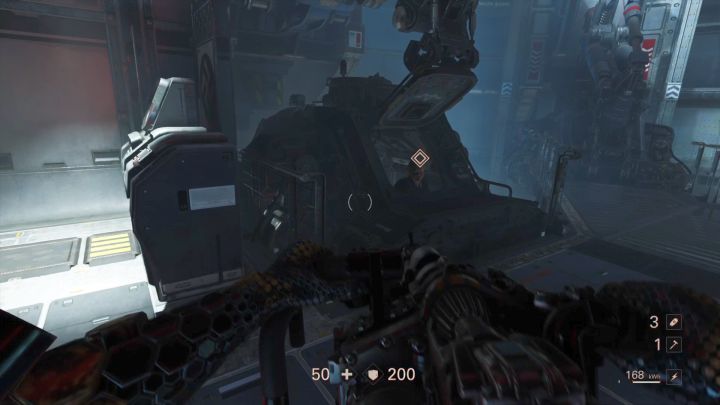
- Collect whatever's worth your attention and jump into the hole in the floor. In the next room, switch the lever to open the door and get a new quest - to destroy the container with a grenade. Do that, hence unlocking way forward.
- Clear the rest of both floors, then jump through the hole in the container - into the new location.
Kill the Commander; otherwise the enemies will literally swarm the location.
- Act with haste - when two enemies approach, use the axe to avoid raising an alarm. If you don't manage to, you have to try and reach the Commander before he raises the alarm.
- Below the staircase leading to the next floor, you will find a readable.
- Clear the area and go to the lower floor. Run along the platform to reach the control panel. Switch the lever - this will trigger a cut-scene and end the quest.
Return to Hangar Bay
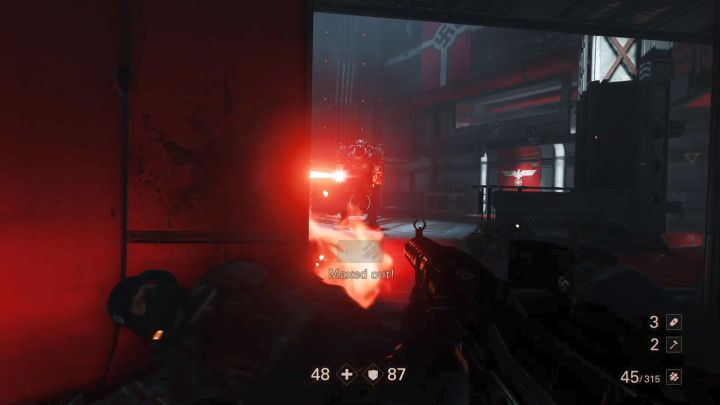
The enemy with two laser cannons is the first genuine challenge.
- Use the same way to go back to the upper level. When you reach an open area, you will encounter a heavily armored enemy. He uses two laser cannons and is able to perform a charge. The easiest way of doing him in is to fight in the tunnel that you just came from - the enemy will have less room to maneuver. Use grenades as well.
- When the enemy's dead, he will drop a temporary weapon (which BJ throws away if you switch to another gun)- the Lasergewehr. It's the laser canon. It deals massive damage and allows melting walls and crates with yellow stripes. The ammo for this gun can be replenished in loading stations.
- Go straight from the place of the first encounter, melt the door and get rid of all enemies on the other side. If you need ammo, there's a loading station next to the gate.
- Keep going forward, melt another door, and activate the switch to unlock the passage.
The only collectable in this location - the readable is hidden beneath the stairs.
- You will get to an open area with two officers there. If you can manage, take them down quietly. The laser cannon will make the fight a lot easier though, so you need not bother if you don't want to.
- Just one readable in this location - on the chest, underneath the stairs.
- After clearing the area and checking all useful items, go to the next switch and activate it. Go to the next location.
End the mission.
- Go back to the place where you've first encountered the two officers. There will be a welcoming party for you, including another heavy-armor mech - you can celebrate it with some fireworks. When everyone's dead, you should follow the mission marker and enter the evac pod to finish this mission.

- Wolfenstein II: The New Colossus Game Guide
- Wolfenstein 2 The New Colossus: Game Guide
- Wolfenstein 2 The New Colossus: Walkthrough
- Wolfenstein 2 The New Colossus: Chapter 1 - Reunion
- Wolfenstein 2 The New Colossus: Awakening Walkthrough - Mission 1 - Reunion
- Wolfenstein 2 The New Colossus: Under Siege Walkthrough - Mission 1 - Reunion
- Wolfenstein 2 The New Colossus: The Signal Walkthrough - Mission 1 - Reunion
- Wolfenstein 2 The New Colossus: Reunion Walkthrough - Mission 1 - Reunion
- Wolfenstein 2 The New Colossus: Chapter 1 - Reunion
- Wolfenstein 2 The New Colossus: Walkthrough
- Wolfenstein 2 The New Colossus: Game Guide
You are not permitted to copy any image, text or info from this page. This site is not associated with and/or endorsed by the developers and the publishers. All logos and images are copyrighted by their respective owners.
Copyright © 2000 - 2026 Webedia Polska SA for gamepressure.com, unofficial game guides, walkthroughs, secrets, game tips, maps & strategies for top games.