STALKER Shadow of Chernobyl: Cordon Quests
QUESTS:
1. Get information from the scout
Received from: Sidorivich (Cordon)
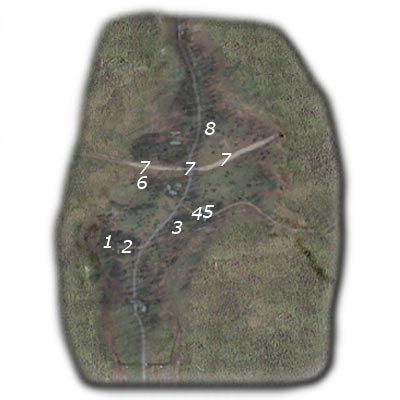
Starting point: 1 on the map
What needs to be done:
a) talk to Wolf (2 on the map)
b) meet with Wolf's men (3 on the map)
c) assist Wolf's men and clear out the bandit camp (4 on the map)
d) pick up flash disk from Nimble (5 on the map)
e) return with the disk to Sidorivich (1 on the map)
Complete quest walkthrough:
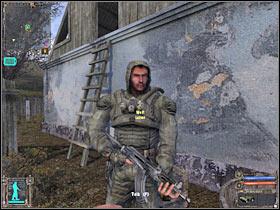
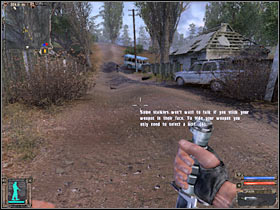
Once you've ended the conversation with Sidorivich, you will have to exit his bunker. Go and talk to Wolf (#1). You should be able to receive new intel from him. I wouldn't recommend picking up any side missions at this time, because you would only have 24 hours (game time) in order to finish them. You will have to exit the camp (#2). Head on towards the main road and turn left. I wouldn't recommend leaving this road, especially if you don't want to get lost or get into trouble. You should also choose PMm pistol from your inventory. You have received this weapon from Wolf. Don't waste any bullets on practice shots, as you'll need this weapon very soon.
 |  |
Like I've said before, you shouldn't leave the main road leading to the camp area (#1). Keep moving towards Wolf's men. You should be able to notice several larger objects on your left. Go there now. You will come across several bodies (#2). Try moving closer. It looks like that one of the Stalker soldiers is still alive. You will have to rescue him.
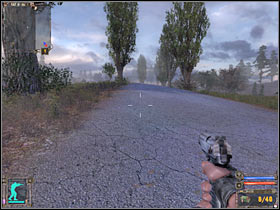 | 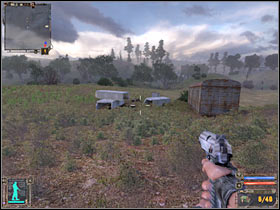 |
If you don't have any med-kits in your inventory, you will have to pick up one of these objects. You should be able to find a med-kit near a dead Stalker (#1). Head on to the dying man. It's going to be Tolik. Talk to him and choose a correct dialog option in order to grant him with a medical kit (#2). Tolik will thank you for your help. He will also go back to the main camp.
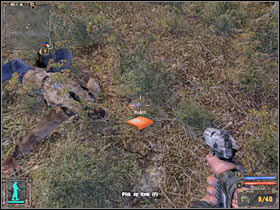 | 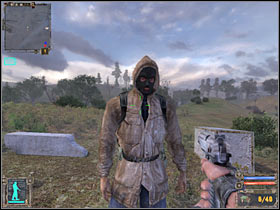 |
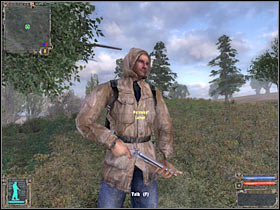
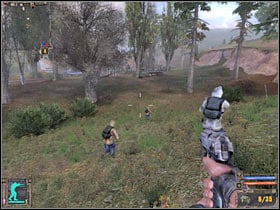
Now you will have to return to your main goal. Head on towards Wolf's men. You will have to talk to Petruha (#1). Get ready for the assault. I would recommend saving your progress here, especially if you're playing on one of the higher difficulty levels. Start moving towards the camp. Notice that two other friendly Stalker soldiers are taking part in this assault (#2). You will be able to use this to your advantage.
 |  |
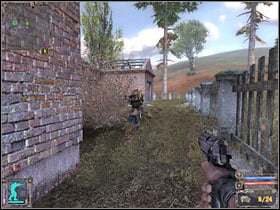
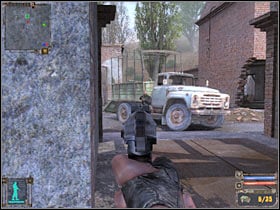
Once you've reached the camp, your allies will automatically start shooting at the bandits. It would be wise to not interfere in this fight. Don't worry about the outcome. The bandits are going to be killed very soon. Head on towards the buildings (#1). You could also try and kill some of the bandits on your own (#2), however this is considered to be risky, mostly because some of the enemy soldiers will be carrying powerful shotguns.
 |  |
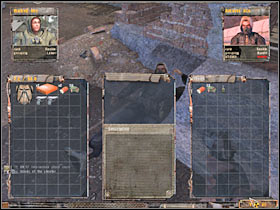
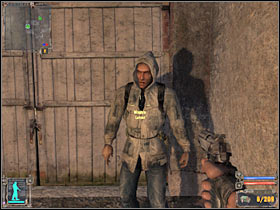
Make sure that you have used your minimap in order to locate all enemy soldiers. You will have to secure this entire area before proceeding with the next part of this mission. Additionally, you should consider looting bodies for ammunition and better weapons (#1). You will also be given locations of several stashes. They are going to be marked on your main map. Head on to Nimble (#2). You will have to talk to him in order to receive the flash disk.
 |  |
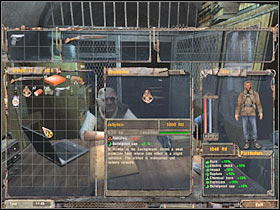
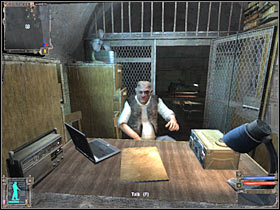
Now you will have to return to the main camp. I would recommend taking the same path, so you won't encounter any enemy soldiers or stronger monsters. Start off by talking to Wolf. You will receive a Jellyfish artifact from him (#1). Now you will have to return to the bunker. Talk to Sidorivich (#2). He will give you some money and you'll be able to proceed with new main quests, as well as a few side missions.
 |  |
2. Kill Strelok
Received from: Sidorivich (Cordon)
Starting point: 1 on the map
What needs to be done:
a) find Strelok
b) kill Strelok
You won't be able to fulfill this task in this sector of the map. This quest has been activated at the start of the game, so you may as well ignore it for the time being.
3. Get to the railroad embankment
Received from: Sidorivich (Cordon)
Starting point: 1 on the map
What needs to be done:
a) head on to a designated area of the map and find the journeyman (6 on the map)
b) reach the other side of the railroad embankment (7 on the map)
Complete quest walkthrough:
I would recommend acquiring a good gun before proceeding with this mission of the game. If you didn't kill any of the army soldiers, you will probably have to purchase one of the better pistols from Sidorivich. I wouldn't recommend spending your money on a silenced pistol, because you won't have to act stealthy here. If you have a shotgun or Akm 74/2U machine gun at your disposal, you won't have anything to be worried about. Just remember about low ammo supplies for these weapons.
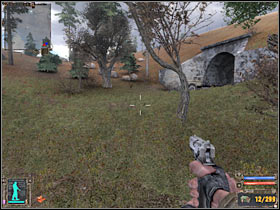
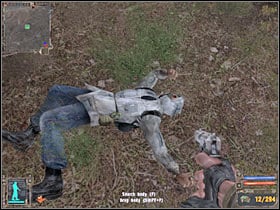
First of all, you will have to go to the northern part of the map. That's where the meeting was supposed to take place (#1). Once again, I wouldn't recommend leaving the main road. Do this once you've reached the destroyed bridge. Nevertheless, you will have to be very careful. There are some wild boars in the area and you would have to kill them in order to survive. Sadly, it turns out that the journeyman is already dead (#2). Check his body, so you'll be able to finish up with the first part of this mission.
 |  |
Now you will have to reach the other side of the railroad embankment. You can do this by choosing one of three available routes. The most difficult passageway, at least in my personal opinion, leads through a nearby tunnel (#1). You would have to avoid very powerful anomalies here. Notice that they're constantly moving. You would have to start moving very slowly. Additionally, there's a separate anomaly near the end of the tunnel. You would have to wait for it to disappear. This would allow you to exit the tunnel without receiving any damage (#2).
 |  |
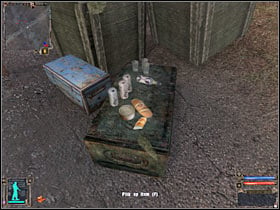
The second option would require you to head on to a military checkpoint that's located beneath the destroyed part of the bridge. You would have to locate one of the officers. Talk to him (#1). If you behave correctly, you shouldn't be attacked by anyone. You will have to bribe the soldier by giving him some of your money (500 RU). As a result, you will be allowed to go through. Don't leave this area just yet, because you'll find some interesting supplies nearby (#2). You could also kill these soldiers or wait for them to engage other friendly Stalker's.
 |  |
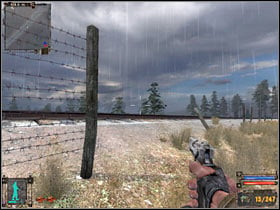
The third route is going to be the easiest one. You will have to locate a hole in the fence. I wouldn't recommend choosing a passageway that's located near the military checkpoint. Instead, keep moving to your right and you will come across the second hole (#1). Once you've gone past it, you should be able to receive a new message (#2). Furthermore, you will be allowed to take on a new main quest.
 |  |
4. Find the militaries' documents
Received from: Sidorivich (Cordon)
Starting point: 1 on the map
What needs to be done:
a) steal the documents
b) deliver the documents to Barkeep
You won't be able to take on this mission here. Instead, you will have to wait. We'll get back to this task once you've reached the Agroprom Research Institute zone (the road leads through the Garbage sector).
5. Learn something about Strelok from Fox
Received from: this quest will start automatically once you've completed Get to the railroad embankment task
Starting point: 7 on the map (depends on which route you've decided to take)
What needs to be done:
a) save dying Fox (8 on the map)
b) ask Fox about Strelok (8 on the map)
Complete quest walkthrough:
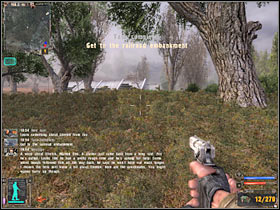
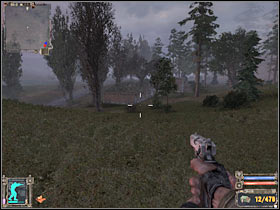
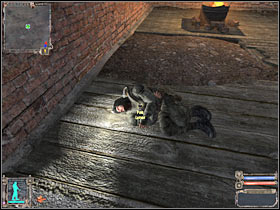
This is a very short mission and you shouldn't have any major problems finishing it. The first thing that needs to be done is to reach a certain building on the map (#1). You will find a dying Stalker here (#2). It's Fox and you will have to rescue him. Once again, you will have to activate a dialog window. Give him one of your med-kits. If you don't have any, you must buy or find one.
 |  |
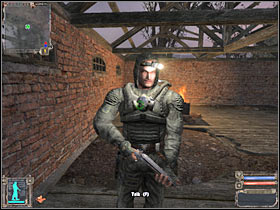
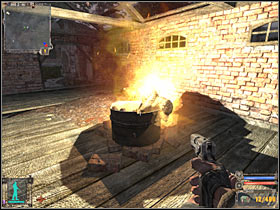
You will have to wait for a few seconds. Fox will get up and you'll be able to talk to him (#1). This will allow you to end this quest. I guess I should also warn you about wild animals. You may be attacked by these creatures (#2), however you shouldn't have any problems killing them.
 |  |
6. Meet with Gray
Received from: Fox (Cordon)
Starting point: 8 on the map
What needs to be done:
a) find out something about Strelok from Seriy
You won't be able to proceed with this mission right away. You will have to reach a certain warehouse in the Garbage district that's leads to the north of the Cordon zone.
7. Meet the guide - part 2
Received from: this mission automatically begins while exploring X16 laboratory
Starting point: X16 sector
What needs to be done:
a) talk to the Guide, you can find him in the Cordon sector (8 on the map)
Complete quest walkthrough:
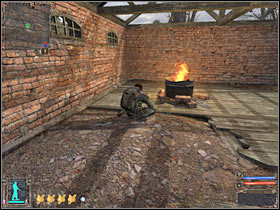
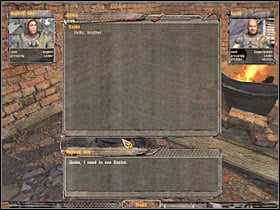
You will be finishing this task later during the game, once you've safely returned from the X16 laboratory. You will have to return to the Cordon area. You shouldn't have any problems finding the Guide character, mostly because he's occupied a well-known building (#1). It's the exact same spot where Fox was standing. You will have to talk to Guide (#2). He will grant you with a new task. As a result, you will have to return to Agroprom Research Institute Sewers. I would recommend choosing this quest as your default one, especially if you forgot the localization of the entrance to the sewers area.
 |  |
8. Meet with Doctor
Received from: Guide (Cordon)
Starting point: 8 on the map
What needs to be done:
a) talk to Doctor; he can be found in Strelok's hideout
Once again, you won't be allowed to take on this mission right away. You will have to reach the sewers in the first place. They are located beneath Agroprom Research Institute district.
You are not permitted to copy any image, text or info from this page. This site is not associated with and/or endorsed by the developers and the publishers. All logos and images are copyrighted by their respective owners.
Copyright © 2000 - 2026 Webedia Polska SA for gamepressure.com, unofficial game guides, walkthroughs, secrets, game tips, maps & strategies for top games.
