STALKER Shadow of Chernobyl: X16 - Quests
X16 laboratory level is very similar to the X18 map. Just as before, you will be dealing with a fairly small underground level. You won't have the opportunity to reach the ground, so you'll be dealing with different types of closed rooms. There aren't any maps, however this is not a huge problem, mostly because there's going to be only one path leading to your current destination. You will have to be very careful while exploring X16. There are some zombie characters in the lab, as well as very dangerous mutants. Also, make sure that you're using a nightvision or a flashlight. Save your game each time you've cleared out a larger section of the map. You will also be facing a time based objective later on, however it's going to be very simple.
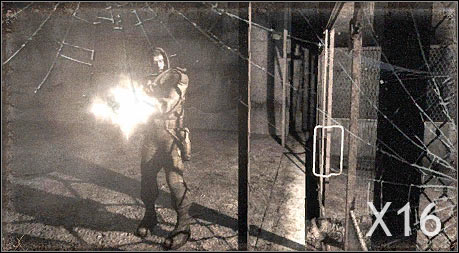
QUESTS:
1. Turn off psi-emission
Received from: this quest begins automatically once you've entered the X16 laboratory
Starting point: staircase (that's where you've started your journey)
What needs to be done:
a) turn off the first console
b) turn off the second console
c) turn off the third console
d) disable the entire mechanism, so you'll be able to explore the rest of the lab
Complete quest walkthrough:
You won't be able to proceed with this mission right away. You will have to reach the largest area of the map in the first place. You don't have any maps at your disposal, so i'll do my best to tell you what has to be done and which corridors must be chosen. Thankfully, you won't have an opportunity to get lost. Get ready for some action. You should also know that is one of the scariest levels of the game, however "Doom" fans have nothing they should be worried about. :-)
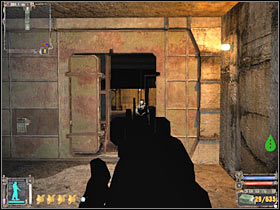
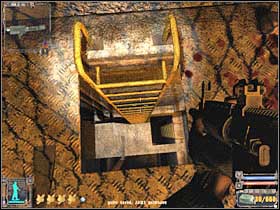
You will have to start off by using the stairs. Head on to the lowest level. Keep moving forward. You will encounter a first group of zombie characters near a small entrance (#1). Conserve your ammo by shooting at the heads of those monsters. You should also be on a look out for artifacts and dead bodies. Loot them for objects of any value. You should be able to reach an elevator shaft. The elevator is not working, so start using the nearby ladders (#2). Once again, you will have to reach the lowest level. Save your game there.
 |  |
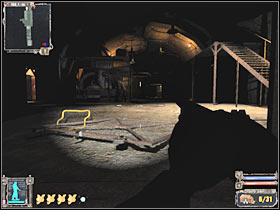
Once you've reached a much larger room (#1), you will have to kill several mutants. Be careful and try to take them out from a larger distance. Once those monsters are gone, zombie creatures will advance towards your position. Those monsters are occupying nearby balconies, especially the one to the right. Don't forget to check bodies of fallen enemies and scientists. You should also take a closer look at some of the side rooms. You will encounter a new mutant here (#2). Kill it.
 | 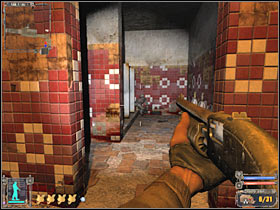 |
Keep heading towards your current destination. You will encounter new zombies very soon (#1), however you must be careful, because there are other mutants in this area as well. You should consider using some of the carried grenades to kill them. Don't forget about the possibility of destroying nearby crates. You will find ammunition and artifacts. A second group of mutants is going to attack you very soon (#2). Try killing them as soon as possible, so the creatures won't be able to reach your position.
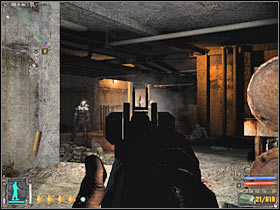 | 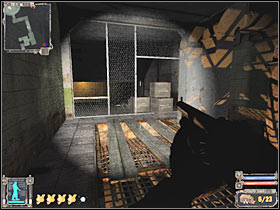 |
You are getting closer to the main room of this entire complex (#1). DON'T go there right away. MAKE SURE that you have SAVED your current progress here. Try killing at least 3-4 zombie characters from here (#2). You should wait for those monsters to show up. This will make your life a lot easier. Get ready for the main objective!
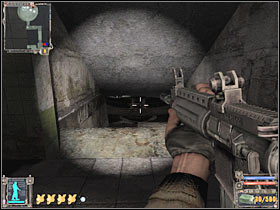 | 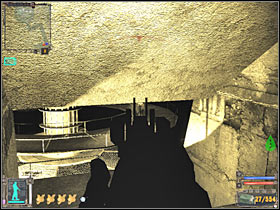 |
First of all, choose automatic fire mode in your machine gun, so you won't have to waste more time killing zombies. Use the ramp to reach the main room. As you've probably noticed, a timer has appear on the screen. Turn left and start running towards the first console (#1). You can pick up artifacts right now or go back for them later during the game. Once you've reached the console, use the switch to turn it off (#2).
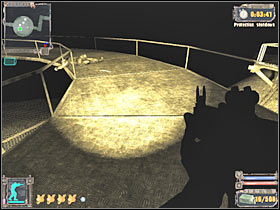 | 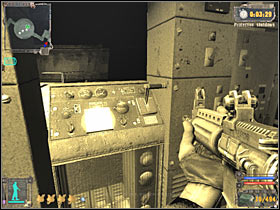 |
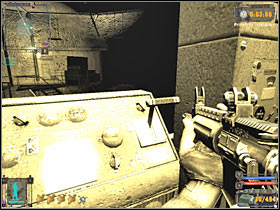
Now you will have to turn right. Head on to the stairs. You will have to reach the upper level (#1). You shouldn't have any major problems getting closer to the second console (#2). Once again, use the switch. Be careful, though. There's a fire trap nearby and you won't be able to avoid. As a result, consider running through it. Head on to the upper level.
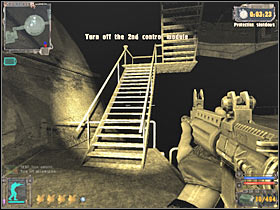 |  |
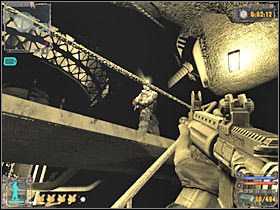
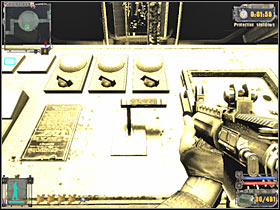
I'm sure that you know exactly what has to be done here. Reach the third console and turn it off. Now you will have to reach the highest level. Use the stairs. Be careful, though. There's a zombie here (#2). Kill it and turn left. Head on to the main console (#2). Disable it in order to end this quest. Now you will have to wait for a new cut-scene to be displayed on your screen. You will also receive a new task.
 |  |
2. Take the documents
Received from: this quest begins automatically once you've completed the Turn off psi-emission task
Starting point: disabled device in the largest room of the X16 laboratory
What needs to be done:
a) head on to the main area of the X16 lab
b) find Ghost's body and pick up the documents
Complete quest walkthrough:
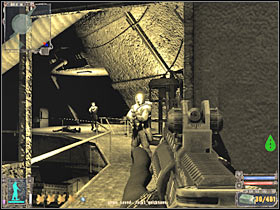
You shouldn't have any problems fulfilling the first part of this mission, because you're already in the main part of the laboratory. As a result, you will have to focus all of your attention on finding Ghost's body. As you've probably noticed, more zombies have appeared in the area (#1). You could fight these creatures, however I would recommend ignoring them. Head on to an unexplored area of the base (#2). SAVE your current progress here!
 | 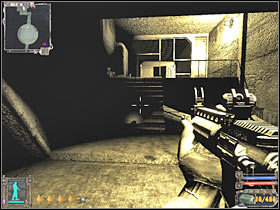 |
You should be able to reach a new room very soon. There's a new mutant here (#1). Once again, you've fought this type of a creature before, so you should know how to react. The easiest way to kill it would be to aim at its head from a smaller distance. You won't have to explore the surroundings and it would even be dangerous. Instead, head on to Ghost's body (#2). You will have to check it in order to pick up the documents.
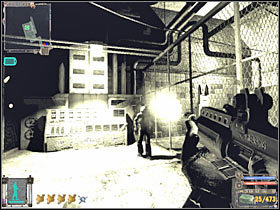 | 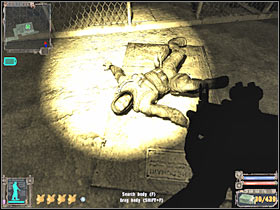 |
3. Find the documents in X16 lab - part 2
Received from: Barkeep (Bar)
Starting point: Bar sector
What needs to be done:
a) find the documents in the X16 laboratory
b) deliver the documents to Barkeep
Complete quest walkthrough:
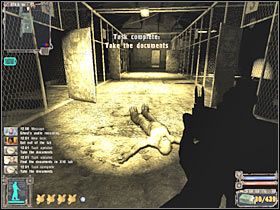
You will have an opportunity to begin completing this quest at the same time. All you have to do is to check Ghost's body (#1). You will notice that there are some documents in his inventory. Drag this object to your inventory. Once this is done, you will receive a proper confirmation (#2). You should also consider listening to a radio message. Ghosts was also carrying a very decent armor, however you should stick close to the SEVA suit. Take Ghost's armor only if you plan on selling it in the near future.
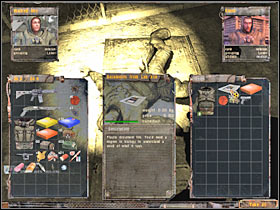 |  |
4. Meet the guide
Received from: this quest begins automatically once you've taken the documents from Ghost's body and received a radio transmission
Starting point: Ghost's body
What needs to be done:
a) talk to the Guide, you can find him in the Cordon sector
Obviously, you won't be able to take on this mission right away. Sadly, you will have to return to Cordon later during the game. For now, focus all of your attention on leaving the laboratory. Once this is done, head on to Yantar, The Wild Territory and Bar.
5. Get out of the lab
Received from: this quest begins automatically once you've taken the documents from Ghost's body
Starting point: Ghost's body
What needs to be done:
a) escape from the laboratory using a secret tunnel
b) talk to Professor Sakharov once again
Complete quest walkthrough:
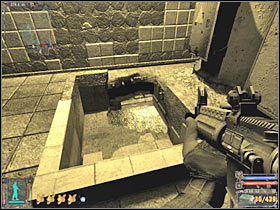
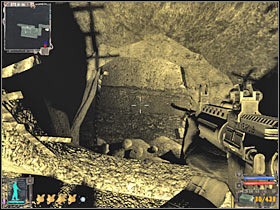
You will only have to begin this quest here. Reaching the exit is going to be very simple. All you have to do is to locate a large hole (#1). Use it. Once you're lower, you will have to move forward a little (#2). The game will load a Yantar map here.
 |  |
You are not permitted to copy any image, text or info from this page. This site is not associated with and/or endorsed by the developers and the publishers. All logos and images are copyrighted by their respective owners.
Copyright © 2000 - 2026 Webedia Polska SA for gamepressure.com, unofficial game guides, walkthroughs, secrets, game tips, maps & strategies for top games.
