STALKER Shadow of Chernobyl: The Dark Valley Quests
DETAILED MAP OF THIS ZONE - QUESTS:
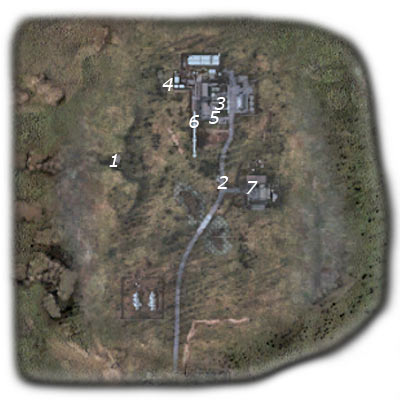
QUESTS:
1. Free the Dutyer
Received from: Bullet (The Dark Valley)
Starting point: 1 on the map
What needs to be done
a) follow Bullet to the ambush point (2 on the map)
b) surprise the bandits and rescue the Duty soldier (2 on the map)
Complete quest walkthrough:
You will be able to proceed with this mission as soon as you've reached The Dark Valley. You shouldn't have any problems finding Bullet, because his campsite is located near the exit. Talk to him. It turns out that one of his colleagues is being held hostage by the bandits. You will have to rescue him. Kill the bandit and search his body. Once this is done, start following Bullet (#2).
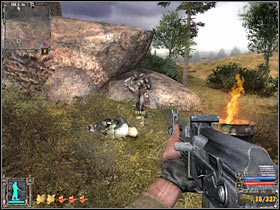 | 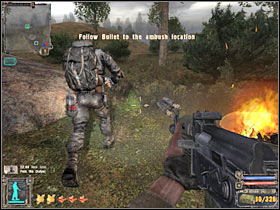 |
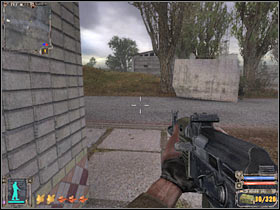
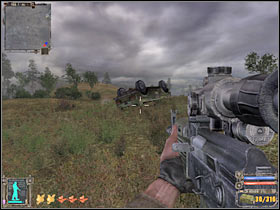
You will come across several anomalies along the way (#1), however if you're following Bullet's footsteps, you should be fine. Also, you won't have to worry about encountering any wild animals. Once you've reached your destination, you will have to prepare for an attack. Head on to the left building and hide behind the wall (#2). Now you will have to wait for the bandits to show up. It's going to take about 30 seconds, so be patient. You can observe their movements on the minimap.
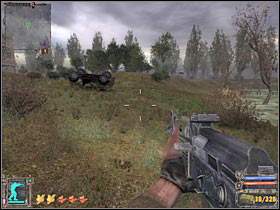 |  |
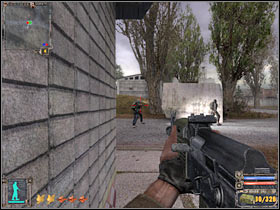
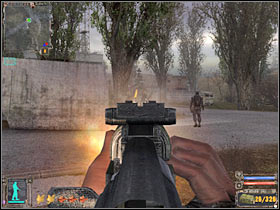
Not only you will have to wait for the bandits to show up (#1), but also for Bullet to give you signal for an attack. Once he starts shooting at the bandits, surprise them by doing the same thing (#2). If you're lucky, they're going to be killed in about two seconds. Additionally, you won't lose any health here. Make sure that you have checked their bodies!
 |  |
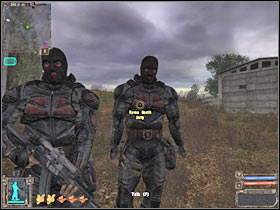
Once the fighting is over, you will have to talk to both Stalker soldiers. Important! If none of them responds to your actions, you've probably encountered a bug and you will have to reload the entire assault. Start off by talking to Roma Death (#1). You will receive a new quest from him. Bullet, on the other hand, will give a very precious reward. It's going to be a scope (PSO-1 Scope) for your machine gun. Attach it to your weapon right away (#2).
 |  |
2. Free the Dutyer from prison
Received: Roma Death (The Dark Valley)
Starting point: 2 on the map
What needs to be done:
a) reach the prison area and free one of the Duty soldiers (3 on the map)
Complete quest walkthrough:
Sadly, I wasn't able to actually finish this quest on my own, because it was broken. As a result, the Duty soldier escaped the camp and killed the bandits without my help. This was a good thing, because I didn't have to rescue him on my own. If this doesn't happen, you would have to locate the prison (it's visible on your map) in order to free him. Thankfully, you will be completing a second quest at the same time, so you won't have to go there only to rescue him.
3. Find the documents in the underground lab - part 2
Received from: Barkeep (Bar)
Starting point: Bar sector
What needs to be done:
a) enter the enemy base (4 on the map)
b) acquire a key from the leader of the bandits (Borova; 5 on the map)
c) exit the camp (6 on the map)
d) find the entrance leading to X18 laboratory (7 on the map)
Complete quest walkthrough:
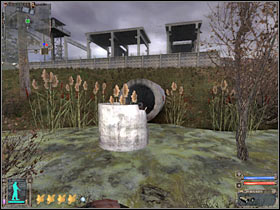
The first thing that has to be done here is to locate a secret entrance which would allow you to enter the base without raising any suspicion. You will have to open your minimap and locate a Pipe (#1). Once you're there, enter the tunnel. You can't stay in the open for too long, because this is a radioactive zone. Keep moving forward (#2). Once you've reached the end of this tunnel, turn left and head on to the second one.
 |  |
Once you've exited the second tunnel, you should be inside the main base of the bandits (#1). You will be quite safe here, so you will have a lot of time to plan your next moves. Start moving towards your current destination. You will come across a first warehouse area. You will have to make a stop (#2), because enemy soldiers will arrive here in just a few seconds.
 | 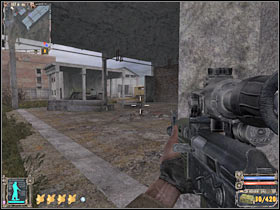 |
It would be wise to take out some of the bandits from a larger distance (#1), however you should also consider using a nearby sniper tower. This would allow you to spot their movements. Go there now (#2). You will have to use the ladder.
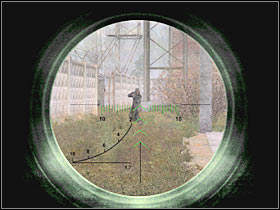 | 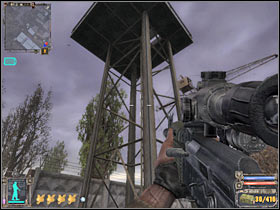 |
Once you're at the top of the tower, turn around, so you'll be able to see the whole base in front of you. Kill at least 3-4 soldiers from here (#1). You will have to use your scope. Thankfully, their deaths won't alarm any of the surrounding enemy units. Once you've secured that area, head back to the ground level. Keep moving towards your current target (bandit leader). You should be able to reach a second large warehouse (#2).
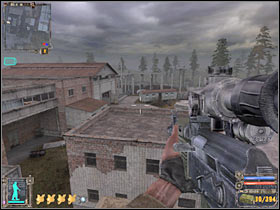 | 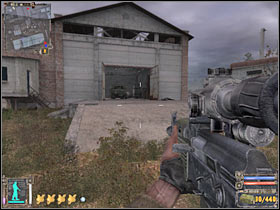 |
There are many different routes which you could take to reach your target area. I will do my best to explain you what should be done inside the camp. Once you've reached this warehouse, you will have to deal with a new group of enemy soldiers (#1). Make sure that you're using the flashlight. You should also check bodies for ammo and medical supplies. You will be able to reach a small tunnel very soon (#2). This passageway leads to the main building.
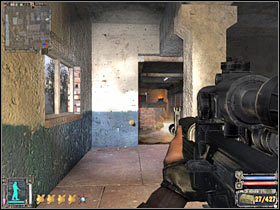 | 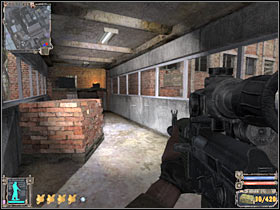 |
You will have to clear out some of the nearby rooms, however make sure that none of the enemy soldier manages to surprise you. You will have to reach a new staircase (#1). Head on to the highest level. You are currently to the north of Borova's location. Make a jump, so you'll be able to reach a new roof area (#2). There are a lot of bandits here!
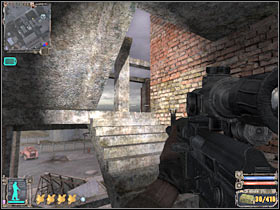 | 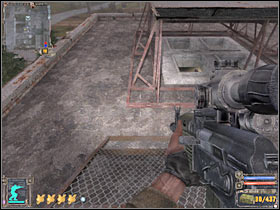 |
Now you will have to locate a small ladder (#1). Use it, so you'll be able to return to the main part of the building. You're near your target, however you must be very careful. Thankfully, Borov isn't going anywhere. Start off by securing this entire floor. You will have to reach a larger room (#2). Enemy soldiers will be coming from two different directions, however if you're cautious enough, you should be fine.
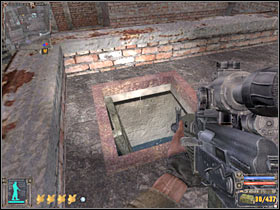 | 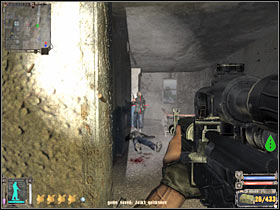 |
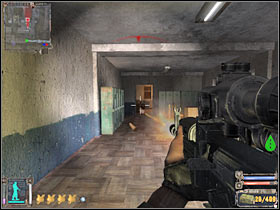
Borov is hiding in a small room that should be located on your right (#1). It would be wise to take him out from a larger distance (#2). Additionally, make sure that you're aiming at his head. You could also throw a couple of grenades at him, however this won't be necessary.
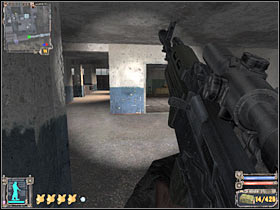 |  |
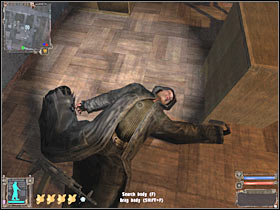
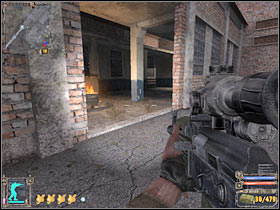
Head on to the main office and take a closer look at Borov's body. You will have to check it in order to fulfill this mission objective (#1). You will automatically receive a second key. Now you will have to exit the base. The easiest way to do this would be to head down to the ground floor (#2). Next, try moving closer to a long tunnel. I'm sure that you know which one it is.
 |  |
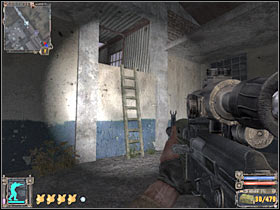
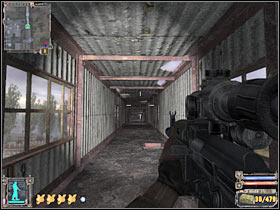
Head to the nearest building. I would recommend that you ignore the rest of the bandits. You will have to locate a small ladder (#1). Use it. As a result, you will be able to reach the large tunnel (#2). Keep running forward. You won't encounter any hostiles in this area.
 |  |
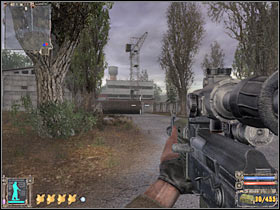
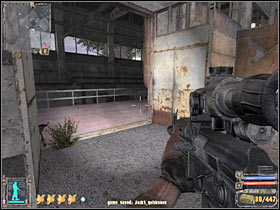
Once you've left the tunnel, you will also have to reach the entrance to the laboratory. As a result, you must return to the lamb complex which is located in the eastern section of the map (#1). Be careful, though. More enemy soldiers have appeared there. Once again, head on to the left warehouse (#2). Keep moving slowly, so you won't miss anyone along the way.
 |  |
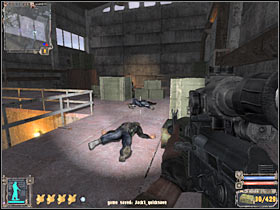
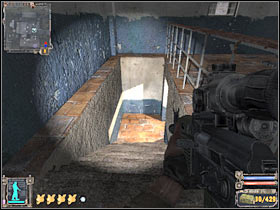
Now you will have to secure a second large room (#1). Just as before, you will encounter new bandits here, even if you had managed to secure this area before. Now you will have to locate the stairs. This passageway leads to the underground laboratory (#2).
 |  |
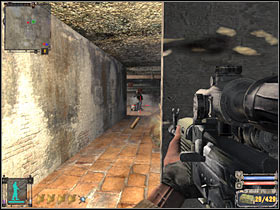
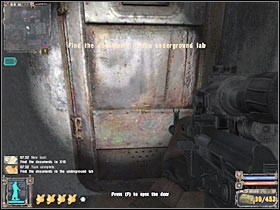
You will have to deal with a few remaining soldiers (#1). Once this is done, enter this room and turn right. Head on to a steel door (#2). You weren't able to use it before. Now's your chance. Once you've open the door, head on to the new corridor. You will be able to end this quest. You will also have to wait for the game to load a new map (X18 laboratory).
 |  |
4. Find the documents in X18 - part 2
Received from: this quest begins automatically during the exploration of X18 laboratory
Starting point: X18 sector
What needs to be done:
a) find the documents
b) deliver the documents to Barkeep
Complete quest walkthrough:
Obviously, this is what you will have to do once you've successfully returned from the X18 laboratory. As a result, you should already have the required documents in your possession. There are A LOT of new enemy soldiers in the area, however they will be fighting the bandits, so you'll have an opportunity to slip past some of them unnoticed. I wouldn't recommend fighting any of these thugs, especially since they're well armed.
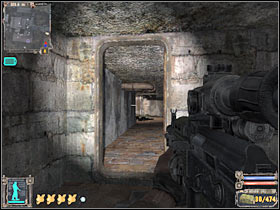
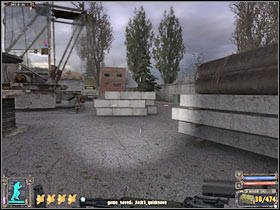
Start moving towards the exit. There are a few soldiers in the area and you will have to take care of that problem. Once you've left the building, start moving towards the main exit (#2). You will have to be quick about it, so you aren't noticed by anyone.
 |  |
5. Get out of the Dark Valley
Received from: this quest begins automatically once you've returned from the X18 laboratory
Starting point: 7 on the map
What needs to be done:
a) escape from The Dark Valley
Complete quest walkthrough:
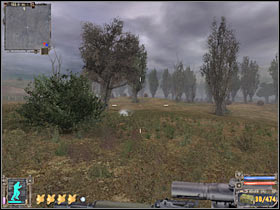
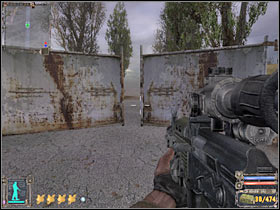
This is a very simple quest, however you must know exactly what has to be done here. Once you've left the lab complex, start RUNNING towards SOUTHERN exit (#1). This road leads straight to Cordon. You weren't able to use it before, however not it's possible. Watch out for wild dogs and anomalies along the way. Click on the large gate in order to open it (#2). Head on to Cordon. That's where this quest will come to an end. Now you will have to go through Garbage sector in order to return to Bar.
 |  |
You are not permitted to copy any image, text or info from this page. This site is not associated with and/or endorsed by the developers and the publishers. All logos and images are copyrighted by their respective owners.
Copyright © 2000 - 2026 Webedia Polska SA for gamepressure.com, unofficial game guides, walkthroughs, secrets, game tips, maps & strategies for top games.
