Star Wars: Empire At War: Mission 1 Interpreting the network
You have to lead R2D2 and C3PO to the imperial terminal. Unfortunately, terminal is located in the midst of enemy base, so you will also have to capture it. Bring in at least 10 platoons of mixed infantry and some vehicles. Drop one tank squadron and all possible infantry units in your starting point. Divide your army into three groups: vehicles, one group of soldiers and PLEX, second group of soldiers and PLEX. Leave also 2-3 units to defend your starting position.
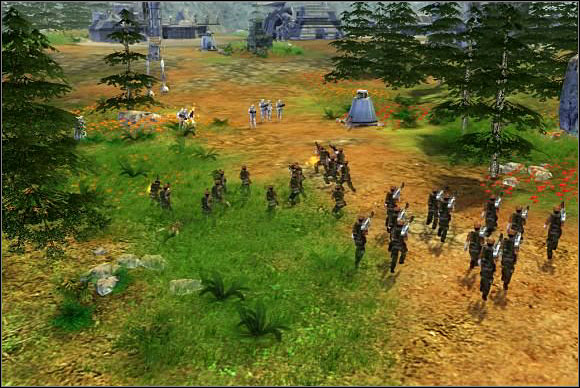
Move your main forces to the base. Infantry should proceed first. Destroy some turrets and enemy troops - remember to take cover when under fire! Once you reach the base, clear it out of hostiles, and then put your own turrets on both sides. Now you can bring your robots to the terminal and position your infantry near the turrets. Empire counterattack comes soon. Enemy will strike from two support points, but repelling him won't be hard. After that, you only need to get your robots back to starting position.
Conquest
Everything is ready for the X-wing blueprints theft. New planet becomes active - it is objective of your next mission. Enque new units first and build many Y-wing ships - you're going to need a lot of them soon. Remember to keep small defensive garrison on every planet. If you haven't conquered Corriban yet, you can do it now.

- Star Wars: Empire at War Game Guide
- Star Wars: Empire At War: Game Guide
- Star Wars: Empire At War: Rebel campaign
- Star Wars: Empire At War: Prelude Sabotage on Kuat
- Star Wars: Empire At War: Mission 1 Interpreting the network
- Star Wars: Empire At War: Mission 2 Theft of the X-wing
- Star Wars: Empire At War: Mission 3 Kessel rescue
- Star Wars: Empire At War: Mission 4 Stealing from the rich
- Star Wars: Empire At War: Mission 5 Imperial liberation
- Star Wars: Empire At War: Mission 6 Highest bidder
- Star Wars: Empire At War: Mission 7 Rescue the Millenium Falcon
- Star Wars: Empire At War: Mission 8 Needle in a haystack
- Star Wars: Empire At War: Mission 9 Borrowed time
- Star Wars: Empire At War: Mission 10 Carida
- Star Wars: Empire At War: Mission 11 The defense of Mon Calamari
- Star Wars: Empire At War: Mission 12 The final battle
- Star Wars: Empire At War: Rebel campaign
- Star Wars: Empire At War: Game Guide
You are not permitted to copy any image, text or info from this page. This site is not associated with and/or endorsed by the developers and the publishers. All logos and images are copyrighted by their respective owners.
Copyright © 2000 - 2026 Webedia Polska SA for gamepressure.com, unofficial game guides, walkthroughs, secrets, game tips, maps & strategies for top games.