Star Wars: Empire At War: Mission 2 Theft of the X-wing
Enemy base is located in the upper area of the map and X-wing prototypes are stationed nearby. Two roads lead to the base - eastern one is defended by turbolaser batteries and western is almost unguarded. This road goes through second support point and right into enemy generators. Send some infantry and PLEX soldiers there, while leaving vehicle platoon with some support to defend your starting position. Pilots should proceed in safe distance behind the attacking group - this way you can keep an eye on them o.
There is some enemy infantry on the way - attack them (ordering your man to take cover first). You will also meet some AT-ST walkers near northern support point, but missiles should take them down easily. After capturing support point, drop in the rest of your force and then prepare to storm the base. First send a scout team to the gate. When they locate enemy turrets, and some units, drop your airstrike right between them. When smoke clears, there will be no turrets, no wall and generators should be damaged badly. Now you can go in and demolish rest of the base. Remember to capture third support point as well. Once you clear whole map, bring pilots to the X-wing fighters.
Unfortunately, mission is not won yet. Enemy begins to build AA turrets and some imperial tanks drop from the orbit. You should handle them though, if you have all available troops set on the battlefield. After combat, destroy any remaining turrets, so that X-wings may start.
Conquest
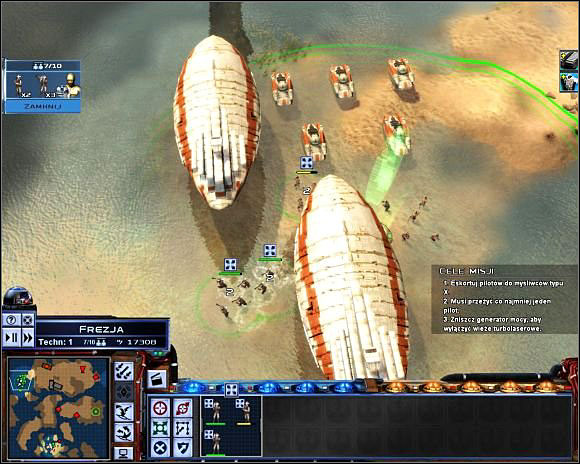
Just after mission capture Fresia and take a while to build up. Only one planet becomes active, but soon you will have half of the galaxy against you so prepare well. It is good time to raise large fleet and to build some more X fighters. When you'll have enough troops, go for the next mission.

- Star Wars: Empire at War Game Guide
- Star Wars: Empire At War: Game Guide
- Star Wars: Empire At War: Rebel campaign
- Star Wars: Empire At War: Prelude Sabotage on Kuat
- Star Wars: Empire At War: Mission 1 Interpreting the network
- Star Wars: Empire At War: Mission 2 Theft of the X-wing
- Star Wars: Empire At War: Mission 3 Kessel rescue
- Star Wars: Empire At War: Mission 4 Stealing from the rich
- Star Wars: Empire At War: Mission 5 Imperial liberation
- Star Wars: Empire At War: Mission 6 Highest bidder
- Star Wars: Empire At War: Mission 7 Rescue the Millenium Falcon
- Star Wars: Empire At War: Mission 8 Needle in a haystack
- Star Wars: Empire At War: Mission 9 Borrowed time
- Star Wars: Empire At War: Mission 10 Carida
- Star Wars: Empire At War: Mission 11 The defense of Mon Calamari
- Star Wars: Empire At War: Mission 12 The final battle
- Star Wars: Empire At War: Rebel campaign
- Star Wars: Empire At War: Game Guide
You are not permitted to copy any image, text or info from this page. This site is not associated with and/or endorsed by the developers and the publishers. All logos and images are copyrighted by their respective owners.
Copyright © 2000 - 2026 Webedia Polska SA for gamepressure.com, unofficial game guides, walkthroughs, secrets, game tips, maps & strategies for top games.