Star Wars: Empire At War: Mission 3 Kessel rescue
Emperor wants to send valuable personnel as a slaves to the Kessel mines. You are to capture this transport. Your starting point is a perfect place for trap. Enemy convoy is incoming from north-eastern corner of the map. It seems large, but don't worry - mission is more simple than you may think.
At the very beginning, stop the time and divide your fleet. Group your corvettes in one unit, fighters in second, and then make some groups consisting of 1-2 Y-wing squadrons. Now take a look at the convoy. You will see that some TIE-fighters are first, then goes one Acclamator, then three shuttles, another fighters, another Acclamator and the last shuttles.
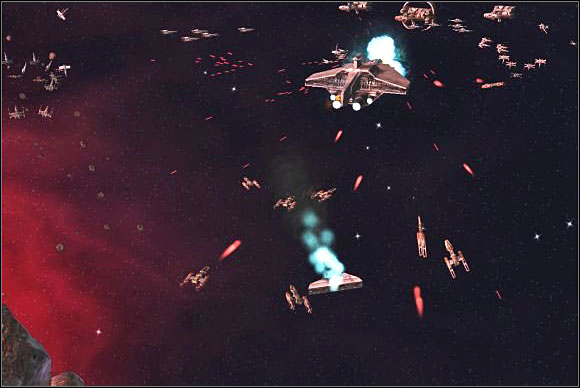
Your plan is simple - set your corvettes and fighters right in front of enemy. TIE fighters will be destroyed almost immediately after flying into your range. Now strike enemy cruiser with all your forces, using ion cannon shot of one of your Y-wing squadrons and blasting his engines with other bombers. When shuttles come close, send one squadron of bombers after each transport. Stop them with ion cannons and then pick up with Sundered Heart. Repeat the same with another wave and don't be afraid of numerous imperial destroyers - you'll be done before they reach your positions.

- Star Wars: Empire at War Game Guide
- Star Wars: Empire At War: Game Guide
- Star Wars: Empire At War: Rebel campaign
- Star Wars: Empire At War: Prelude Sabotage on Kuat
- Star Wars: Empire At War: Mission 1 Interpreting the network
- Star Wars: Empire At War: Mission 2 Theft of the X-wing
- Star Wars: Empire At War: Mission 3 Kessel rescue
- Star Wars: Empire At War: Mission 4 Stealing from the rich
- Star Wars: Empire At War: Mission 5 Imperial liberation
- Star Wars: Empire At War: Mission 6 Highest bidder
- Star Wars: Empire At War: Mission 7 Rescue the Millenium Falcon
- Star Wars: Empire At War: Mission 8 Needle in a haystack
- Star Wars: Empire At War: Mission 9 Borrowed time
- Star Wars: Empire At War: Mission 10 Carida
- Star Wars: Empire At War: Mission 11 The defense of Mon Calamari
- Star Wars: Empire At War: Mission 12 The final battle
- Star Wars: Empire At War: Rebel campaign
- Star Wars: Empire At War: Game Guide
You are not permitted to copy any image, text or info from this page. This site is not associated with and/or endorsed by the developers and the publishers. All logos and images are copyrighted by their respective owners.
Copyright © 2000 - 2026 Webedia Polska SA for gamepressure.com, unofficial game guides, walkthroughs, secrets, game tips, maps & strategies for top games.