Moons of Madness: Sabotaged Signal walkthrough
Last update:
After completing the Shunned Basement, you will reach the next level - Sabotaged Signal. On this page, you will find a detailed description of all activities that you can perform in this object.
Climbing to the top
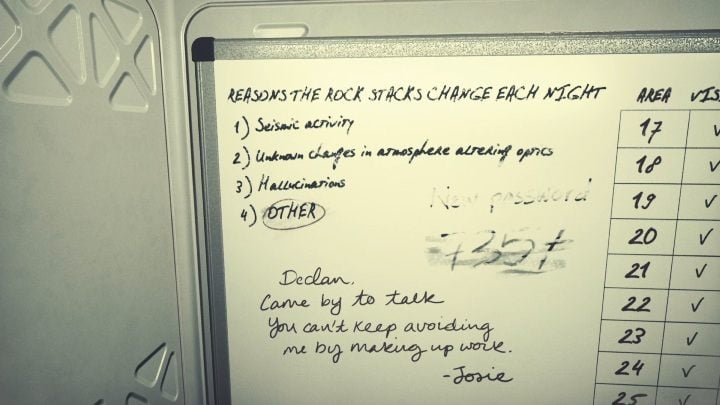
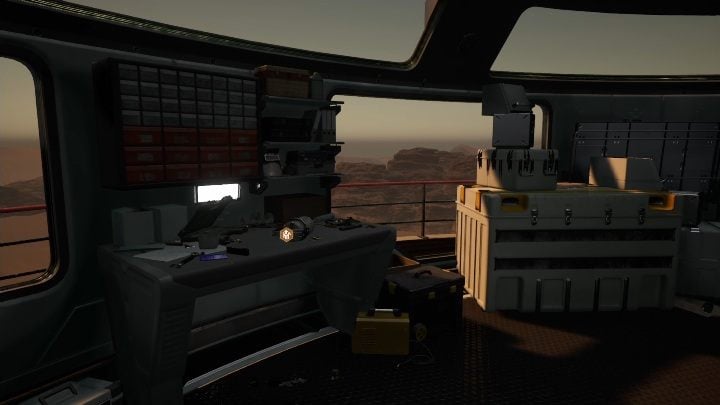
At the very beginning of this stage you have to get a battery. Otherwise you won't be able to move on. You can find one in one of the barracks. The door to the barracks is locked - you need a code that is in a room located left from the vehicle.
After getting the code - 7357 - go into the second barracks and take the battery. Put this one in your vehicle and unlock the passage forward.

Using the scanner, find your way to the top. You have to climb to get higher.

When you reach the top, continue to the next building. Remember to decompress and take off your helmet so you can move on.
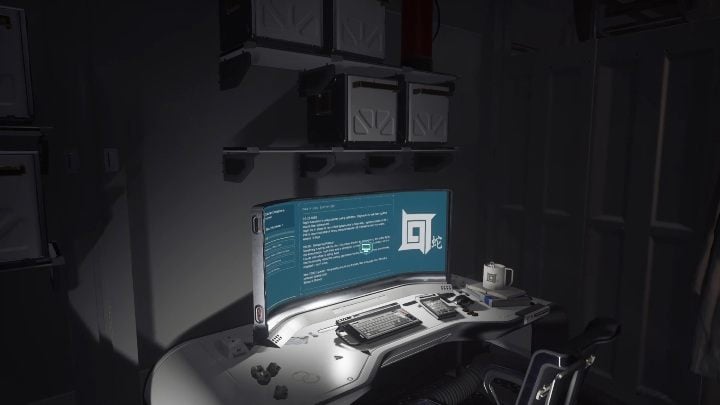
Once you enter the building, you can check the messages on your computer.
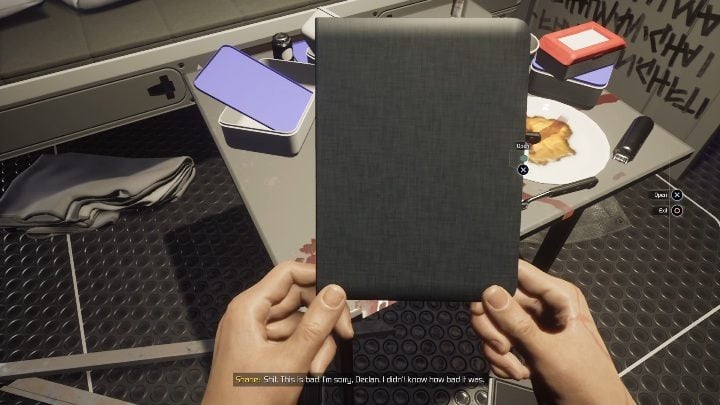
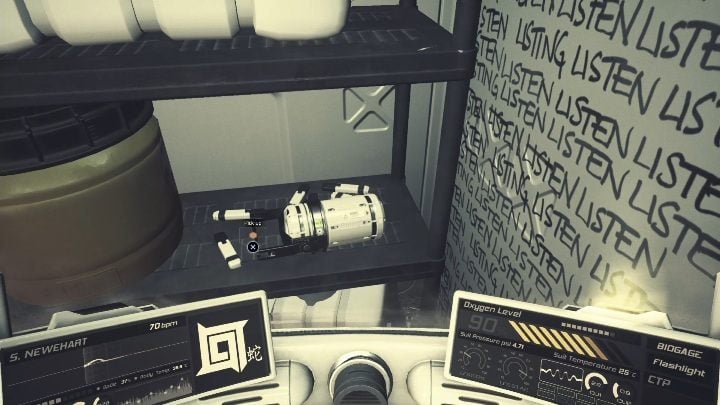
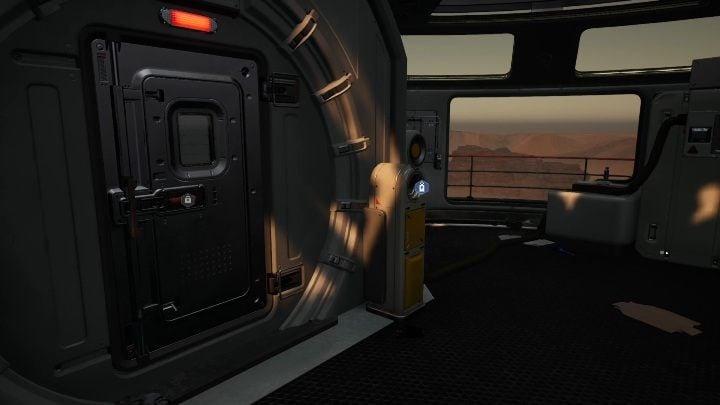
The other thing worth noting is the journal. That way you'll find out everything there is to know about this location. Take the battery out from the mechanism by the door and leave the location.
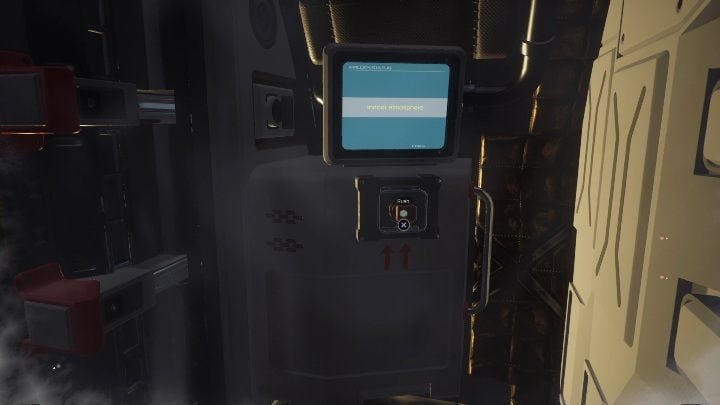
Remember that when you leave the building, you have to start the decompression process. Otherwise, your character will suffocate.
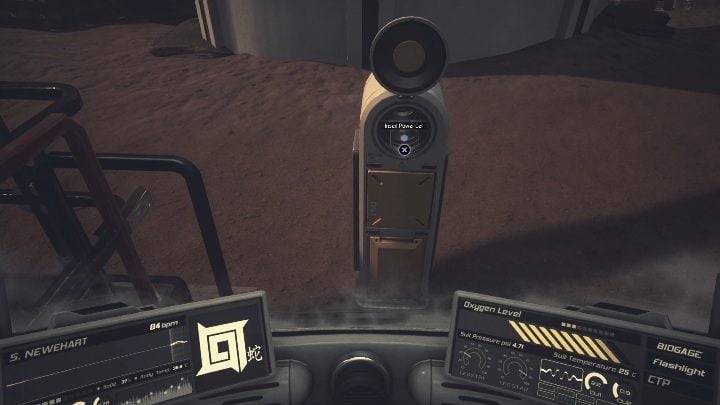
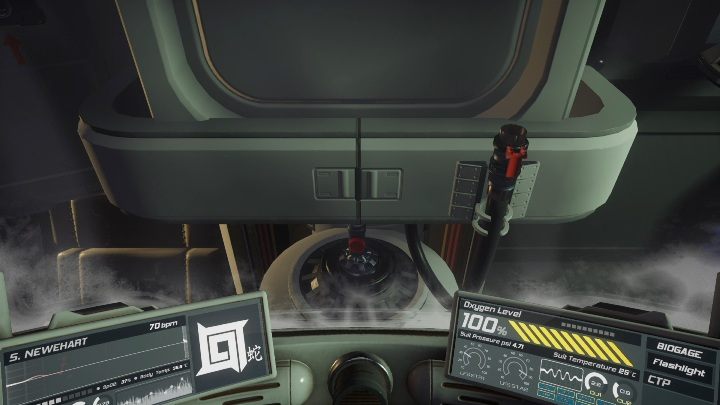
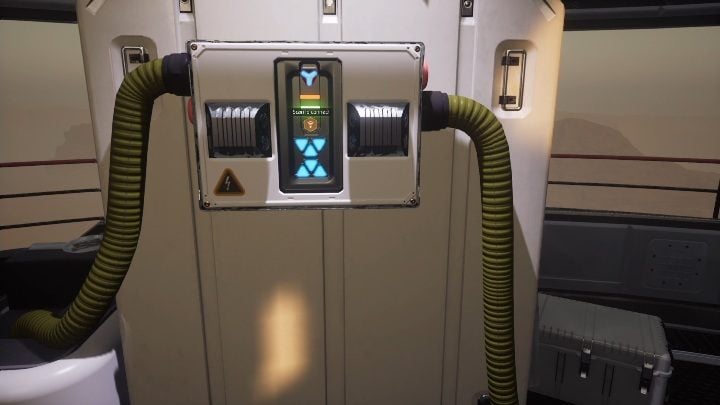
Put the found battery in the elevator mechanism. That's how you get to the top floor.
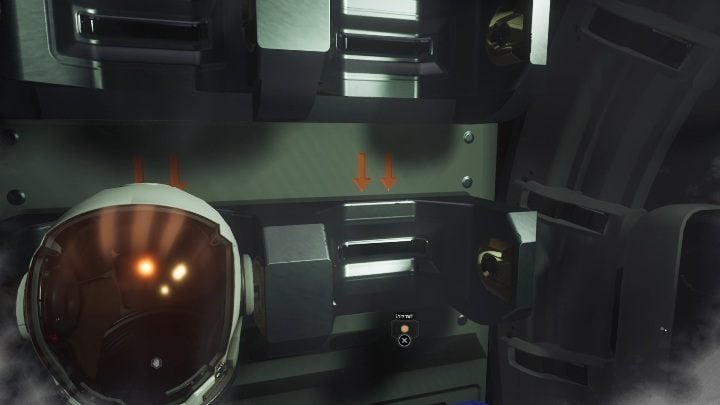
Once inside, start decompression, remove your helmet and begin further search for information.
Radio
As soon as you enter the station, you'll find another point without power. You need to get the battery, which is on the desk opposite the entrance.
Place the found battery in the mechanism by the door. This will restore power to the building.
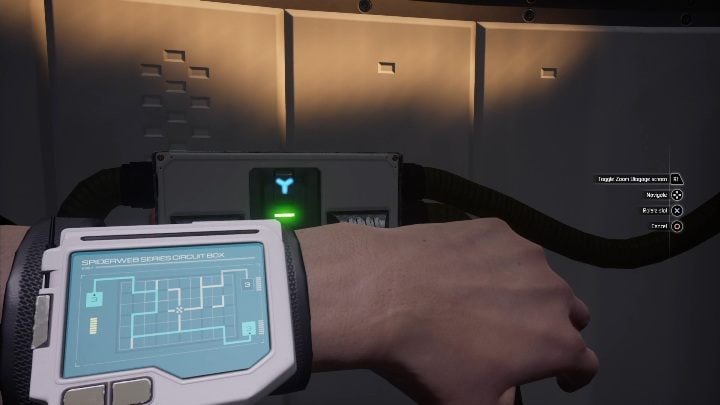
Your next task will be to play three mini games. You have to make the cables connect so that the current will keep going.
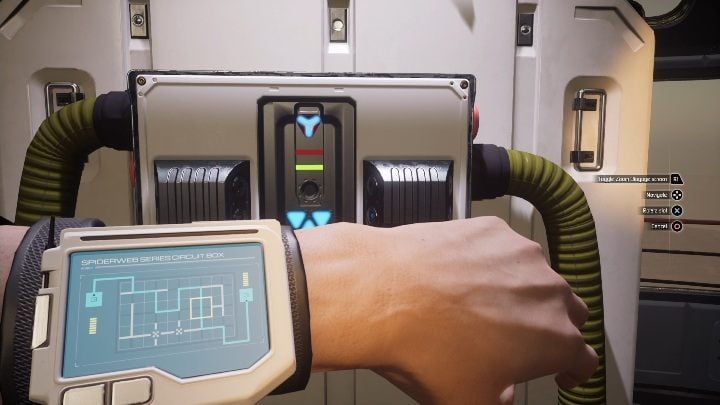
The first fragment should look like the screen above.

This is the solution to the second puzzle. You have to pay attention to which part of the cable you plugged in. To start the radio, connect to the sign at the top.
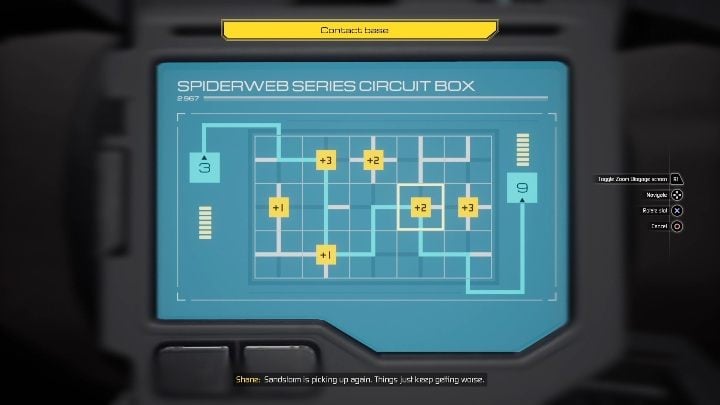
The last mini-game requires a little more cunning. You have to place the cables so they reach a value equal to 6 along the way.
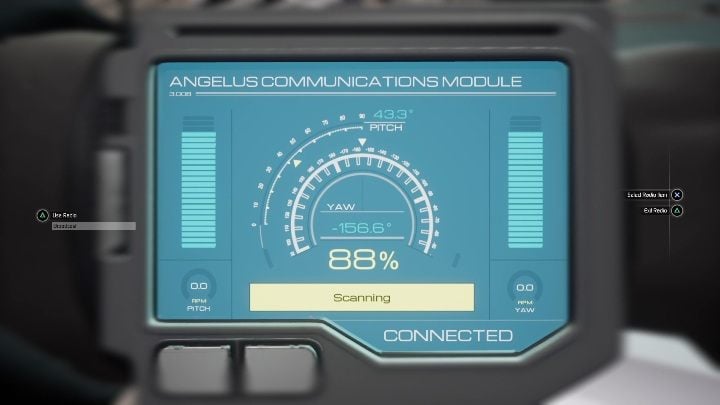
Once you plug everything in, approach the radio. You have to set values:
- PITCH - 43.3;
- YAW -156.6.
After setting up these values, try to connect. A woman will answer. This will complete that part of the task.

Return to the vehicle after reporting the information. On the way, you'll be haunted by the monsters around you. Be careful so they don't finish you off before you get to the vehicle.

- Moons of Madness Guide
- Moons of Madness: Game guide
- Moons of Madness: Walkthrough
- Moons of Madness: Waking up at the base walkthrough
- Moons of Madness: Leaving the base on the Red Planet walkthrough
- Moons of Madness: The Flooded Greenhouse walkthrough
- Moons of Madness: Cave Of Madness walkthrough
- Moons of Madness: Shunned Basement walkthrough
- Moons of Madness: Sabotaged Signal walkthrough
- Moons of Madness: The Looming Threat walkthrough
- Moons of Madness: Eight Headed Monster walkthrough
- Moons of Madness: The Gate walkthrough
- Moons of Madness: Walkthrough
- Moons of Madness: Game guide
You are not permitted to copy any image, text or info from this page. This site is not associated with and/or endorsed by the developers and the publishers. All logos and images are copyrighted by their respective owners.
Copyright © 2000 - 2026 Webedia Polska SA for gamepressure.com, unofficial game guides, walkthroughs, secrets, game tips, maps & strategies for top games.