Moons of Madness: The Looming Threat walkthrough
Last update:
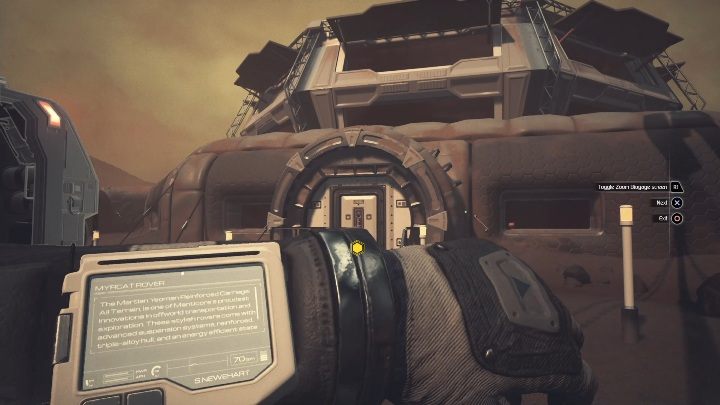
After completing the Sabotaged Signal, you'll begin another level of Moons of Madness. On this page, you will find a detailed description of all activities that you can perform in this object.
Poison
You will begin this task by entering the next building. Remember, before you move on, you have to start decompression and take off your helmet.
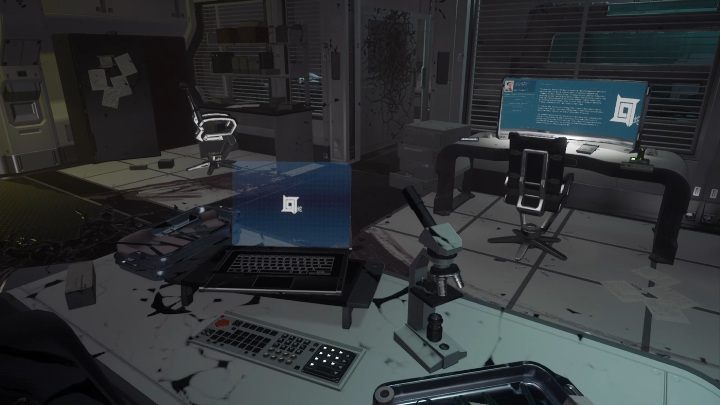
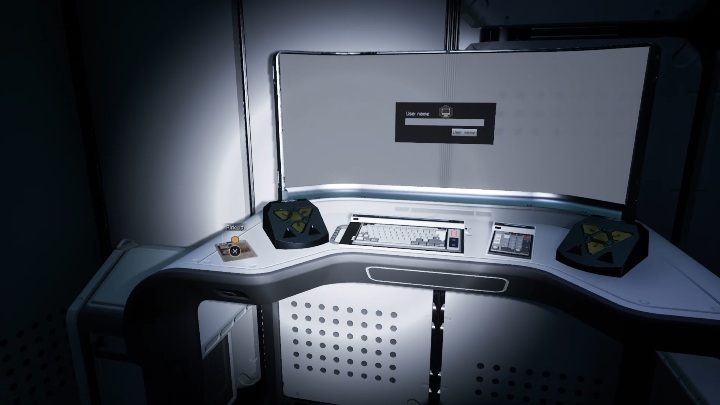
Your job is to find Lukas. You'll begin by reaching his lab. Check his computer to get information on the poison.
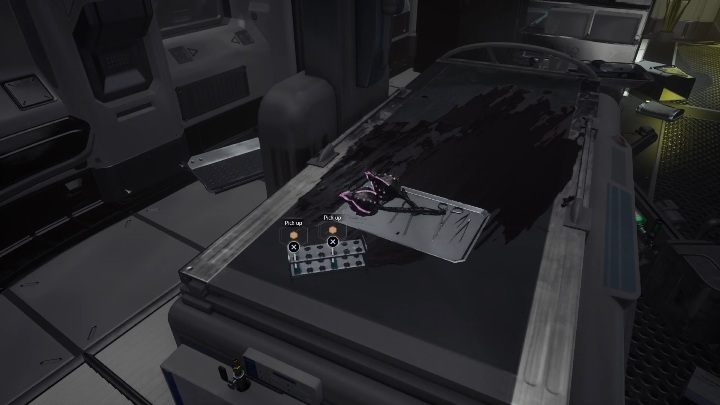
Once you get information about the poison, you have to prepare a batch of it. To be able to do so, you need to find 4 vials. You'll find them by looking around the lab.
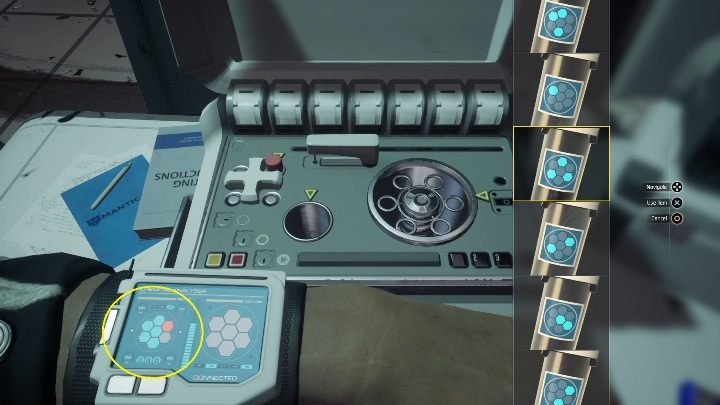
Once you gather the vials, go to the machine. Now you have to put the vials in the right order. They are supposed to look the same as shown at the bottom of the screen.
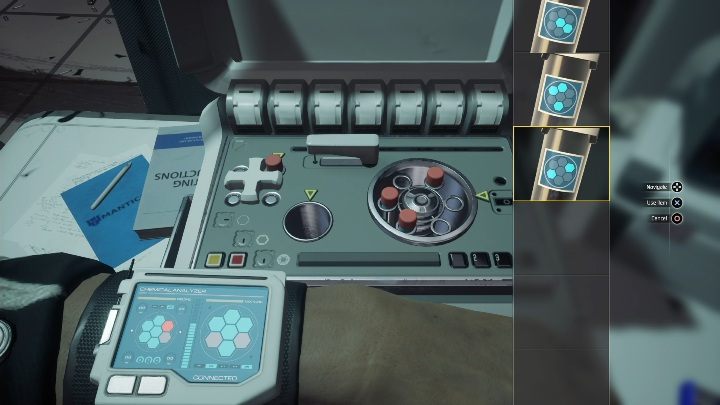
In addition to the correct position, the vials need to have the correct weight. The vials should be arranged so that they are opposite to each other, not in a single sequence.
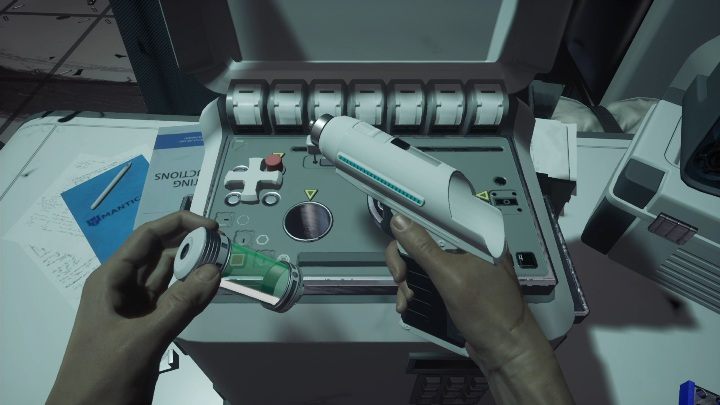
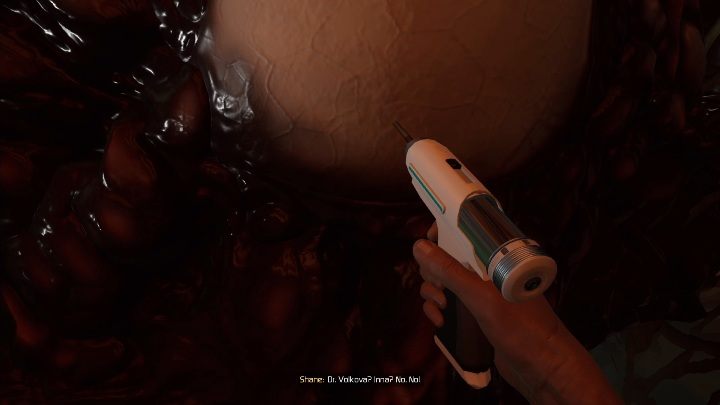
Once you mix the ingredients and get the poison, you have to extract it. You can do this with an Injection gun, which you'll find right next to the computer.
After acquiring the poison, exit the lab and follow the scanner's directions. You will open a locked door with the poison i.e. destroy a newly hatched vine.
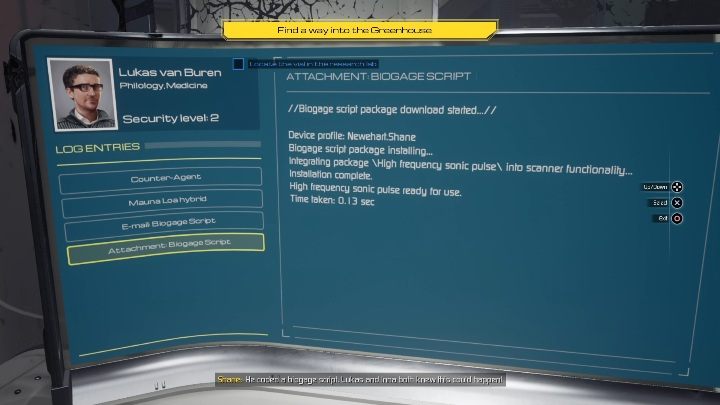
After discovering your comrade's corpse, access his computer. You'll get valuable information from it. Before leaving the room, take the vial found next to the monitor and return to the lab.
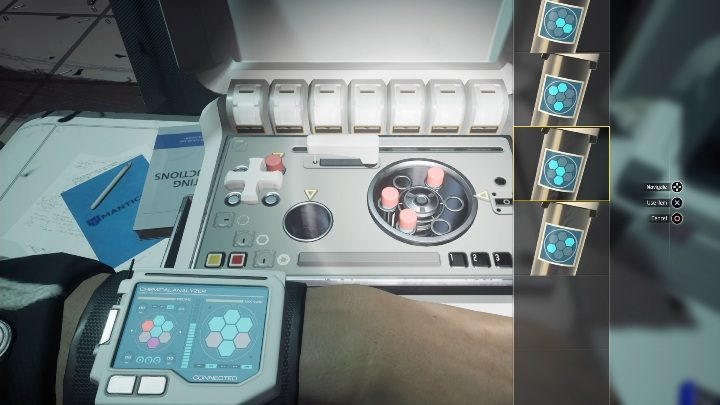
Again, you have to arrange the vials so that they form a pattern. This will create an even more effective substance.
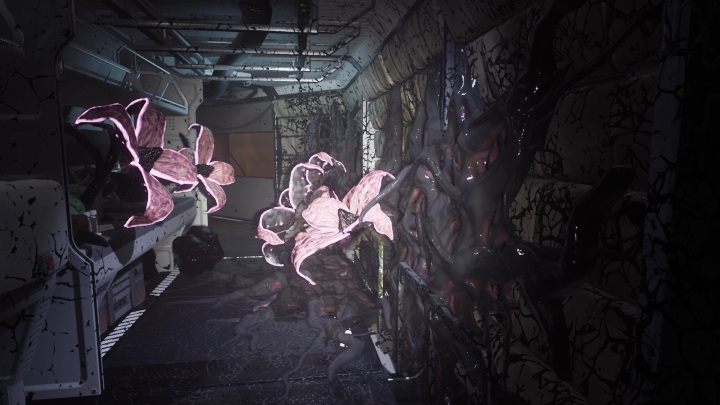
After getting the poison, go to the greenhouse. However, be careful, as poisonous flowers around the area, blocking the corridors. They'll hurt your character if you get too close to them. Try to avoid contact with them at all costs.
Greenhouse
To get into the greenhouse, you have to show courage as someone took your helmet. You need to start the decompression process quickly and run to the next building. Your character will start to suffocate, but you have no control over it. Just stay on the main road.

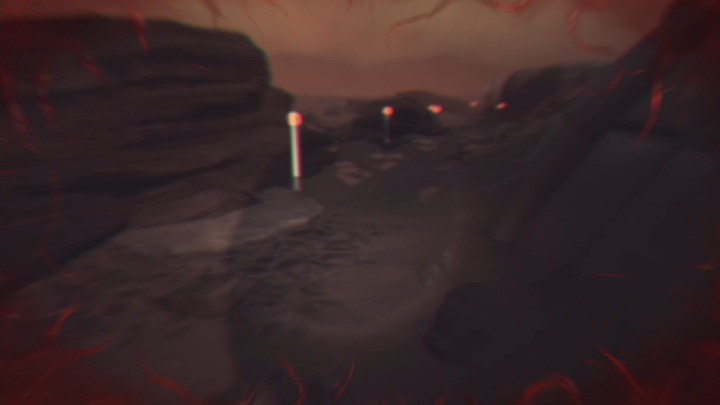
Move around the greenhouse according to the scanner directions. Open closed passages using poison.
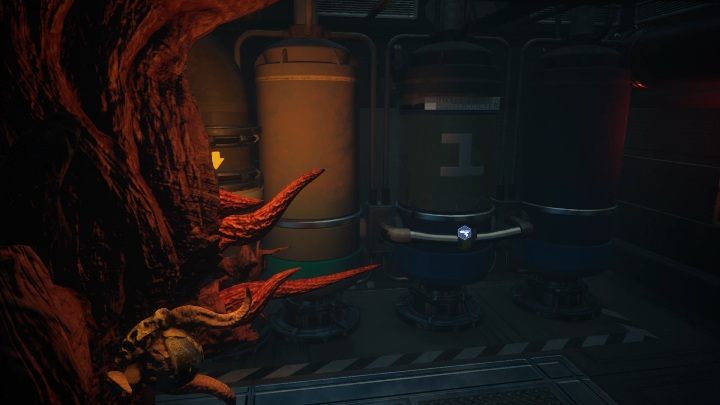
Your job is to add poison to two tanks. They are located right next to each other. Once that is done, you need to turn on the sprinklers.
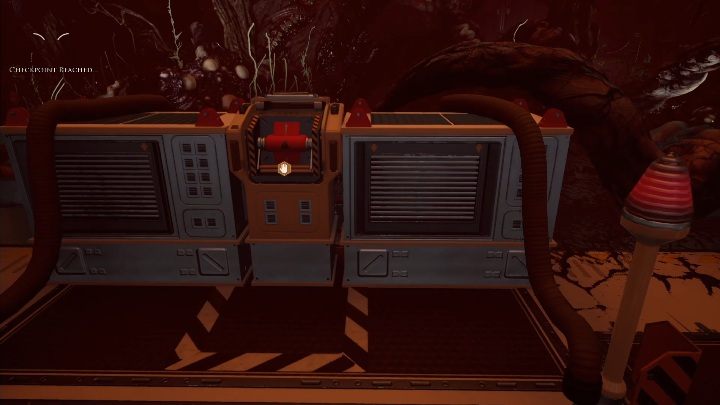
Turning on the sprinklers will be a more difficult task because the tree roots block access to the mechanism.
To complete the task, you have to get rid of the roots. Enter the dangerous area and destroy the plants with poison.

On the way, you will meet your companion, who has already been consumed by a terrifying plague. You have to protect yourself from her so she doesn't kill you.
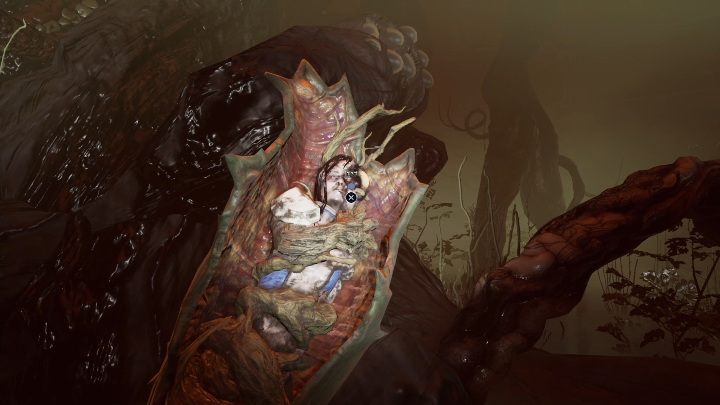
Once you get rid of all the possible roots, there's another task ahead. You must kill your crewmate by injecting her with poison. Approach her, end her suffering and take her card. It will come to be useful later.
Argus
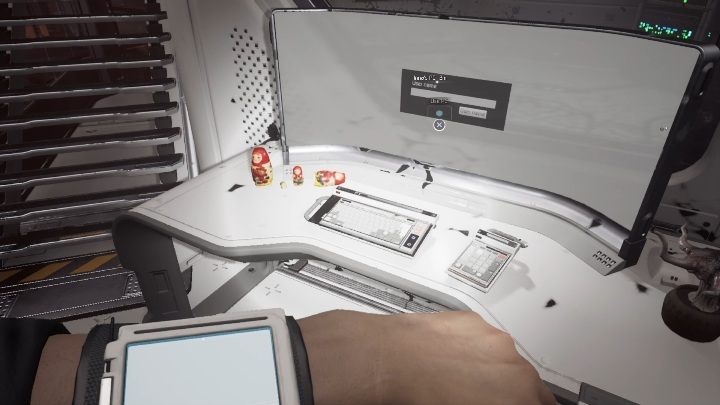
Time to check out the next computer. Inna's card will enable you to view her emails and files.
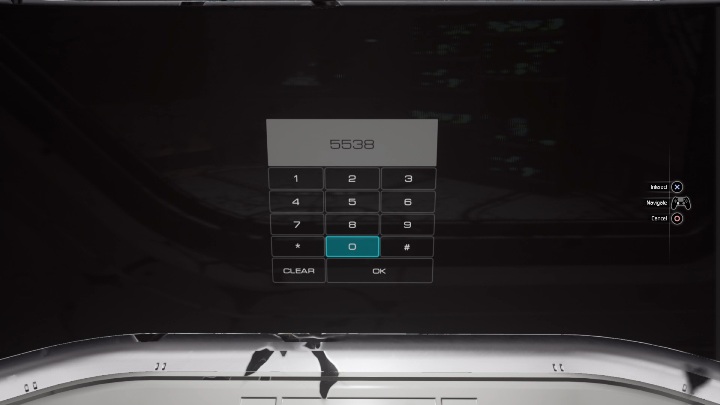
To call the elevator, you must enter code - 5538.
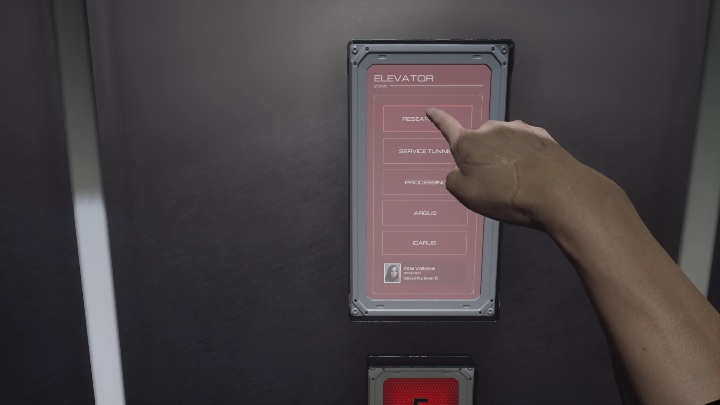
After entering the elevator, choose the penultimate floor - Argus. This way you'll get to the next location.
In this location, you have to watch out for cameras. Hack them and point them in a different direction. That way, you can go unnoticed through the entire location.
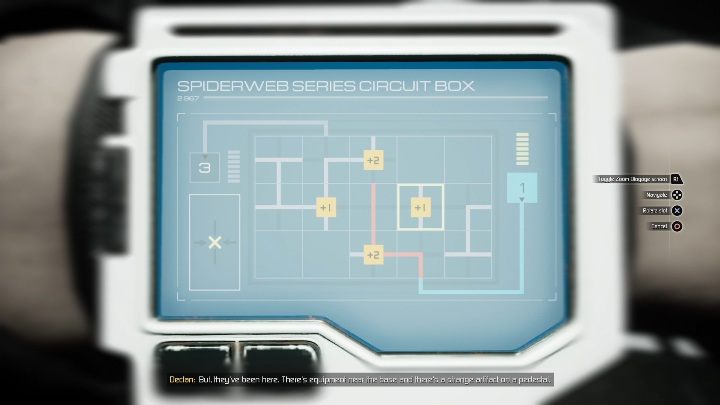
Along the way, another mini-game will begin - you have to reconnect the cables to deliver power to the next device.
At some point you'll reach a room with two computers. There will be a card next to one of them. You have to pick it up to be able to access further areas.
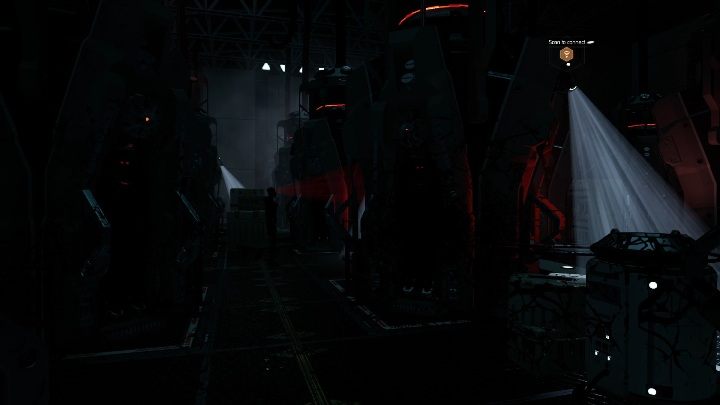
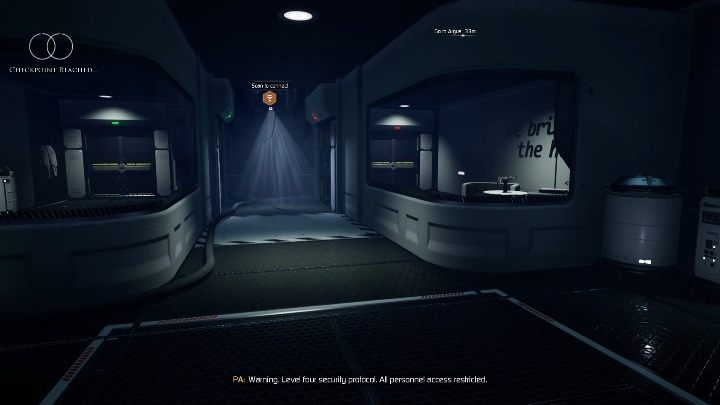
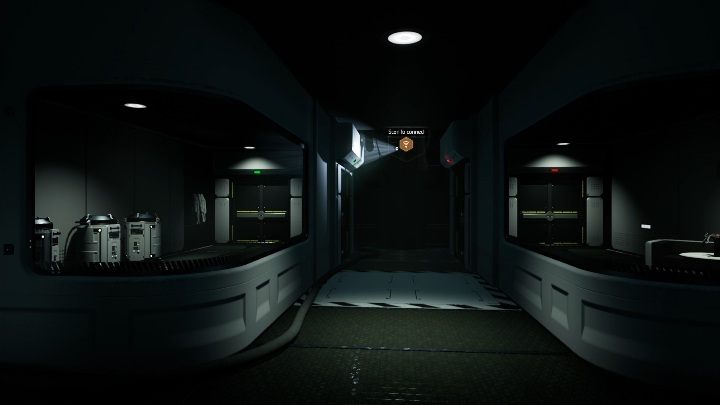
The card will get you into a dark room where you need to avoid cameras and robots. They roam the location looking for opponents. If one of them sees you, you won't be able to escape.
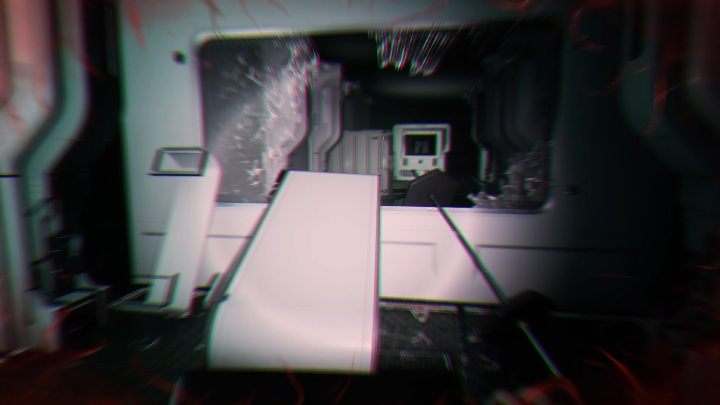
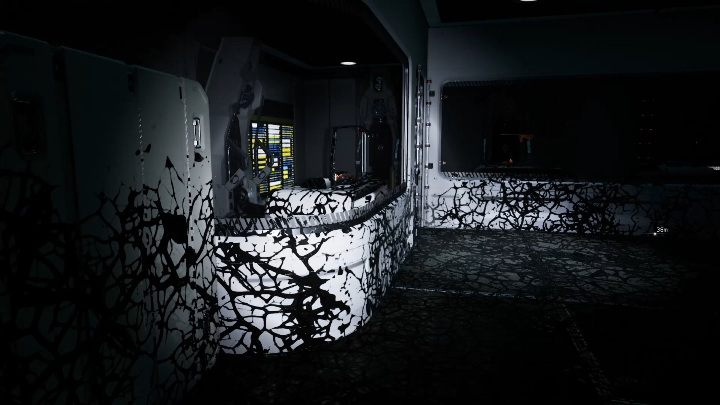
To continue, you have to go through a broken window. It's the only available road. However, this part of the location will be in much worse condition. The walls and floor are covered by a dark goo that can hurt your hero if he gets too close.

To open a locked door you have to use a computer. One of the options available is to open the door. You don't need a password.
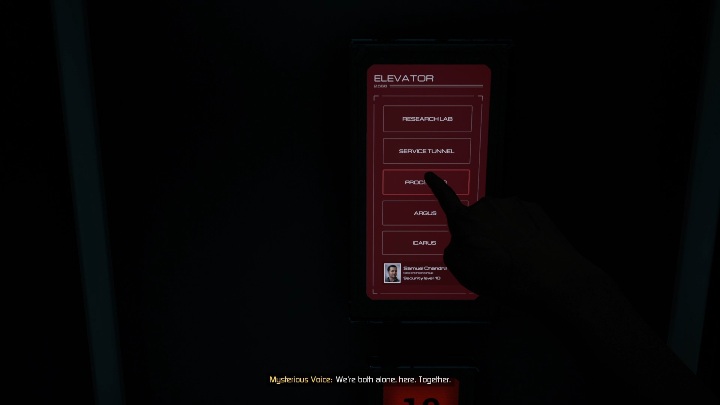
When you return to the elevator, head to the lowest floor - Icarus.
Icarus
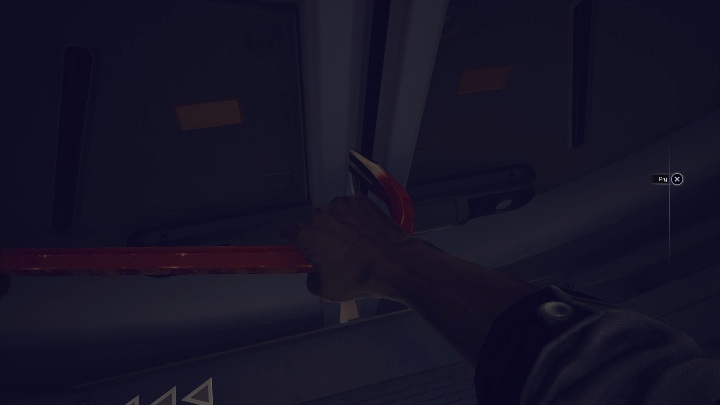
Once you've reached the lowest floor, you're in for a bit of a setback. You have to open the first door with a crowbar.
To get further, you have to find a room where the door is blocked by a root. Crouch and continue beneath the root.
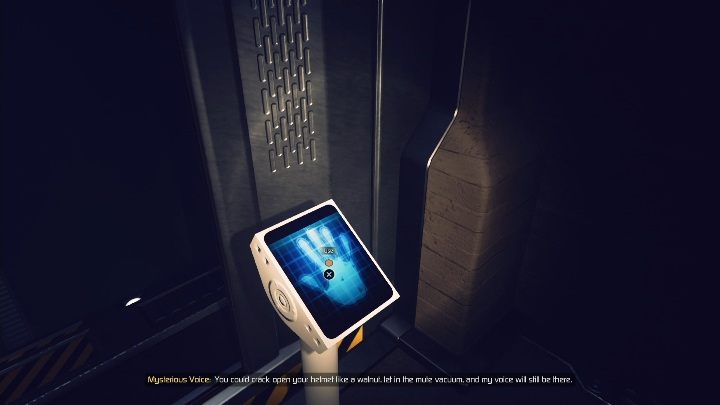
Finally, you get to the elevator. Unfortunately, your handprint won't match.
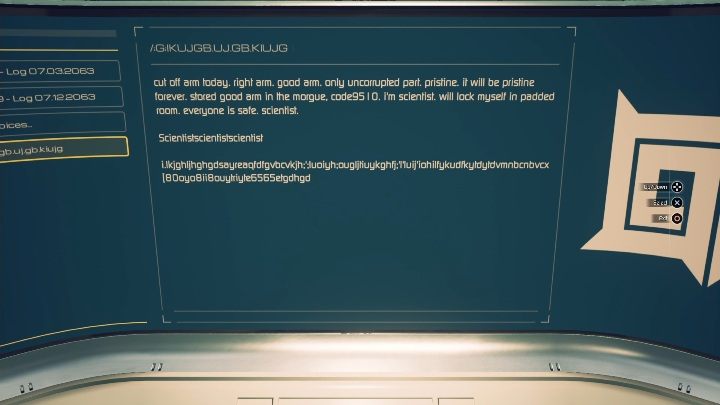
Turn left and head to the morgue. Code is 9510. You can find this information in a computer.
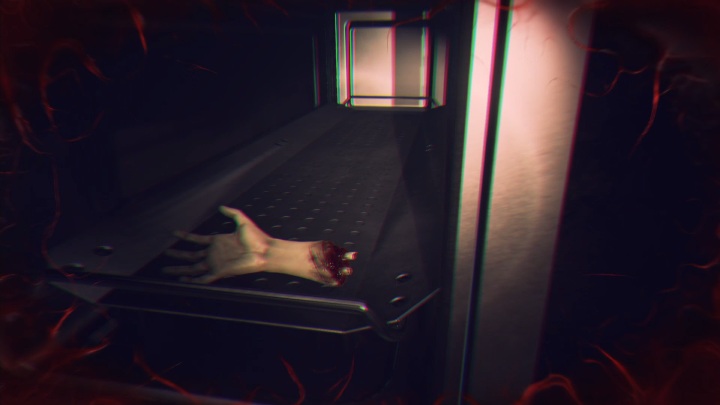
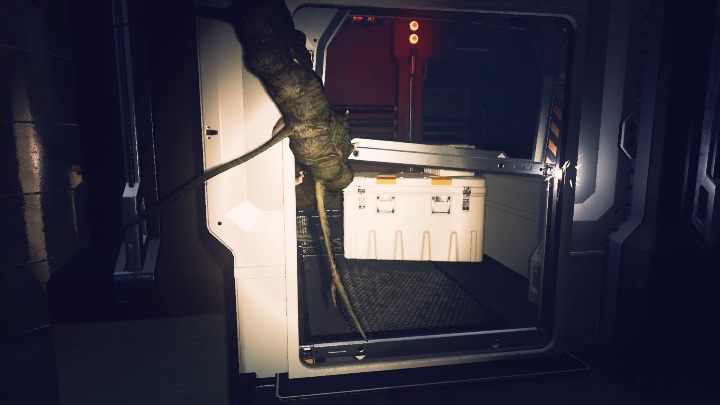
There is a severed hand in the second chamber. Take it and head back to the elevator.

- Moons of Madness Guide
- Moons of Madness: Game guide
- Moons of Madness: Walkthrough
- Moons of Madness: Waking up at the base walkthrough
- Moons of Madness: Leaving the base on the Red Planet walkthrough
- Moons of Madness: The Flooded Greenhouse walkthrough
- Moons of Madness: Cave Of Madness walkthrough
- Moons of Madness: Shunned Basement walkthrough
- Moons of Madness: Sabotaged Signal walkthrough
- Moons of Madness: The Looming Threat walkthrough
- Moons of Madness: Eight Headed Monster walkthrough
- Moons of Madness: The Gate walkthrough
- Moons of Madness: Walkthrough
- Moons of Madness: Game guide
You are not permitted to copy any image, text or info from this page. This site is not associated with and/or endorsed by the developers and the publishers. All logos and images are copyrighted by their respective owners.
Copyright © 2000 - 2026 Webedia Polska SA for gamepressure.com, unofficial game guides, walkthroughs, secrets, game tips, maps & strategies for top games.