Moons of Madness: The book - how to get it?
Last update:
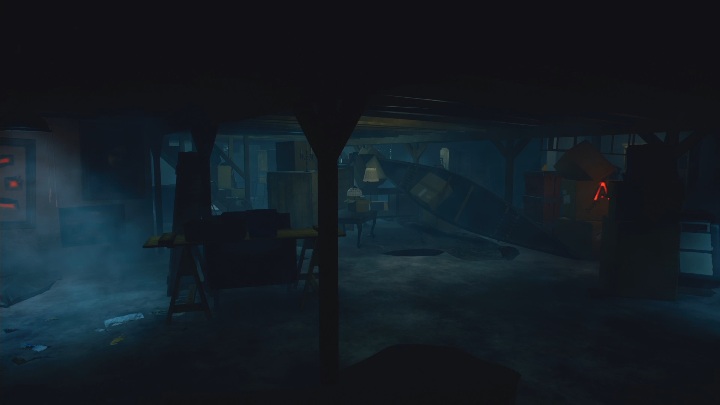
When you get to the Shunned Basement, which is the fifth location of chapter one of Moons of Madness, you come across a puzzle. On this page we will describe exactly what you need to do to get the book and complete this stage of the game.
The walkthrough section of the guide offers a detailed solution for Shunned Basement. This page is only a supplement that you can use if you're stuck at this exact point.
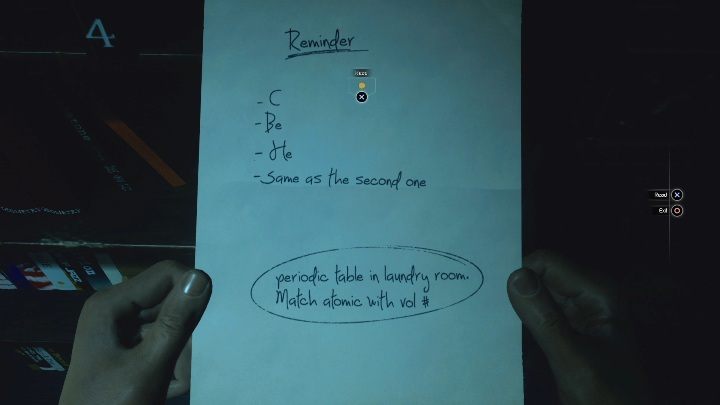
Let's start with the fact that you need to solve three puzzles to get the book. The first involves getting into a secret room. To do this, you need to read the code correctly. A hint can be found on the bookcase.
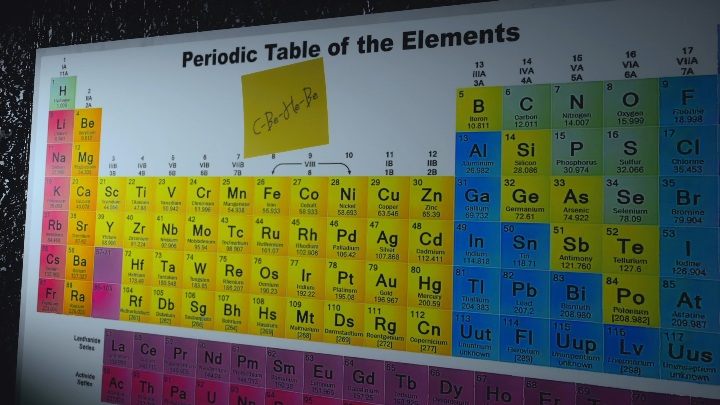
Your job is to read the correct values found on the periodic table. The elements you need to check are C(carbon), be(beryllium) and he(helium).
The correct code would be 6424.
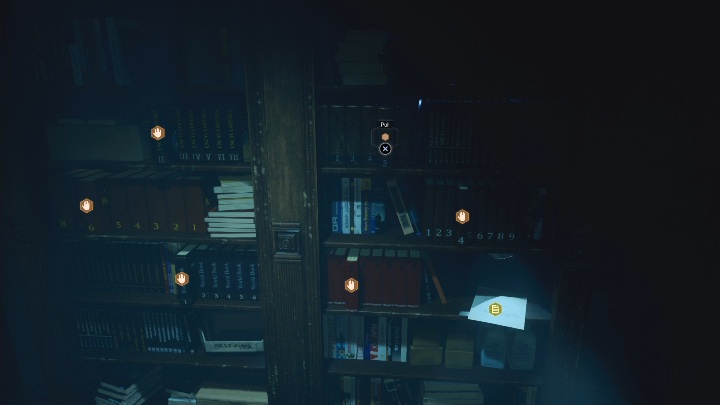
With the puzzle solved, go back to the bookcase and look at the backs of the books. They have numbers on them. You have to take them out in the correct order given above.
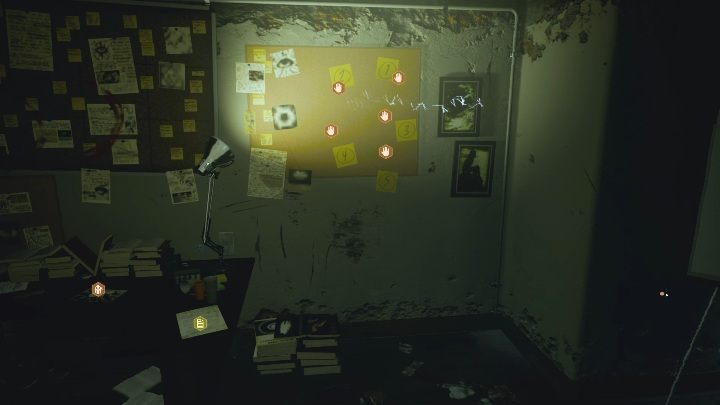
The next task is to correctly place the images on the corkboard, located on the left side of the room.

Let's start with the fact that each photo has a set time. So you have to put them together from the earliest to the latest.
The time of taking the photo is in the bottom left corner of the screen.
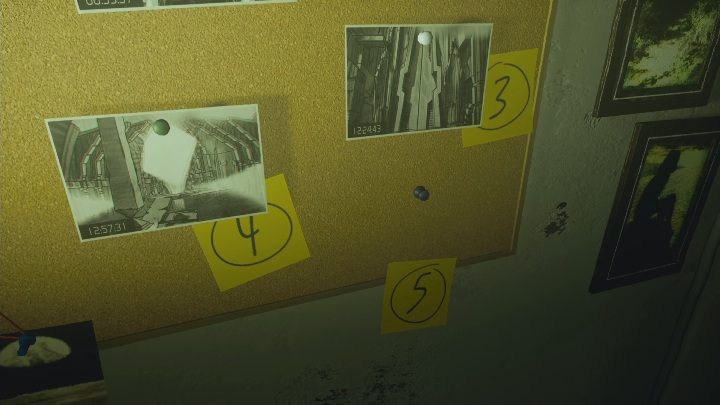
The correct layout is:
- 7:48:15;
- 08:55:37;
- 12:24:43;
- 12:57:31;
- 13:00:00
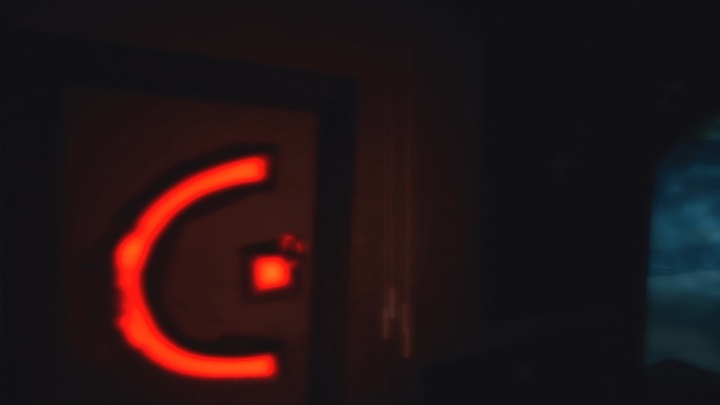
As you leave the room, new signs appear outside. That's part of the last puzzle. There are only four of them and they appear in the same room.
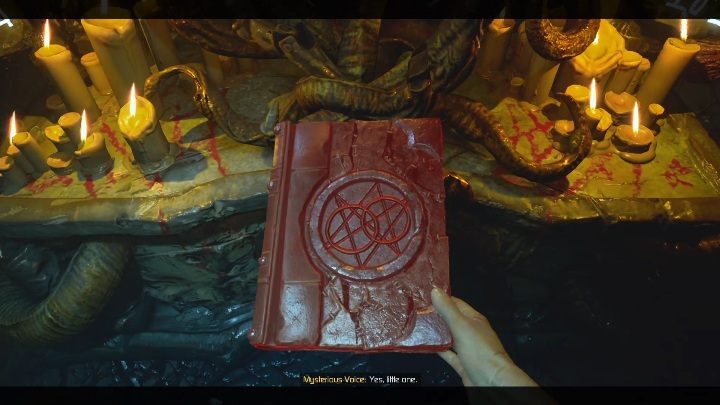
Look at them until they turn red. Once all the signs are activated, they will be burned in your mind. Go straight to the secret room. There you complete the task and receive the book.

You are not permitted to copy any image, text or info from this page. This site is not associated with and/or endorsed by the developers and the publishers. All logos and images are copyrighted by their respective owners.
Copyright © 2000 - 2026 Webedia Polska SA for gamepressure.com, unofficial game guides, walkthroughs, secrets, game tips, maps & strategies for top games.