Rage: Ark Equipment - p. 2
A path up the hill is full of charging bandits. Keep on the right and you'll find a locker with some ammo.

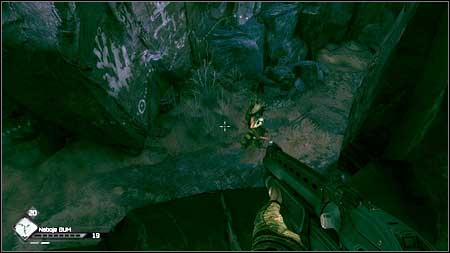
Being on the top examine the rocks on the left. You'll find the Night Blossom there - pick it up. After collecting the item prepare the Shotgun, use the elevator and go to the lower level.
A first bandit will wait for you just behind the rocks on the left. Kill him and move forward fighting with hordes of enemies.
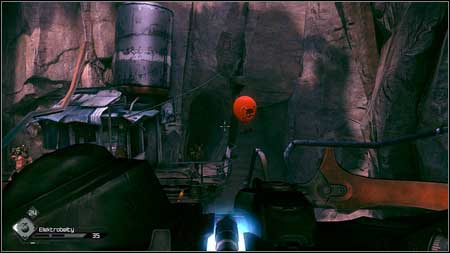
At the end of the narrow path between rocks Jackals will send at you TNT balloons. Move back and wait until they all explode. You can also get rid of the enemy who tries to attack you from behind.

A way down is not the easiest one. You'll be attacked from both up close and distance. Additionally more TNT balloons will appear. If you have problems with surviving remember about using the Advanced Sentry Bot.

During your way down examine all niches. There are many items inside as well as ammo.
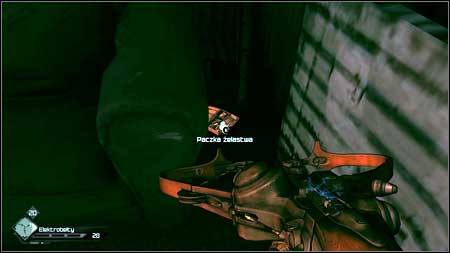
At the very bottom it is worth to explore damaged huts. You'll find there interesting things too.

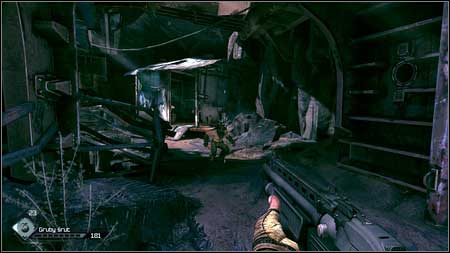
Move forward until you'll reach a tunnel with a blocked entrance. Another squad of bandits will appear. To avoid their shots crouch and hide behind the rock on the right. You can eliminate them instantly by shooting the red barrel near them.

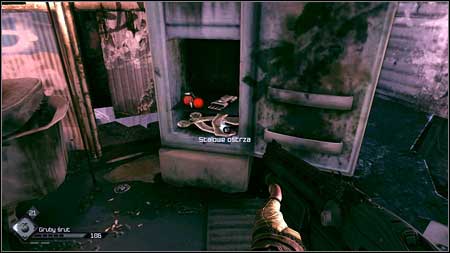
Once the area is clear enter the Ark which is at the end of the tunnel. Being inside use the control panel on the right and take the item hidden in the locked container.
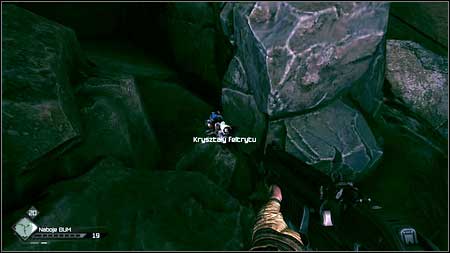
To the left from the ship you can find a platform which will take you to the exit from the canyon. Before you use it collect Feltrite Crystals from between rocks. They can be found opposite to the Ark and to the right from the Ark entrance.
After reaching the place kill two last enemies and return to Subway Town to talk to Lassard. Your next task will be offered by Portman.
- Rage Game Guide & Walkthrough
- Rage: Walkthrough
- Rage: Main missions
- Rage: Prologue
- Rage: Quell the Bandit Threat - p. 1
- Rage: Quell the Bandit Threat - p. 2
- Rage: Medical Supplies
- Rage: Where's Juno, Radio Tower Repair
- Rage: The Missing Parts, Find the Buggy Parts - p. 1
- Rage: The Missing Parts, Find the Buggy Parts - p. 2
- Rage: Destroy the Barricade
- Rage: Dan's Message
- Rage: Changing Clothes
- Rage: Renting a Garage
- Rage: Arming Your Buggy
- Rage: Sally's Offer
- Rage: Resupply Dan Hagar
- Rage: Visit the Sheriff, Cuprino Needed
- Rage: Dusty 8 Sponsorship, Mutant Bash TV
- Rage: Resupply the Watchtower
- Rage: Destroy the Bomb Caches - p. 1
- Rage: Destroy the Bomb Caches - p. 2
- Rage: The Mayor Calls, Feltrite Crater
- Rage: Feltrite Sample
- Rage: Defibrillator Upgrade - p. 1
- Rage: Defibrillator Upgrade - p. 2
- Rage: Defibrillator Upgrade - p. 3
- Rage: The Wellmaster, Hijacked Well - p. 1
- Rage: The Wellmaster, Hijacked Well - p. 2
- Rage: Deadly Delivery, Secret Delivery
- Rage: Liberate Captain Marshall - p. 1
- Rage: Liberate Captain Marshall - p. 2
- Rage: Liberate Captain Marshall - p. 3
- Rage: Recover ID Drive
- Rage: Lost Research Data - p. 1
- Rage: Lost Research Data - p. 2
- Rage: Subway Town
- Rage: Gaining Influence
- Rage: Foreman Jones, Mutant Expansion - p. 1
- Rage: Foreman Jones, Mutant Expansion - p. 2
- Rage: Gearhead Vault - p. 1
- Rage: Gearhead Vault - p. 2
- Rage: Monarch Needed, Starky's Monarch
- Rage: The Price of Power - p. 1
- Rage: The Price of Power - p. 2
- Rage: Ark Equipment - p. 1
- Rage: Ark Equipment - p. 2
- Rage: Assault The Authority Bridge
- Rage: Assault Capital Prime - p. 1
- Rage: Assault Capital Prime - p. 2
- Rage: Main missions
- Rage: Walkthrough
You are not permitted to copy any image, text or info from this page. This site is not associated with and/or endorsed by the developers and the publishers. All logos and images are copyrighted by their respective owners.
Copyright © 2000 - 2026 Webedia Polska SA for gamepressure.com, unofficial game guides, walkthroughs, secrets, game tips, maps & strategies for top games.