Rage: Liberate Captain Marshall - p. 2
On this page of the Rage guide you will find the second part of the detailed description of the "Liberate Captain Marshall" mission. You have to deal with more enemies, reach the location where the captain is imprisoned and successfully get out of prison.
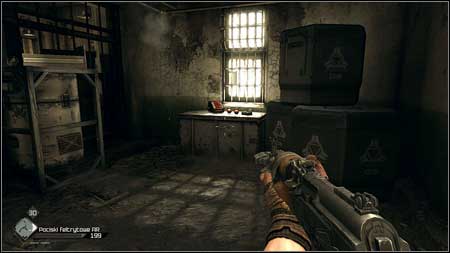
Once the area is clear, destroy the Power Supply in the left corner of the room. To the left you can find a small room with the Water Purifier inside.
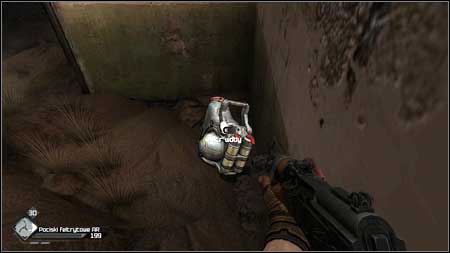
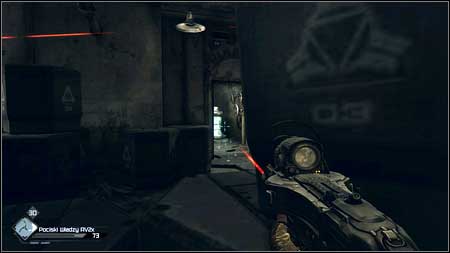
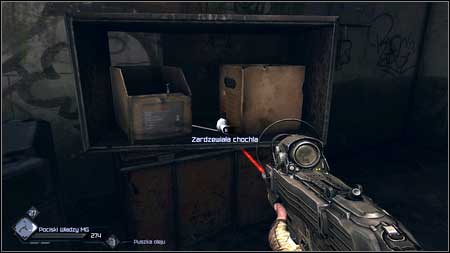
Other useful items can be found behind disabled lasers.

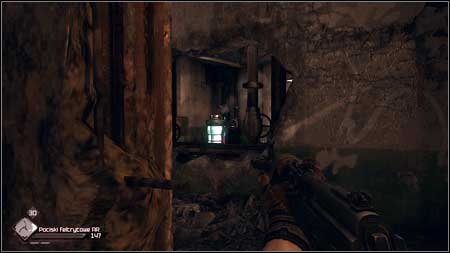
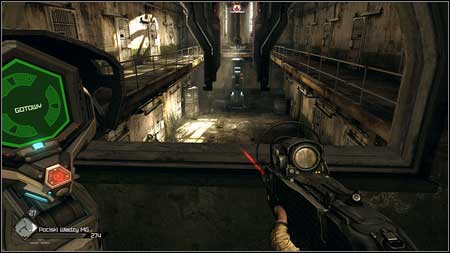
After exploring the first room shoot through the barred window and destroy the Power Supply.
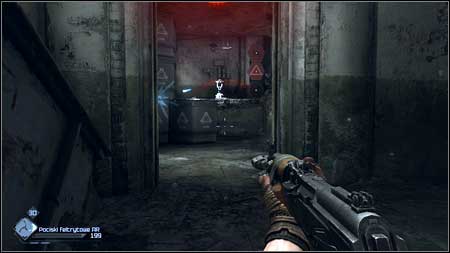
In this way you'll disable a Turret, which would shoot at you once you get inside.

Another Turret awaits you in the corridor on the other side. This time it is attached to the ceiling.
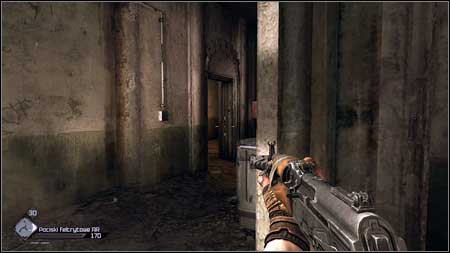
In order to disable it, run quickly to the room on the left side.
Cover behind the wall and kill the approaching guard. Move now to the other end of the niche. You'll be able to destroy the Power Supply which controls the Turret.
The next room is also guarded by the Turret. Take cover behind crates and sneak to the right corner of the room. You'll see another Power Supply from here. Destroy it and go to the adjacent room.
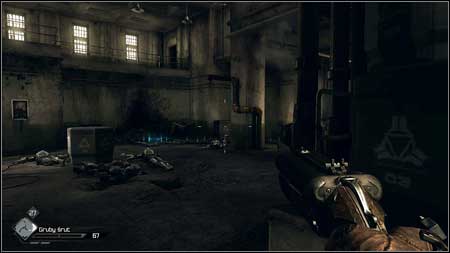
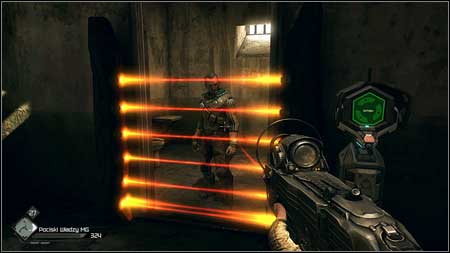
A moment later another group of guards appears. I suggest using the Sniper Rifle to get rid of the shielded enemy. Other soldiers can be easily killed with the Authority Machine Gun. There is plenty of ammo for latter weapon in the room.
Once the area is clear, deactivate lasers locking the passage and move forward.
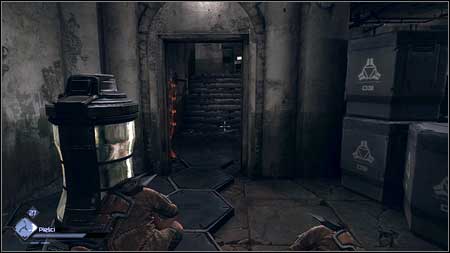
Go up the stairs to the upper floor, where another group of guards will attack you. Eliminate them and then carefully explore the rooms.
Moving ahead you will reach a place with lasers and a control panel which opens cells. Use it and you'll unleash Mutants. They will start fighting with guards.
After killing the last opponent, go down and free imprisoned Captain.
- Rage Game Guide & Walkthrough
- Rage: Walkthrough
- Rage: Main missions
- Rage: Prologue
- Rage: Quell the Bandit Threat - p. 1
- Rage: Quell the Bandit Threat - p. 2
- Rage: Medical Supplies
- Rage: Where's Juno, Radio Tower Repair
- Rage: The Missing Parts, Find the Buggy Parts - p. 1
- Rage: The Missing Parts, Find the Buggy Parts - p. 2
- Rage: Destroy the Barricade
- Rage: Dan's Message
- Rage: Changing Clothes
- Rage: Renting a Garage
- Rage: Arming Your Buggy
- Rage: Sally's Offer
- Rage: Resupply Dan Hagar
- Rage: Visit the Sheriff, Cuprino Needed
- Rage: Dusty 8 Sponsorship, Mutant Bash TV
- Rage: Resupply the Watchtower
- Rage: Destroy the Bomb Caches - p. 1
- Rage: Destroy the Bomb Caches - p. 2
- Rage: The Mayor Calls, Feltrite Crater
- Rage: Feltrite Sample
- Rage: Defibrillator Upgrade - p. 1
- Rage: Defibrillator Upgrade - p. 2
- Rage: Defibrillator Upgrade - p. 3
- Rage: The Wellmaster, Hijacked Well - p. 1
- Rage: The Wellmaster, Hijacked Well - p. 2
- Rage: Deadly Delivery, Secret Delivery
- Rage: Liberate Captain Marshall - p. 1
- Rage: Liberate Captain Marshall - p. 2
- Rage: Liberate Captain Marshall - p. 3
- Rage: Recover ID Drive
- Rage: Lost Research Data - p. 1
- Rage: Lost Research Data - p. 2
- Rage: Subway Town
- Rage: Gaining Influence
- Rage: Foreman Jones, Mutant Expansion - p. 1
- Rage: Foreman Jones, Mutant Expansion - p. 2
- Rage: Gearhead Vault - p. 1
- Rage: Gearhead Vault - p. 2
- Rage: Monarch Needed, Starky's Monarch
- Rage: The Price of Power - p. 1
- Rage: The Price of Power - p. 2
- Rage: Ark Equipment - p. 1
- Rage: Ark Equipment - p. 2
- Rage: Assault The Authority Bridge
- Rage: Assault Capital Prime - p. 1
- Rage: Assault Capital Prime - p. 2
- Rage: Main missions
- Rage: Walkthrough
You are not permitted to copy any image, text or info from this page. This site is not associated with and/or endorsed by the developers and the publishers. All logos and images are copyrighted by their respective owners.
Copyright © 2000 - 2026 Webedia Polska SA for gamepressure.com, unofficial game guides, walkthroughs, secrets, game tips, maps & strategies for top games.