Star Wars Outlaws: Breakout - walkthrough
During the Breakout mission in Star Wars Outlaws, your task will be to free the bomb-making Ank from the Ashig Clan outpost. On this page we will give you tips on how to get inside the base.
In her next mission on the frozen planet of Kijimi, Kay will venture deep into the heavily guarded outpost of the Ashiga Clan. In this Star Wars Outlaws mission, your objective is to rescue the gunsmith Ank from Ashiga and recruit her for a major heist on Sliro's mansion. Below we present a detailed walkthrough along with useful tips that will help you in more difficult moments.
Meeting with Krisk
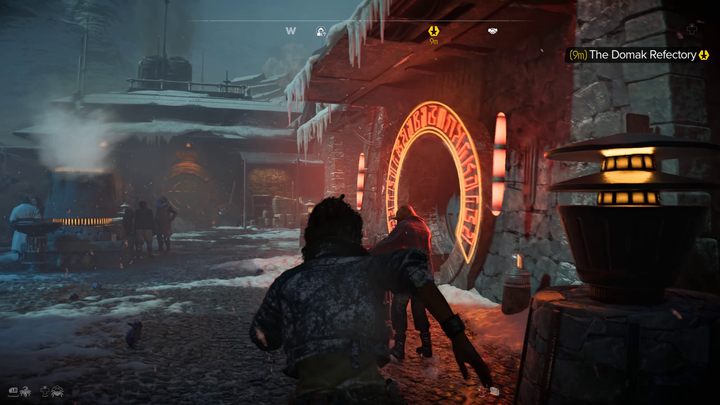
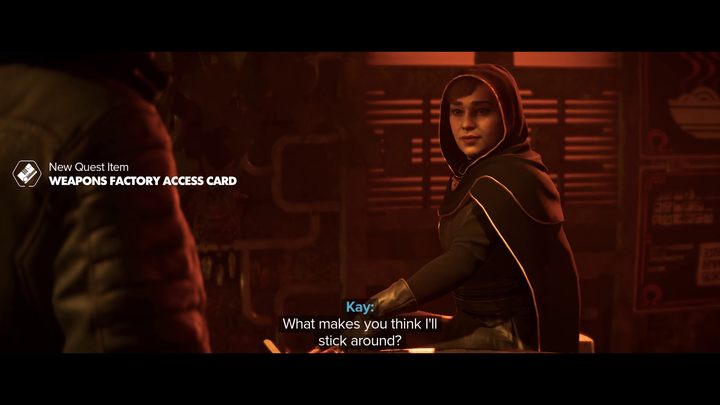
After upgrading your blaster, the main mission markers will direct you to the cantina. Go there and you will meet with Krisk and Qi'ra. A representative of the Crimson Dawn will give you an access card and send you on a mission to infiltrate a weapons factory.
How to enter the weapons factory?
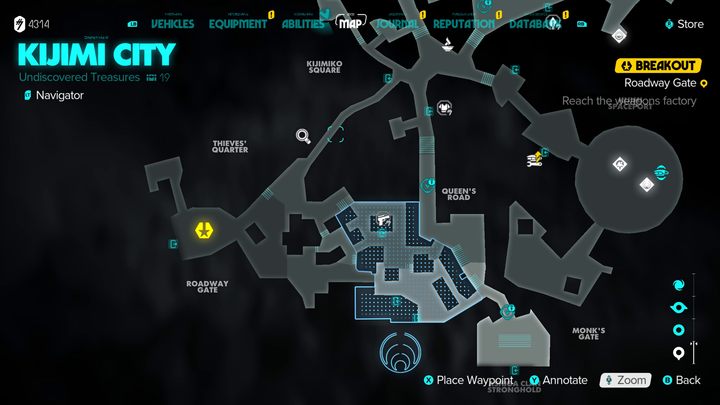
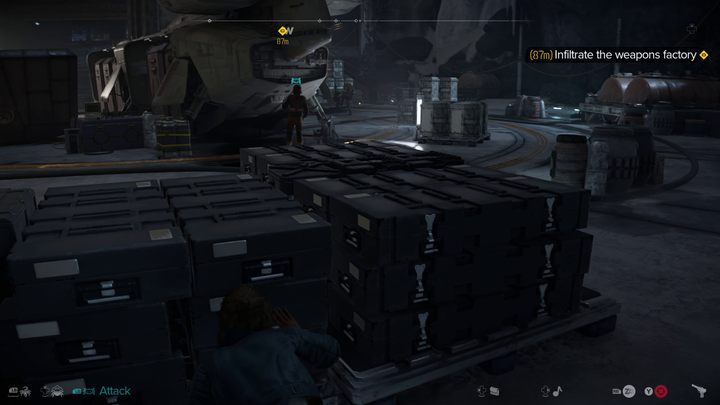
The factory is located in the southwestern part of the city. After passing through the gate and the tunnel, you will reach a large hangar. On the way to the mission marker, we recommend taking the path on the right. The crates scattered there will make it easier for you to isolate and eliminate individual enemies.
Although sneaking is optional in this mission, we recommend that you eliminate at least some of the enemies silently to make the combat easier.
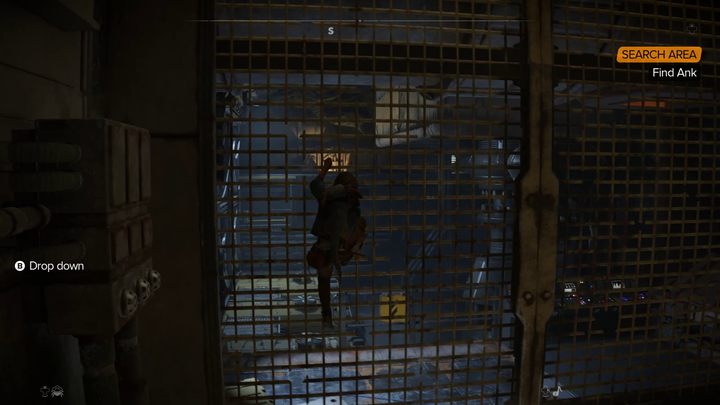
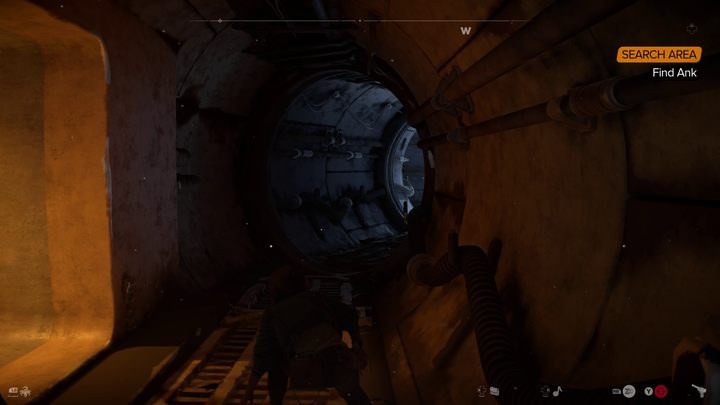
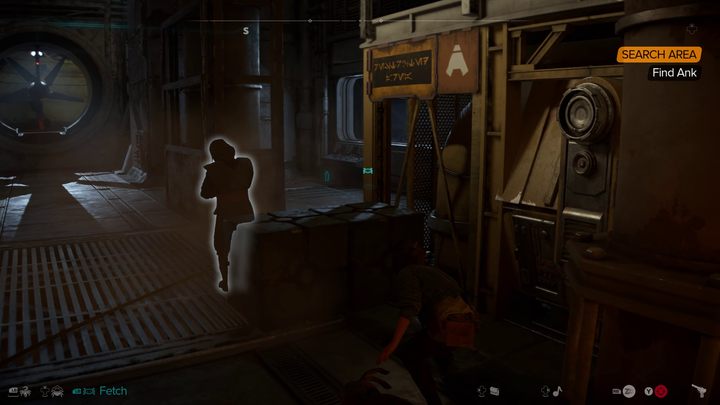
Enter the factory and continue your journey through the corridors and rooms.
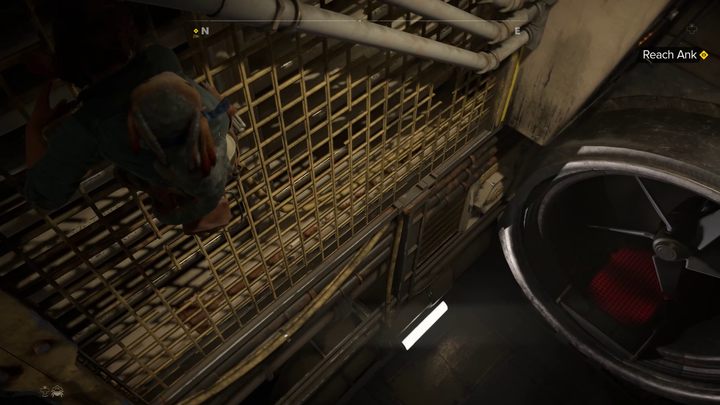
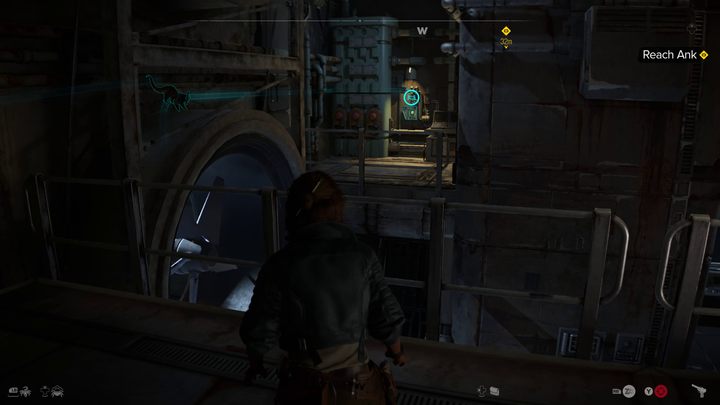
In the room where you can see Ank through the window, your task will be to turn off the spinning fan. Climb the walls to the balcony on the left, then tell Nix to turn off the fan. The switch is on the other side of the room.

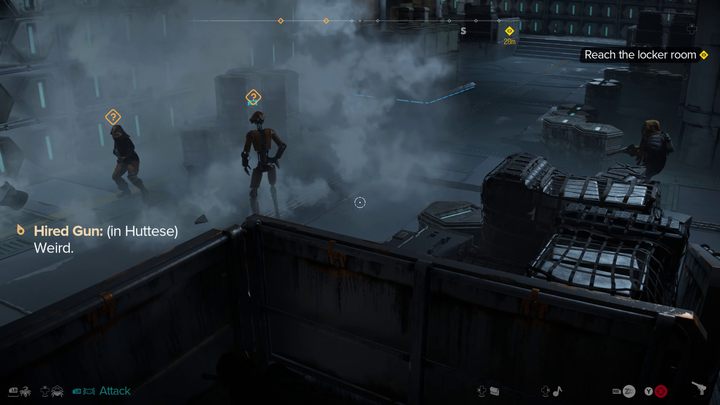
A moment later you will meet Ank. After the cut-scene, the craftswoman will ask you to bring her things from the locker room. On the way there you will come across a room full of enemies.
Remember that droids are resistant to normal blaster shots, but are vulnerable to ion bolts.
Escaping with Ank
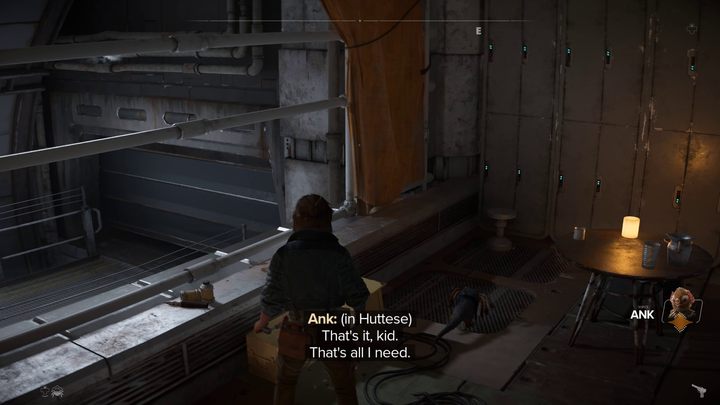
Moments after retrieving the talisman from the locker room, Ank will blow up the gate and start escaping.
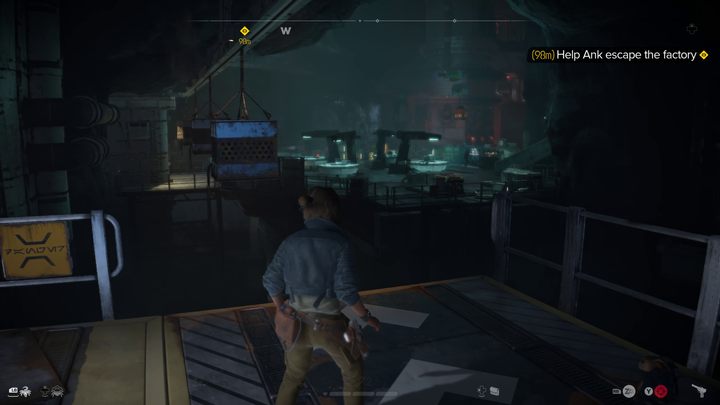
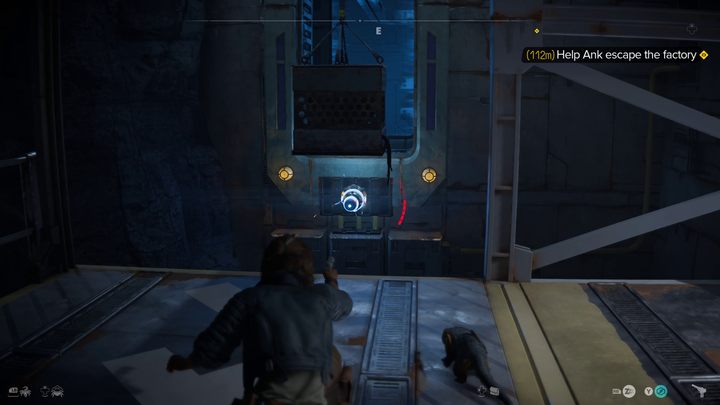
Follow the mission marker. To get to the platform full of enemies, you will have to activate the cart. Shoot the capacitor with ion missiles, then grab onto one of the boxes that will pass by you. The edge you can grab onto is highlighted in yellow.
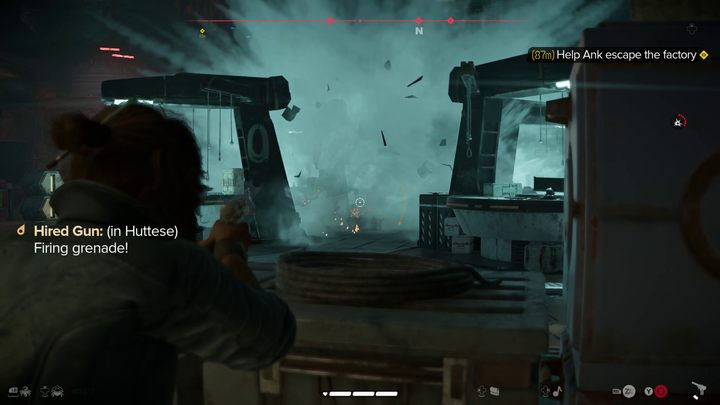
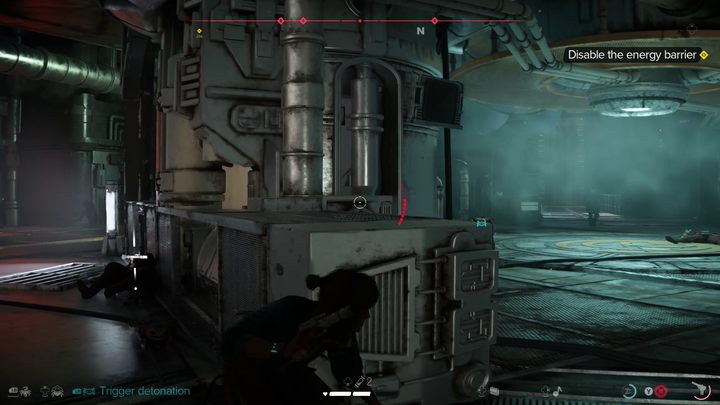
The next sequence will greet you with several groups of enemies in a row. Use weapons, barrels and grenades scattered throughout the arenas to defeat hordes of enemies.
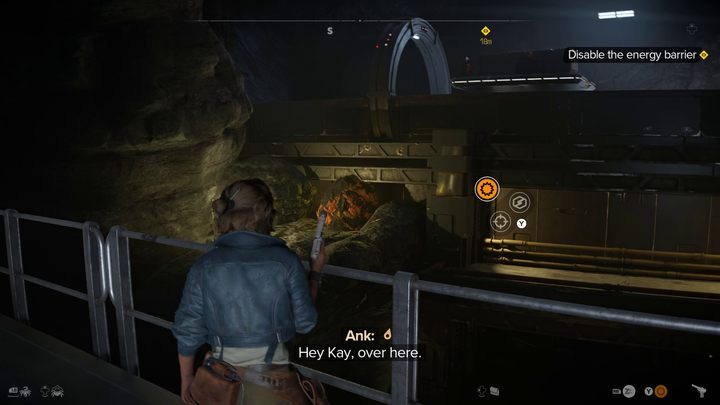
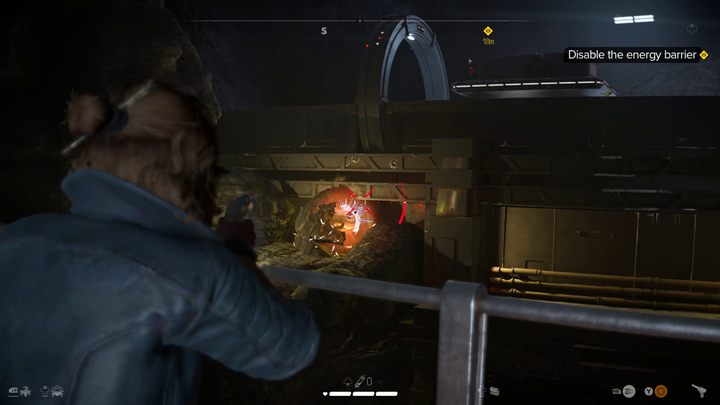
After the second arena, Ank will ask you to deactivate the force field in the cart's path. Activate the previously installed explosive blaster shot mode (hold down the fire mode change button), then shoot at the cracked boulder. You can then destroy the two power sources.
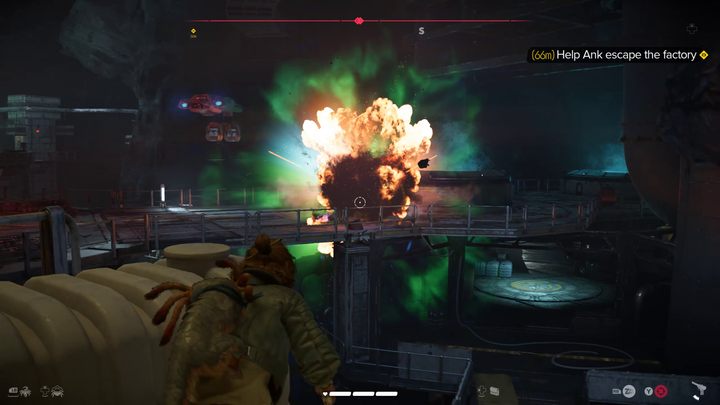
While Kay is waiting for Ank on the blocked elevator, you will be attacked by enemies from both sides. Precisely aim at the exploding barrels to take down multiple enemies simultaneously.
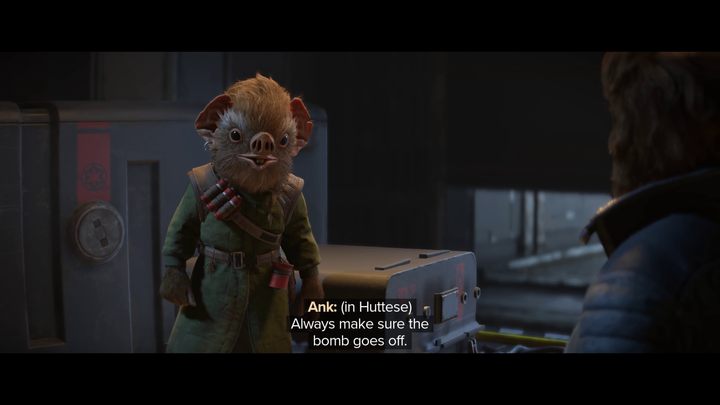
After a few more rooms full of enemies, you will encounter Ank again. After a short cut-scene, the quest objective will be updated.
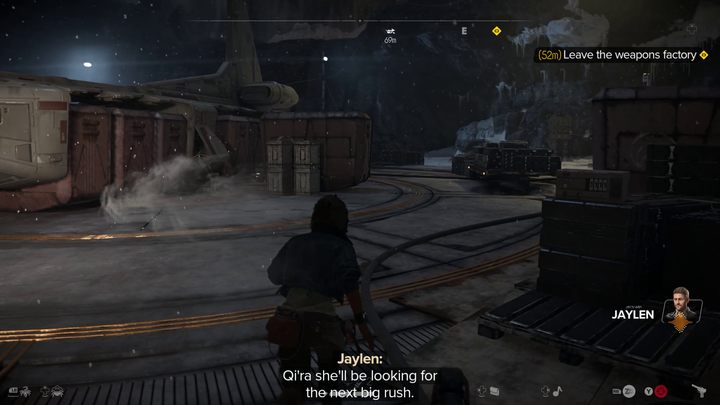
Following the yellow marker, you will safely leave the complex and return to the city. The task will be completed.
You are not permitted to copy any image, text or info from this page. This site is not associated with and/or endorsed by the developers and the publishers. All logos and images are copyrighted by their respective owners.
Copyright © 2000 - 2026 Webedia Polska SA for gamepressure.com, unofficial game guides, walkthroughs, secrets, game tips, maps & strategies for top games.
