Star Wars Outlaws: The Heavy - walkthrough
The Heavy is the first main quest on the desert planet Tatooine. On this page of the guide we described how to find the shooter Hoss and free him to join the team.
The Heavy is a mission that you will start automatically upon your first landing on the planet Tatooine. During the quest you will have to find and recruit Hoss, a potential member of the team for the raid on Sliro's mansion. On this page of the guide we describe how to find the Heavy and get him out of trouble.
Conversation with Sheriff Quint
Your first goal is to find the local Sheriff. After leaving the Trailblazer, head right, passing under the arches connecting the buildings - Quint is standing against one of the walls. Talk to her.
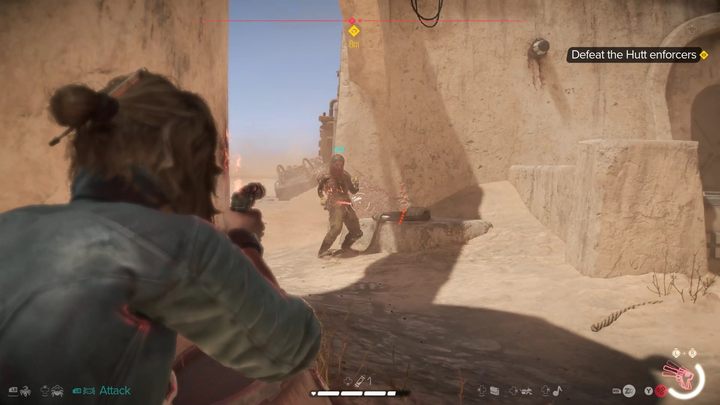
After the cut-scene, you'll have to take out two thugs working for the Hutt Cartel. They shouldn't pose any problems - you can hide behind the small tower in front of you and shoot them from there. After a short fight, follow Quint to her office and you'll learn that the Hoss you're looking for has escaped from prison. You'll receive a lead pointing to a nearby abandoned moisture farm. Head there on your speeder.
Moisture Farm
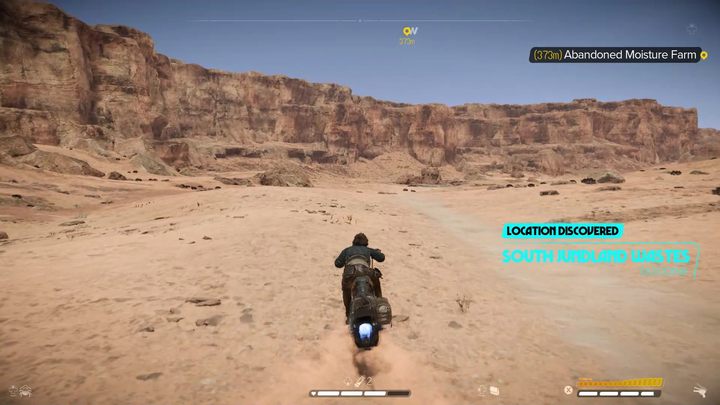
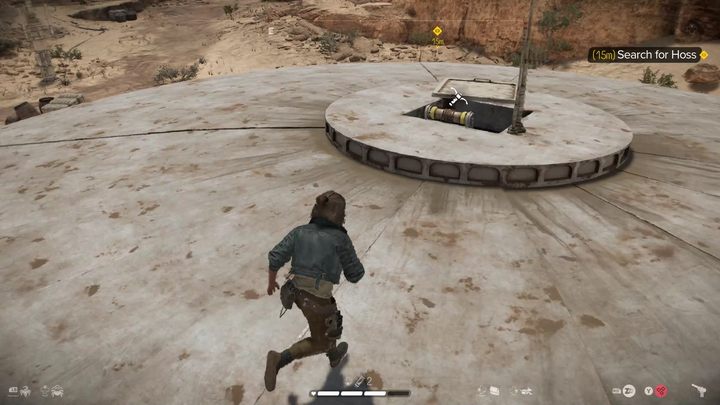
There is a path leading to the farm - follow it if you get lost. Once you reach the farm, climb onto the largest round building in the area, buried in the ground, and lower yourself inside using the grappling hook.
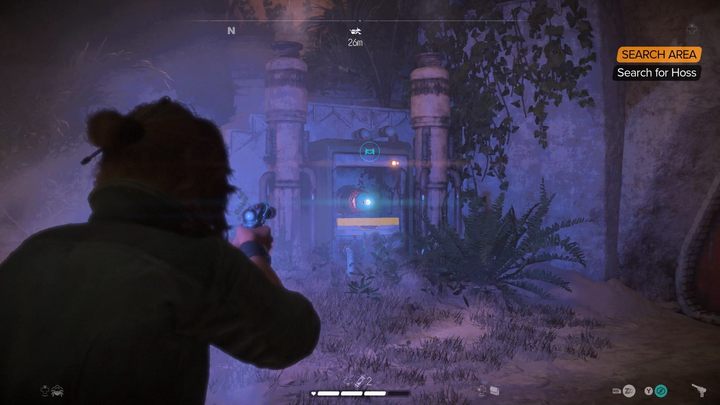
The building has no power - have Nix open the hatch next to one of the locked doors inside, then shoot the capacitor behind the hatch with an ion missile to open the door.
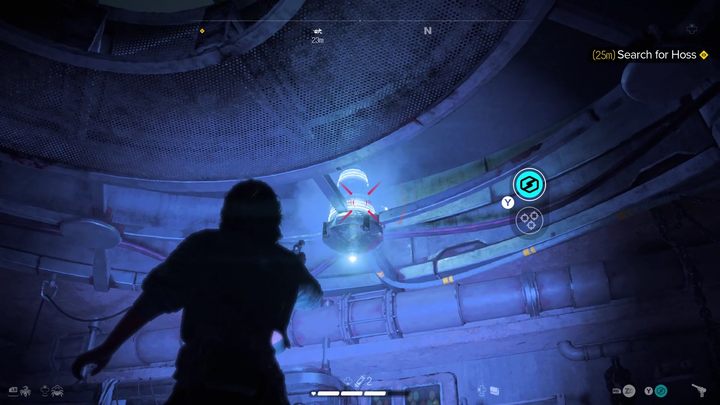
In the next room you will find another closed door. There are two capacitors hanging on the ceiling, which you'll notice because their tops glow blue - quickly shoot both devices with ion blaster to open the door. On the other side you will find a generator - pull the lever to restore power to the building and return to the central room.
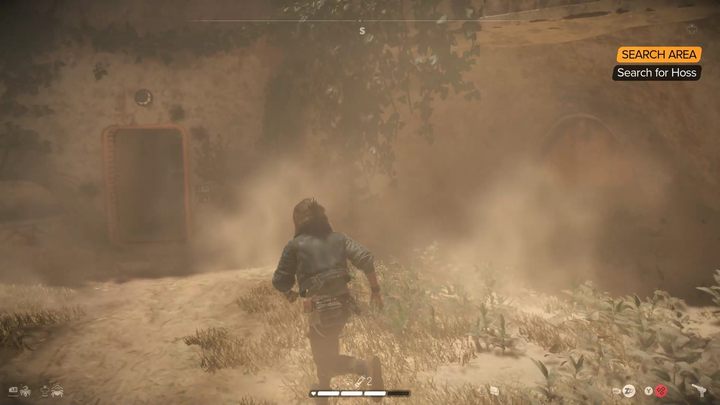
You can now open all doors in the room. Behind them there is loot and an exit from the building - your goal, however, is the small, rectangular door. Behind them you will find a dead bounty hunter. Search the corpse to find a transponder that will help you locate Hoss. Leave the building by exiting through the door at the top of the stairs - be careful as there may be a few bandits waiting outside.
Climb
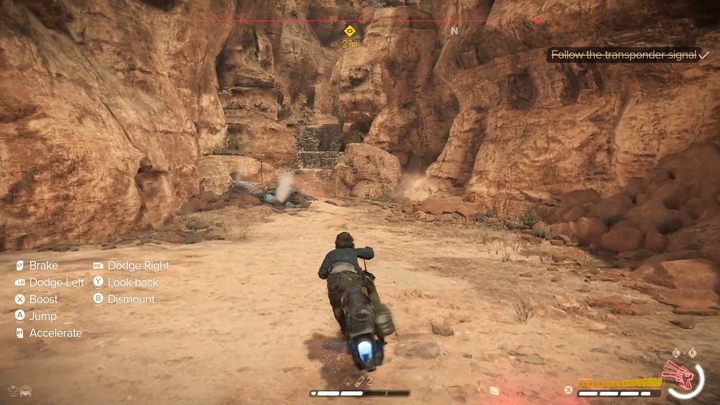
Follow the path to your next destination. Look for Hoss' crashed vehicle. Right next to it there are cliffs that you can climb. You must now climb to the top of the cliffs.
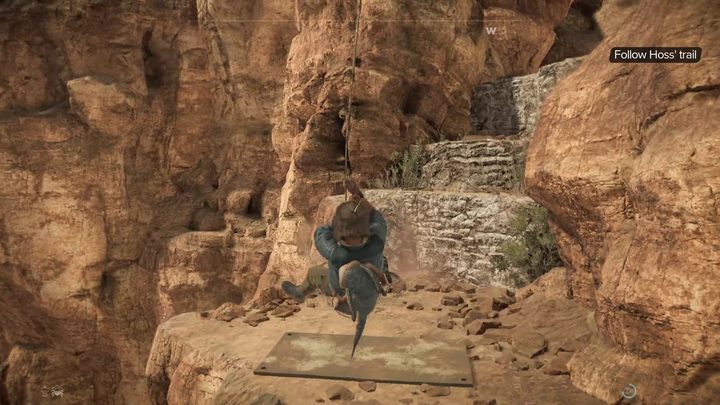
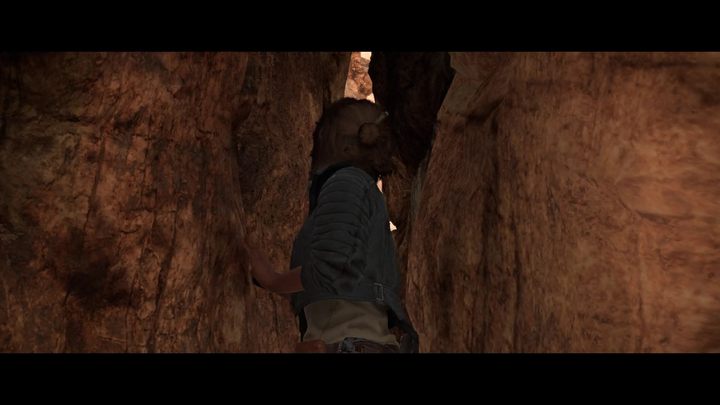
The path to the top is very linear and it is basically impossible to get lost here. If you come across a chasm that is too wide, look up - there will be a grappling hook point there. After a short climb, cross a fairly long ravine and squeeze through the gap at its end. Watch a cut-scene during which you will learn what your final objective is.
Searching for the pearl
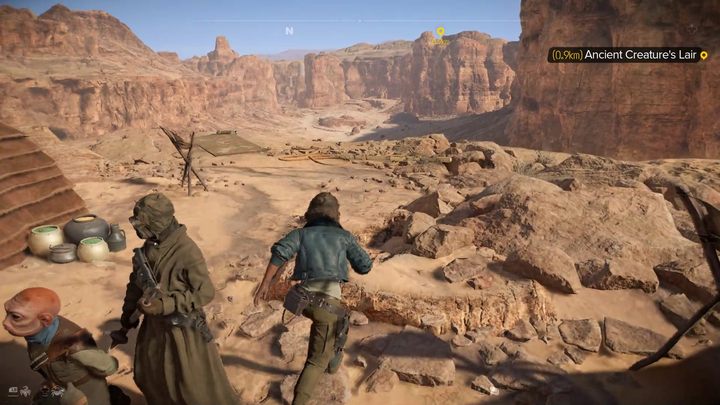
To free Hoss from the hands of the Tuskens, you must go to a nearby cave and retrieve the pearl they stole. Behind the kneeling Hoss is a grappling point that will allow you to exit the Tusken camp. Head to the next ravine with your speeder.
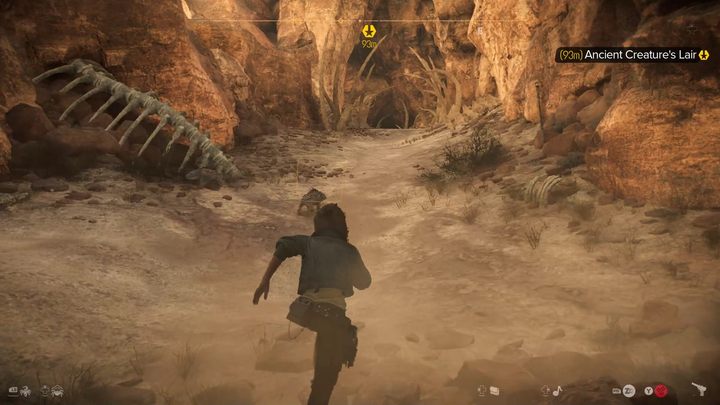
You can recognize the cave by the bones scattered around its entrance. There may also be a few predators lurking here - eliminate them and go inside.
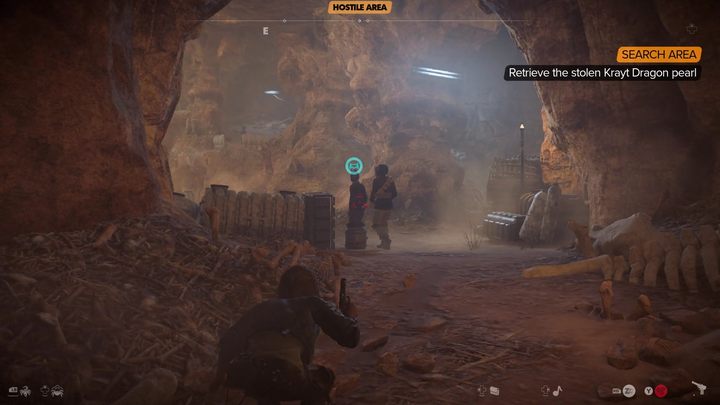
In the first room, at the entrance, you will immediately encounter bandits. Sneaking through the cave is probably out of the question - there are two snipers here who will spot you quite easily. You can, however, stealthily take out the two enemies closest to the entrance, one of whom should drop a grenade launcher - take it and immediately hide behind cover.
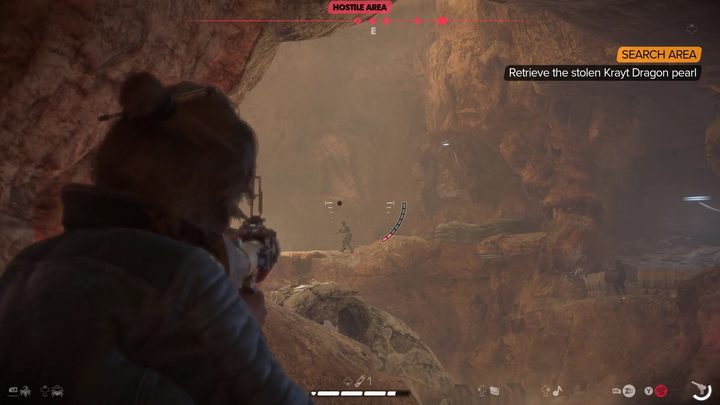
Eliminating both snipers should be your top priority during the fight - stay in cover to avoid them. A marking appears above their heads before they fire - make sure you're hidden or kill them first. Luckily, the grenade launcher has a long enough range to hit them. The rest of the enemies shouldn't cause too much trouble.
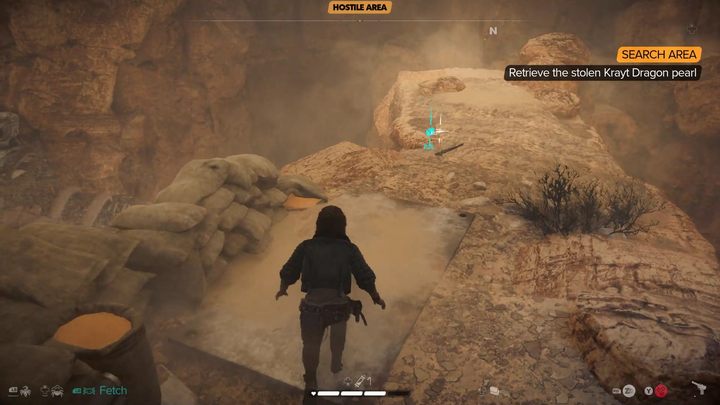
After the fight, go right to the upper floor of the cave, to the stone bridge where the sniper was standing. Cross it and enter the next room.
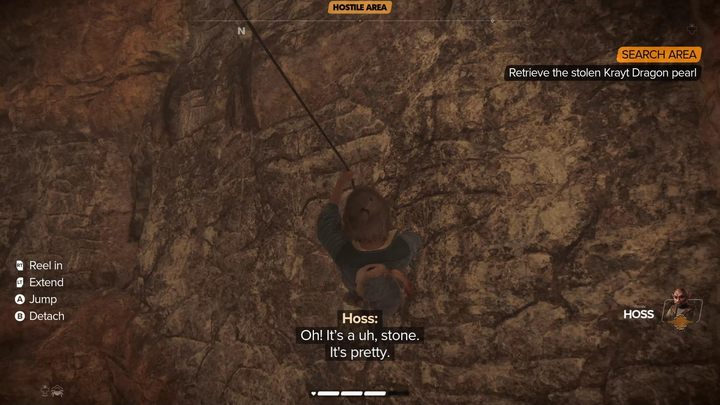
Another short climb awaits you - swing on the rope and jump to the wall opposite and climb up it. Then squeeze through the next gap to encounter more bandits and the pearl you're looking for.
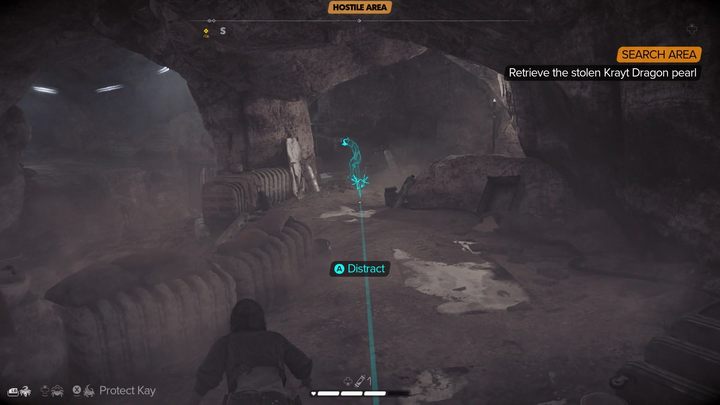
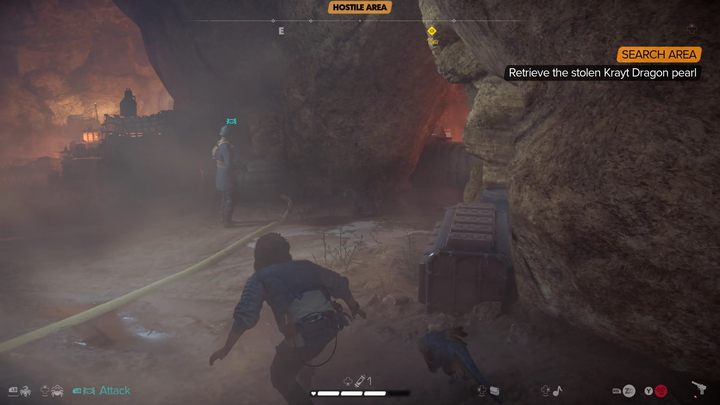
This time, the path that allows you to steal the pearl silently is handed to you on a platter. From the entrance, head right, crouching behind cover and quietly eliminating any enemies that stand in your way. Along the way, you will have to walk along poles hanging from the wall. If enemies are looking your way, wait in hiding until they turn away.
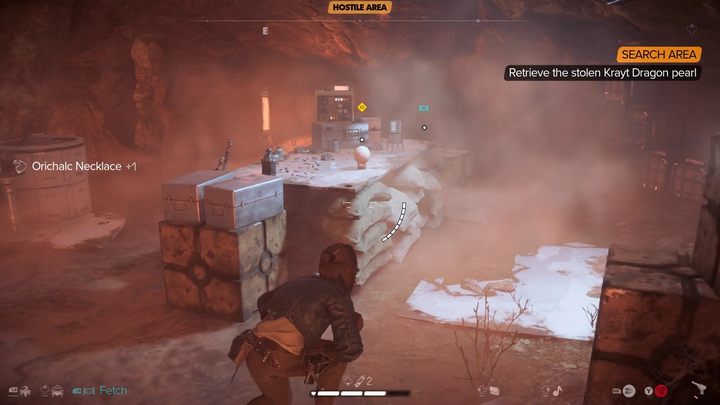
This way you bypassed the entire cave and went straight to the room with the pearl Take it - but be careful, because close to the pearl, near the wall, there is a guard who is very easy to miss. Eliminate him before he notices you.
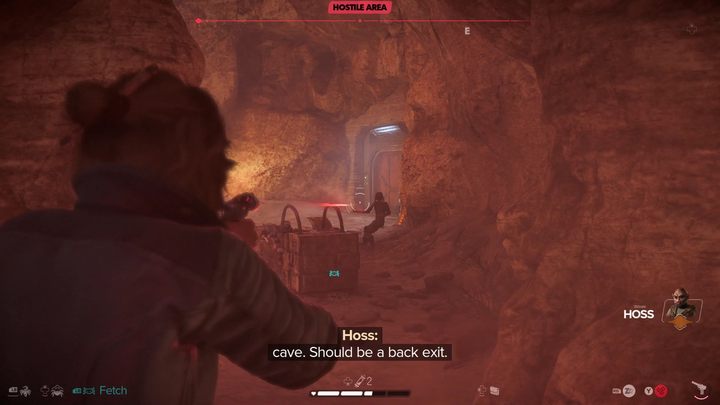
The back exit is nearby - look for the red door. Go straight, get rid of the last guard in your path and leave the cave.
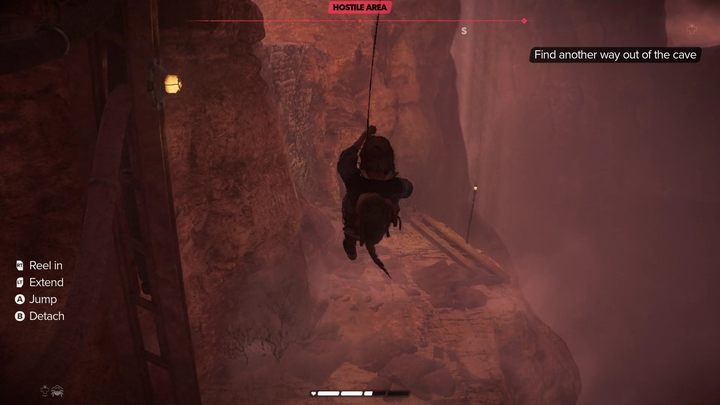
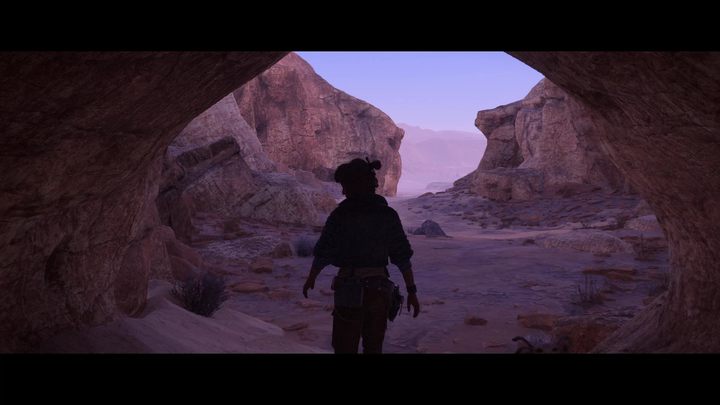
The final, linear climbing segment awaits you. Swing over chasms and climb walls until you reach the cave exit. The quest will end after the cut-scene.
You are not permitted to copy any image, text or info from this page. This site is not associated with and/or endorsed by the developers and the publishers. All logos and images are copyrighted by their respective owners.
Copyright © 2000 - 2026 Webedia Polska SA for gamepressure.com, unofficial game guides, walkthroughs, secrets, game tips, maps & strategies for top games.
