LEGO Skywalker Saga: 9D9 Problems - walkthrough
This page of the guide to the LEGO Skywalker Saga contains the walkthrough for the side mission 9D9 Problems - EV-9D9 Supervisor Droid.
On this page of the LEGO Star Wars: The Skywalker Saga guide, you will find a walkthrough for the side mission 9D9 Problems. We explain how to find clues about the 8D8 droid and how to open the door to the hideout.
- General information
- Gather clues about the whereabouts of 8D8
- Follow the trail of droid scarp
- Find a way into 8D8's lair
- Escort 8D8 and call in the Salvage Droid
General information
- How to unlock: starting the Copa-Khetanna level in episode 6 - Return of the Jedi.
- Requirements: a Scoundrel character and a protocol droid.
- Reward: EV-9D9 Supervisor Droid.
Gather clues about the whereabouts of 8D8
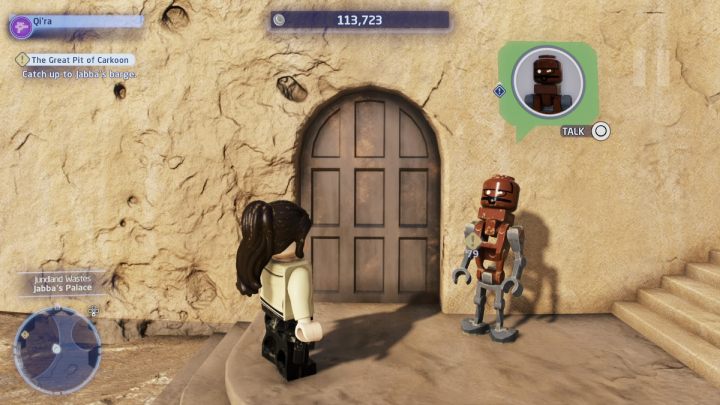
Talk to the NPC near Jabba's palace and accept the quest. You will be asked to help find the droid.
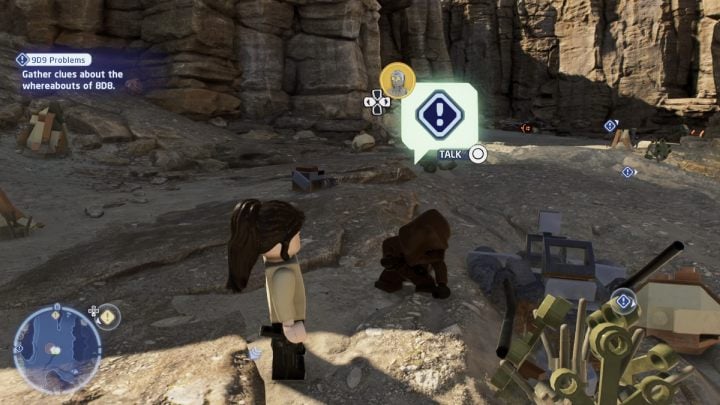
Follow the marker to the first search area and, while controlling the protocol droid, talk to the NPC standing by the small vehicle and plants.
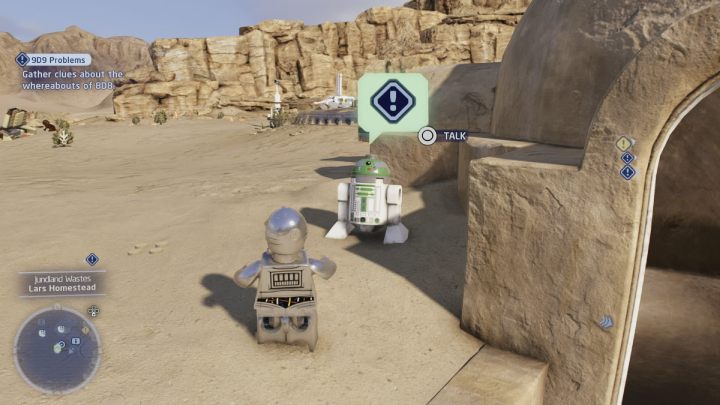
You will receive another clue from the astromechanical droid standing at the entrance to the building.
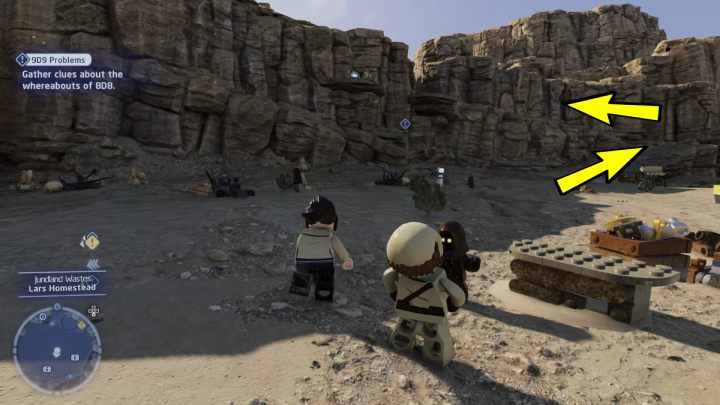
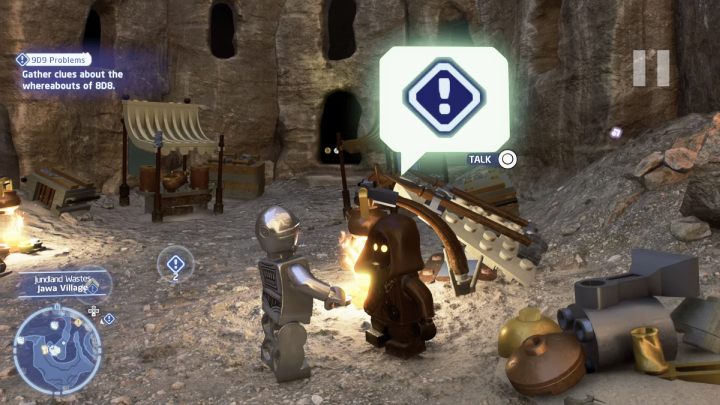
Finally, go to the rocky regions. Climb up the hill into the ravine, follow the marker, and talk to the NPC in the village of Java.
Follow the trail of droid scarp
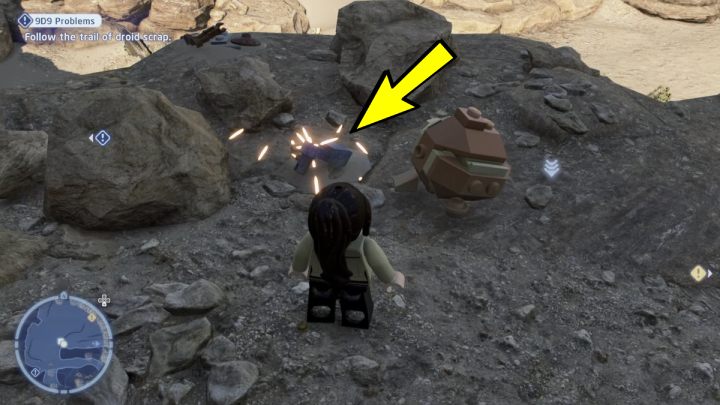
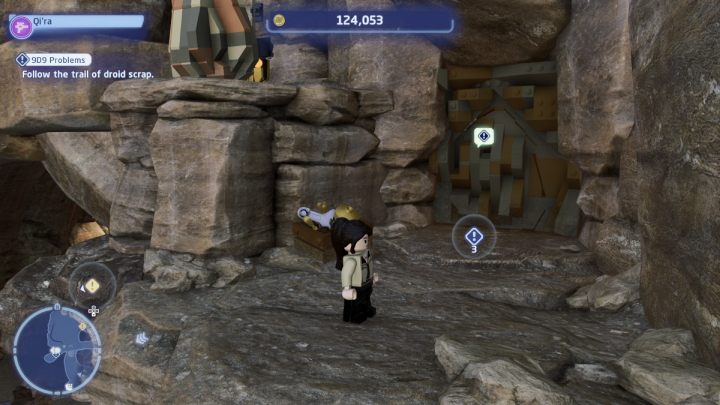
Follow the new marker on the screen and follow the trail left by the droid (these will be small, sparkling pieces) until you reach the door on the higher level of the rock, near the cave. Talk to the droid through the closed door.
Find a way into 8D8's lair
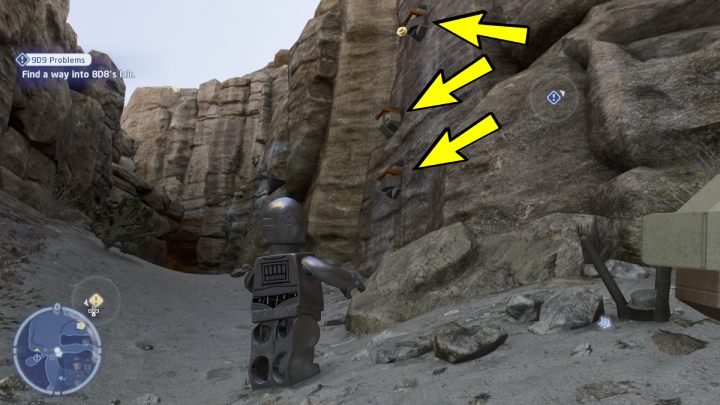
You must now use the device that has just been uncovered. You can get there in two ways:
- Look for climbing hooks nearby and jump down to the device,
- Or, with a Jedi character, lift the Protocol Droid onto the rock.

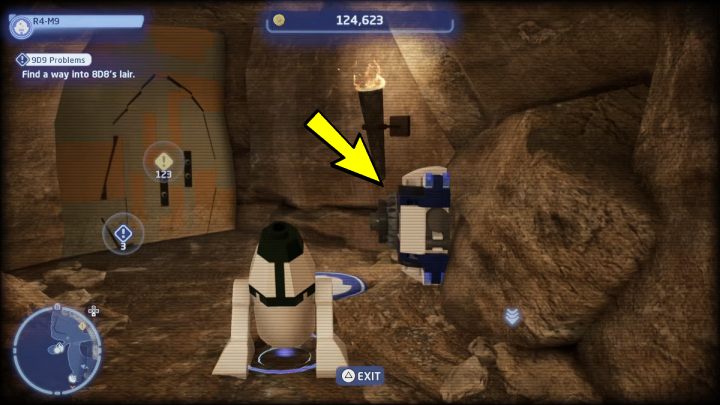
Approach the machine and select 1st command - droid. When you switch to the small droid in the room you are trying to get to, drive to the machine by the door. Place all blocks correctly to open the door.
Escort 8D8 and call in the Salvage Droid
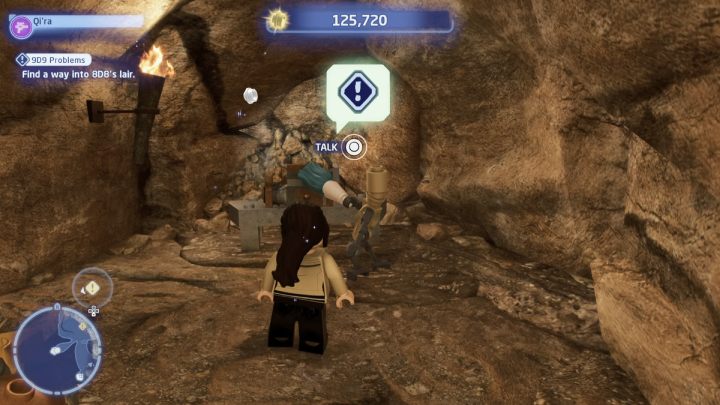
Switch to Scoundrel and talk to the droid you're looking for. When the droid resists, shoot it a few times and then lead it outside. While standing in front of the door, approach the droid and follow the instructions on the screen to lead it to the quest giver. Finally, go back to the giver and collect your reward.
- LEGO Skywalker Saga Guide
- LEGO Skywalker Saga: Walkthrough
- LEGO Skywalker Saga: Side quests
- LEGO Skywalker Saga: Tatooine - the desert of Jundland
- LEGO Skywalker Saga: Beats of Rage - walkthrough
- LEGO Skywalker Saga: Salacious B. Crummy at Jokes - walkthrough
- LEGO Skywalker Saga: Biggs Trouble - walkthrough
- LEGO Skywalker Saga: Probes and Cons - walkthrough
- LEGO Skywalker Saga: Rodent Retrieval - walkthrough
- LEGO Skywalker Saga: That Droid is the Pits - walkthrough
- LEGO Skywalker Saga: Protocol Recall - walkthrough
- LEGO Skywalker Saga: For OOM the Bell Tolls - walkthrough
- LEGO Skywalker Saga: Don't Be Afraid of the Darkeye - walkthrough
- LEGO Skywalker Saga: Droids Have Magnitude - walkthrough
- LEGO Skywalker Saga: Battle Droid Royale - walkthrough
- LEGO Skywalker Saga: Going, Going, Gonk - walkthrough
- LEGO Skywalker Saga: 9D9 Problems - walkthrough
- LEGO Skywalker Saga: Sarlacc Snacc - walkthrough
- LEGO Skywalker Saga: Tatooine - the desert of Jundland
- LEGO Skywalker Saga: Side quests
- LEGO Skywalker Saga: Walkthrough
You are not permitted to copy any image, text or info from this page. This site is not associated with and/or endorsed by the developers and the publishers. All logos and images are copyrighted by their respective owners.
Copyright © 2000 - 2026 Webedia Polska SA for gamepressure.com, unofficial game guides, walkthroughs, secrets, game tips, maps & strategies for top games.
