Resident Evil Zero HD: Obtaining the Blue Leech Charm
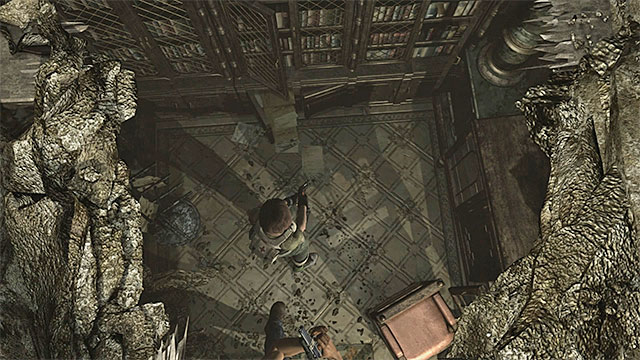
You start in a narrow corridor on level B2 of the Laboratory (M4,7). Head to the only available door that lead to the library (M4,8). In the library, besides various supplies, you will find a typewriter (it is good to save your progress now) and a document - Marcus' Diary 2. Look around the whole library and in a certain spot, the game will move the camera towards a large hole in the ceiling. Use the Hookshot again. Have Rebecca do it. This way, you won't have to go back to the training facility and risk being attacked by monsters (the consequences of choosing Billy are described later).
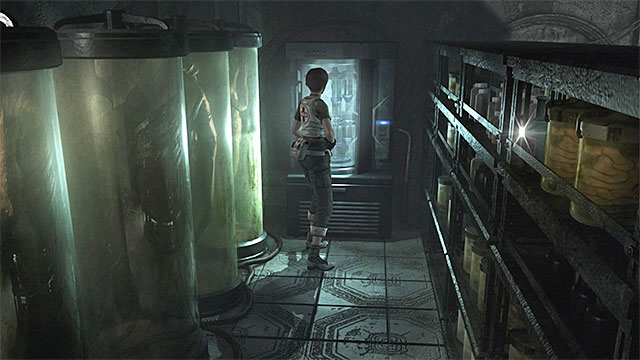
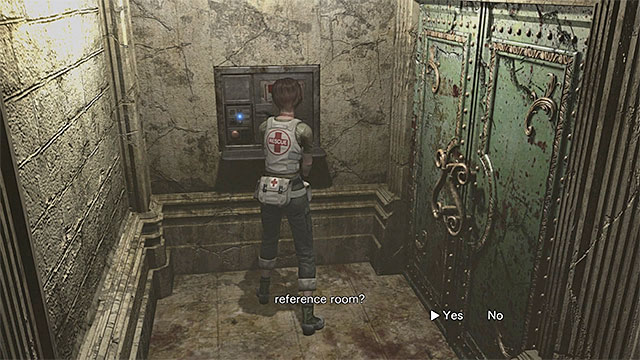
Before you use the Hookshot as Rebecca, make sure that she's carrying grenade launcher or at least shotgun. After reaching the room on level B1 (M4,9), look behind the corner where you will see a leech zombie. Use the best weapon you have to kill the monster. After the fight, throw the launcher out from the inventory to make space. Search the room, pick up Laboratory Manager's Diary and take the Lab Map off the wall. At the end. Approach the container with capsules, near the place where the zombie was standing. Interact with it, press "Yes" and take the Leech Capsule out.
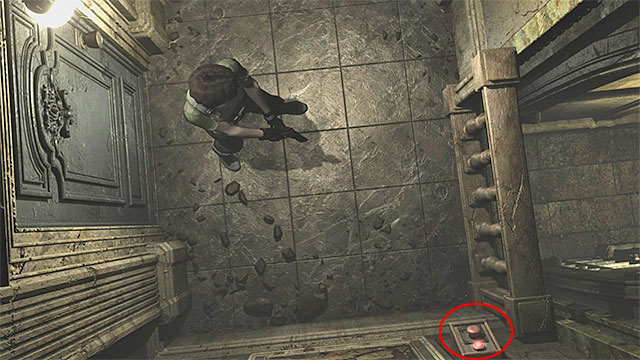
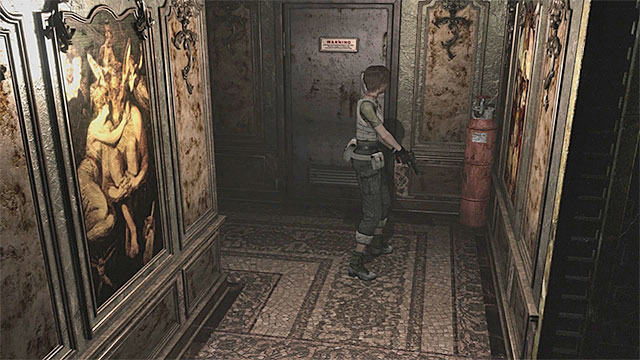
Now you can leave the room and you will find yourself in a corridor (M4,10). Stay in the starting place and notice the switch marked on the screenshot above. Pressing it will unlock a passage on a lower level of the Laboratory. A zombie leech will appear there, but you don't have to worry about it now, because Billy will deal with it later. You can proceed. The first door is locked and the second lead to a room with supplies, Ink Ribbons and a typewriter (don't use the ribbon without need) (M4,11). Leave the room and reach the last door, at the end of the corridor (M4,12).
Turn towards the bottom of the screen. Don't be deceived by the zombies in this room - at least one of them is playing dead (shoot him from distance). First, locate Leech Growth Records that contains hints to one of the puzzles that you will encounter later. Next, find a big red tank. Approach it and select "Yes" when the game asks you if you want to place the chemicals in the Mixing Set. You will obtain Red Chemical.
Return to the upper part of the room and open the door on the left that lead to a new, unexplored area (M4,13). Deal with the zombies and search the room. Besides supplies, you will find a document here (Investigator's Report). However, the most important thing here is the green tank. Approach it and place the chemicals in the mixing set. You will obtain Green Chemical. The chemicals will mix and you will obtain Stripping Agent.
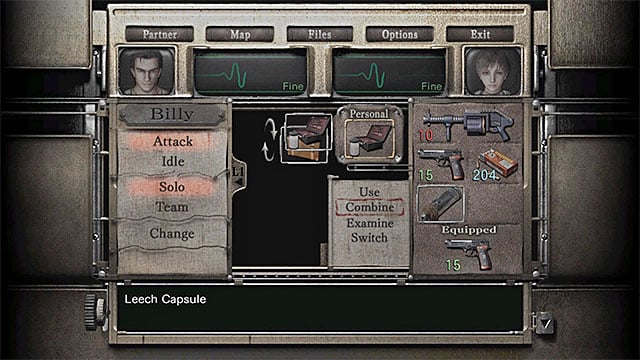
Open Rebecca's inventory, highlight the mixing set and Combine the Stripping Agent with Leech Capsule. As a result, you will obtain Bl. Leech Charm.
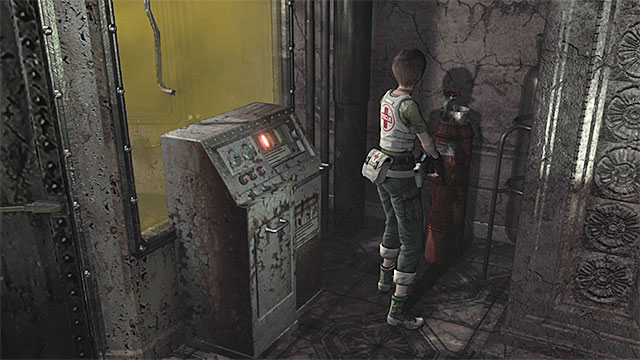
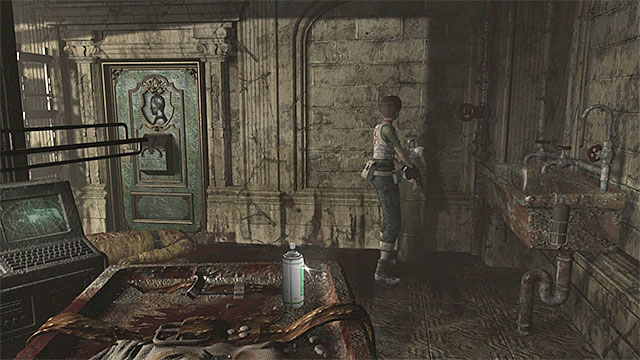
You will need to use the charm on level B2. Stay in this room and locate a service lift on one of the walls. Interact with it, place Bl. Leech Charm inside and send it down. Switch to Billy, who should be in the library (M4,8). Locate the lift here, approach it and take the charm out.
Alternative solution - Billy uses the Hookshot
If you chose Billy to be the one to use the Hookshot and get to level B1, a few details will change and for worse. Rebecca will have it more difficult to obtain Red and Green Chemical needed to produce Stripping Agent.
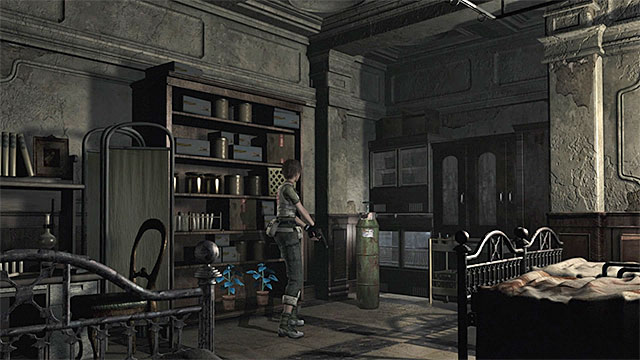
As Billy, do all the necessary actions described above, until the moment when you press the red button in the corridor (M4,10) and unlocking the passage on the lower level. Switch to Rebecca, who should be in the library on level B2 (M4,7) and leave the room. In a corridor nearby (M4,7), there is a leech zombie that you need to eliminate (use grenade launcher) or go past. No matter which option you choose, search the new part of the corridor. The red tank needed to obtain Red Chemical is located in the place shown in the picture.
Obtaining Green Chemical is more difficult, because you need to go back to the training facility. You have to use the ladder that will take you to the surface, near the church and then take the path leading to the Observatory (M2,35). Head to the conference room (M2,5) and use the door between the two standing armors. Be careful, because there can be monkeys in the corridor (M2,23) (it is best to eliminate them using shotgun). Your destination is the clinic (M2,24) located at the end of the corridor. Kill the zombies in this room and locate the green tank shown in the screen above. You can obtain Green Chemical and automatically Stripping Agent.
Now you have to go back to the library in the Laboratory (M4,8). Switch to Billy and send the Leech Capsule down using the service lift (M4,13). Select Rebecca, take the capsule from the lift, open the inventory and mix the capsule with the agent to obtain Bl. Leech Charm.

- Resident Evil Zero HD Game Guide & Walkthrough
- Resident Evil Zero HD: Game Guide
- Resident Evil Zero HD: Walkthrough
- Resident Evil Zero HD: Ecliptic Express Train
- Resident Evil Zero HD: Map Ecliptic Express Train
- Resident Evil Zero HD: Exploring first cars
- Resident Evil Zero HD: The start of the cooperation with Billy
- Resident Evil Zero HD: Boss Stinger (giant scorpion)
- Resident Evil Zero HD: Continuation of the train exploration
- Resident Evil Zero HD: Stopping the train from derailing
- Resident Evil Zero HD: Umbrella Training Facility
- Resident Evil Zero HD: Map Umbrella Training Facility
- Resident Evil Zero HD: The beginning of exploration
- Resident Evil Zero HD: Boss Centurion (huge centipede)
- Resident Evil Zero HD: The clock puzzle
- Resident Evil Zero HD: The conference room puzzle
- Resident Evil Zero HD: The chessboard puzzle
- Resident Evil Zero HD: Unlocking access to the basement
- Resident Evil Zero HD: Training Facility Basement
- Resident Evil Zero HD: Map Training Facility Basement
- Resident Evil Zero HD: The beginning of exploration
- Resident Evil Zero HD: Saving Rebecca
- Resident Evil Zero HD: The animal statues puzzle
- Resident Evil Zero HD: Exploring the testing area
- Resident Evil Zero HD: Return to the Training facility
- Resident Evil Zero HD: Unlocking the door to the observatory
- Resident Evil Zero HD: Laboratory
- Resident Evil Zero HD: Map Laboratory
- Resident Evil Zero HD: The beginning of exploration
- Resident Evil Zero HD: Boss Infected Bat
- Resident Evil Zero HD: Reaching the research facility
- Resident Evil Zero HD: Obtaining the Blue Leech Charm
- Resident Evil Zero HD: Obtaining the Green Leech Charm
- Resident Evil Zero HD: Gaining access to the area with the cable car
- Resident Evil Zero HD: Activating the cable car
- Resident Evil Zero HD: Factory
- Resident Evil Zero HD: Map Factory
- Resident Evil Zero HD: Activating the large elevator in the factory
- Resident Evil Zero HD: Boss Proto Tyrant - first encounter
- Resident Evil Zero HD: Leaving the factory
- Resident Evil Zero HD: Treatment Plant
- Resident Evil Zero HD: Map Treatment Plant
- Resident Evil Zero HD: Repowering the plant
- Resident Evil Zero HD: Saving Billy
- Resident Evil Zero HD: The crates puzzle
- Resident Evil Zero HD: Reaching the place where the motherboard is hidden
- Resident Evil Zero HD: Boss Proto Tyrant - second encounter
- Resident Evil Zero HD: Finding and using the motherboard
- Resident Evil Zero HD: Building a working battery
- Resident Evil Zero HD: Placing the battery in the forklift
- Resident Evil Zero HD: Reaching the Queen Leech's lair
- Resident Evil Zero HD: Boss Queen Leech - first encounter
- Resident Evil Zero HD: Preparations before the final battle
- Resident Evil Zero HD: Boss Queen Leech - second encounter
- Resident Evil Zero HD: Walkthrough
- Resident Evil Zero HD: Game Guide
You are not permitted to copy any image, text or info from this page. This site is not associated with and/or endorsed by the developers and the publishers. All logos and images are copyrighted by their respective owners.
Copyright © 2000 - 2026 Webedia Polska SA for gamepressure.com, unofficial game guides, walkthroughs, secrets, game tips, maps & strategies for top games.