Dying Light The Following: At the End of the Tunnel
How to unlock: listening to the radio conversation with the Acolyte, after finishing The Fate of the Fool story quest.
Difficulty level: high
Reward: 15000 experience points, 500 trust points.
Note - Before you begin this quest, make a copy of your current save files (your current progress in the game). The game will allow you to continue playing after completing the final story-related quest and going through one of the two endings. If you, however, plan on seeing both of the endings, you will need to reload the game to a moment before the final decision about the ending is made (hence why you need to copy your saves beforehand). After the ending cutscene is finished, leave the game, copy your backup save back into the game and go through the final moments of the game again.

This quest will be unlocked during a conversation on the radio with the Acolyte, during which you will be asked to find kidnapped Brother Orcan. You need to head to the Granary, located at the southern section of the map. Upon arrival, get into the central point of the area, and look for silos and balconies located high above the ground. The place is flooded with bandits - you can either eliminate them from afar as soon as you make contact with them, or try to get rid of them in close combat. Getting on the balconies might be somewhat problematic - it can be done in a place shown on the above screenshot.
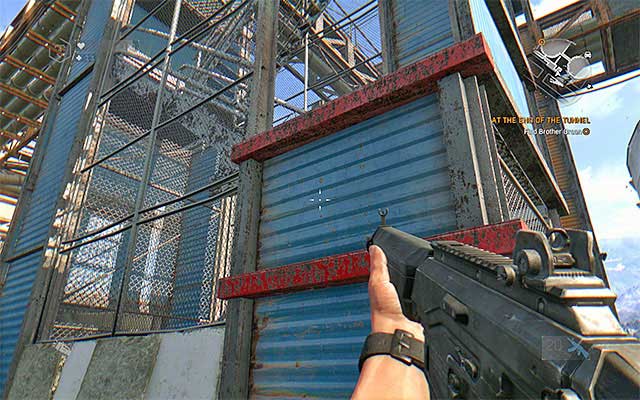
You now have to reach the balconies located on the highest level of the construction. At each level you will stumble upon at least a few armed bandits - if you haven't yet been detected by the enemy, try to eliminate them with the help of your crossbow and silent takedowns. Otherwise, use your firearms, hide behind covers to mitigate some of the damage and run change position whenever a grenade lands at your feet. You can use the first stairway quite easily, but the second one can be only be accessed by climbing the red ledges to get past the blocked pathway.
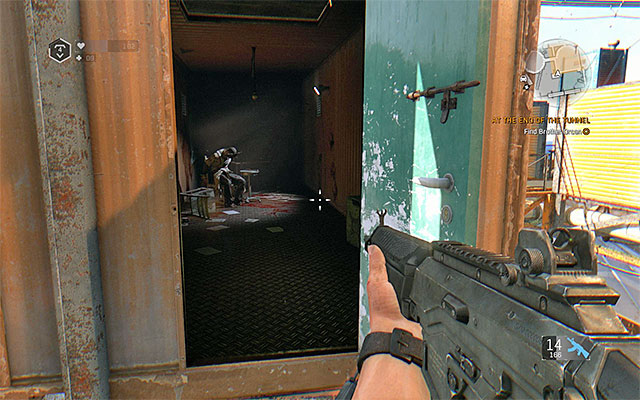
You shouldn't rush while exploring the highest balconies, as there will be heavy-armored enemies there, who should be eliminated by shooting them in the head. You should, however, try to get rid of the sniper located on top of the nearby tower. Finally, search through all the small rooms located on top of the granary - enemies will burst through some of them as soon as you get close enough. Additionally, one of the containers (located farthest to the north) is the place at which Brother Orcan is held hostage - get there and speak with the NPC.
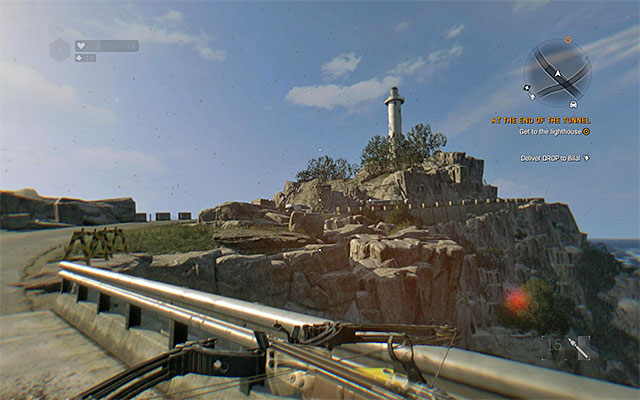
You must now leave the granary - go through the balconies and locate the landing place on the ground, filled with blue bags you can safely jump fall onto. Your next destination is the Lighthouse located at the eastern end of the map. The route to the lighthouse runs through a concrete road, which is why you should use a buggy to get there. Upon arrival, make sure that your vehicle is repaired and that the fuel tank is full - you will be using it in a near future to quickly get to another part of the map.
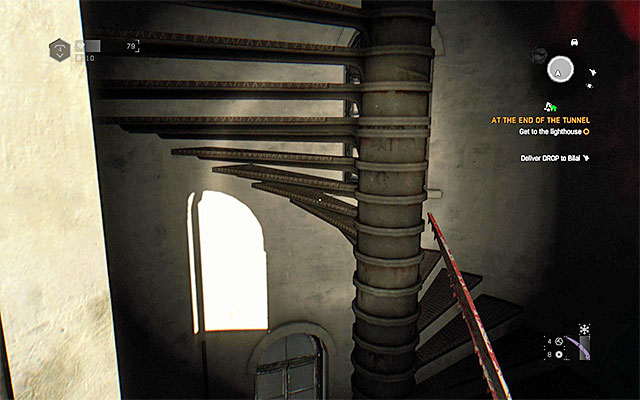
Don't pay attention to the closed lighthouse doors, as you can (and have to) climb the tower. Grab onto subsequent ledges and jump to window shutters. Ignore the first open window and continue your climb, until you reach the second one (shown on the above screenshot). Get through the window to enter the lighthouse, climb the stairs to the top and open the red doors.
Note - the game will ask you if you want to begin the final moment of the campaign. You have to complete it in solo mode and during the final moments you will be able to choose your preferred ending of the game. During the finale you won't be able to take part in optional activities (side quests, challenges, secrets, etc.), but the game will allow you to get back to them once the final story-related quest is completed.
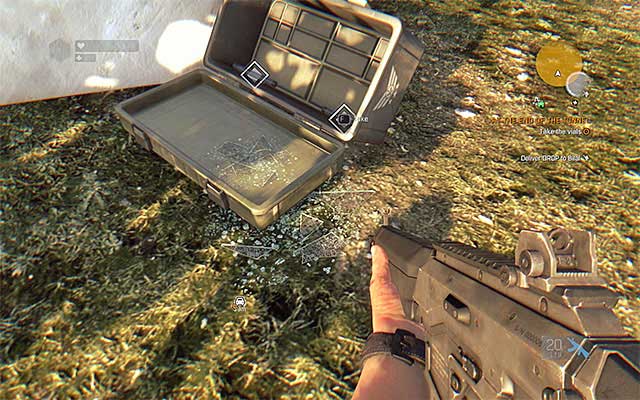
A cut-scene will initiate, during which you will meet with Kaan. As soon as it ends, an encounter with bandits located near the lighthouse will begin. Try to move away from the lighthouse (it's worth to get to the nearby lodge), because the dust hovering around it decreases visibility. Use an assault rifle or any other firearm to deal with the bandits. After the encounter ends, examine the marked area - you must locate the small box shown on the above screenshot and collect three Vials from it. Crane will be contacted by the Acolyte and will ask you for assistance. Only one story-related quest - The Following - remains.
- Dying Light: The Following Game Guide
- Dying Light The Following: Game Guide
- Dying Light The Following: Main story
- Dying Light The Following: Quests map
- Dying Light The Following: The Way Out
- Dying Light The Following: Kaan & Able
- Dying Light The Following: Gaining Credence
- Dying Light The Following: Stranger in a Strange Land
- Dying Light The Following: The Gathering
- Dying Light The Following: Anomalies
- Dying Light The Following: Vanitas
- Dying Light The Following: An Unfinished Story
- Dying Light The Following: The Fate of the Fool
- Dying Light The Following: At the End of the Tunnel
- Dying Light The Following: The Following
- Dying Light The Following: Main story
- Dying Light The Following: Game Guide
You are not permitted to copy any image, text or info from this page. This site is not associated with and/or endorsed by the developers and the publishers. All logos and images are copyrighted by their respective owners.
Copyright © 2000 - 2026 Webedia Polska SA for gamepressure.com, unofficial game guides, walkthroughs, secrets, game tips, maps & strategies for top games.
