The Sinking City: Exploration
Exploring the environment and traveling around the city is an integral part of The Sinking City. Even if you focus only on the main storyline, you still have to travel to destinations and buildings related to the cases. You can travel on foot, swim, or use fast travel.
- Moving around the city
- Boats
- Fast travel
- Using the map
- Entering buildings and symbols
- Loot and items
- Locations taken over by monsters
Moving around the city
The hero moves most of the game on foot. He can crouch to go through smaller holes and move below obstacles. Reed can also sprint by holding the right key (Shift). He can also climb most objects with a height of approx. 1 meter, thus overcoming obstacles and fences and climbing to places located above the ground. However, Reed can't climb ladders. The hero can take damage from falling from a height.
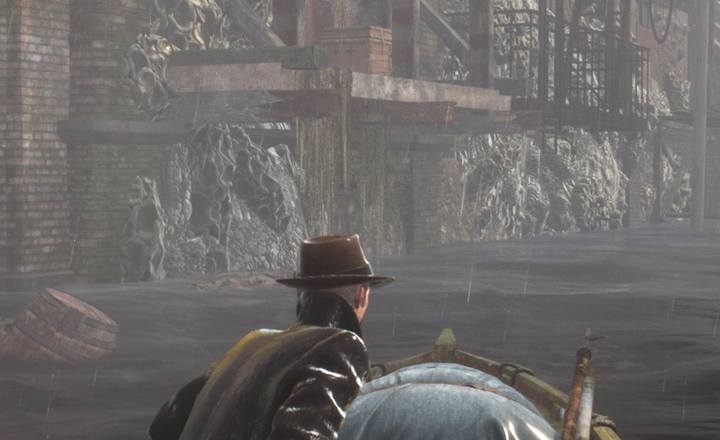
Boats
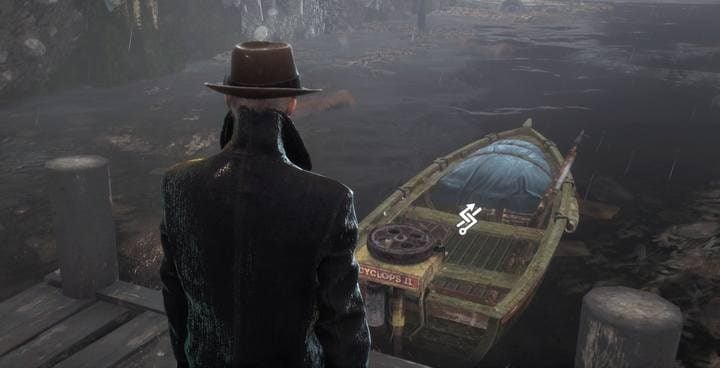
In addition, you can use boats to travel between the sunken parts of the town. You will find them at every pier. You can also swim but if you stay too long in the water (more than 5 seconds), you will get attacked by eels.
Fast travel
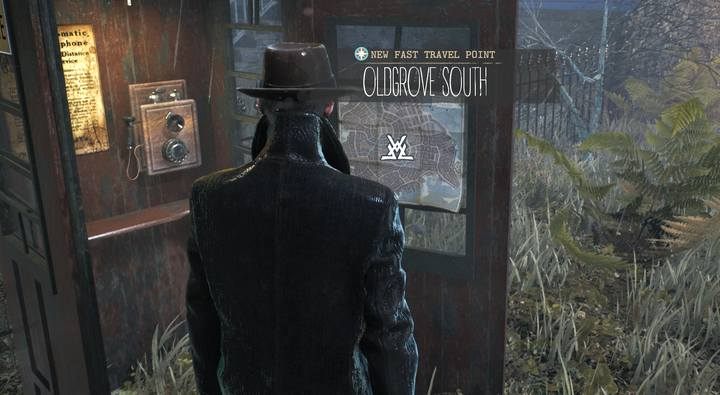
Find a phone booth to unlock a fast travel point. Fast travel is free. You can move from one booth to another, you can't do it from any place on the map. Unlocked fast travel points are marked on the map with a compass rose icon.
When you load the game, the hero starts at the nearest phone booth. If you are far from the nearest booth, save the game and load it to appear near that place. Do the same when you enter a new area - you will automatically find the nearest fast travel point.
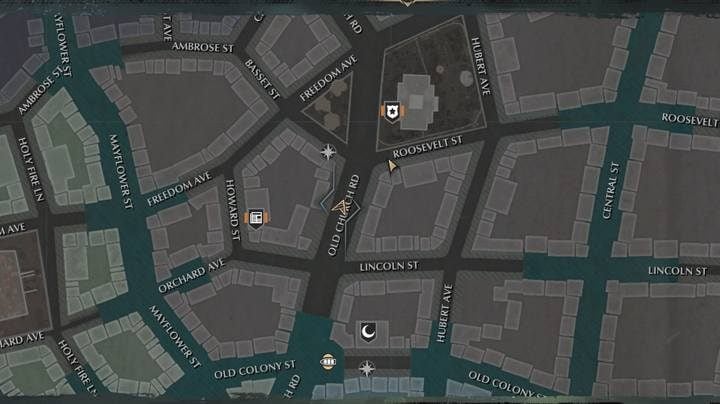
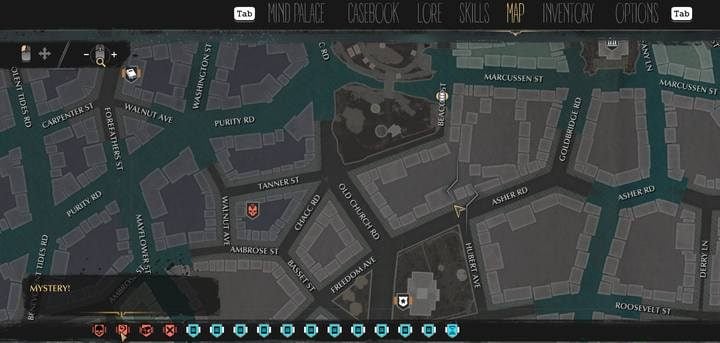
Using the map
Places that are key to the plot like police stations or properties are marked on the map. You will also find points and places related to the main cases (the magnifying glass icon). In addition, Infested Areas are marked with a skull icon, and fast travel points are marked with a compass icon (phone booths). Various key buildings are marked with special icons (cross - hospital; book - archive; building - university, institution).
If you find an interesting place, you can mark it yourself - click "place marker" (Space key) and select its appearance to make it easier to remember what you can find in that location.
After opening the mission log and pointing a location on the map, you can add named mission objectives to the map - this can be done for almost every mission objective.
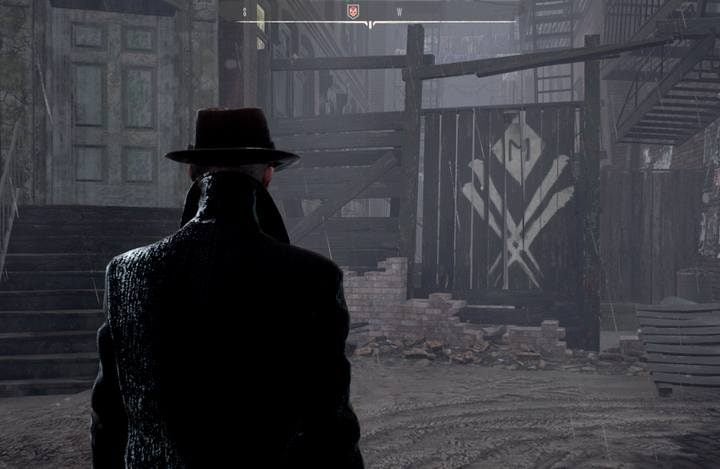
Entering buildings and symbols
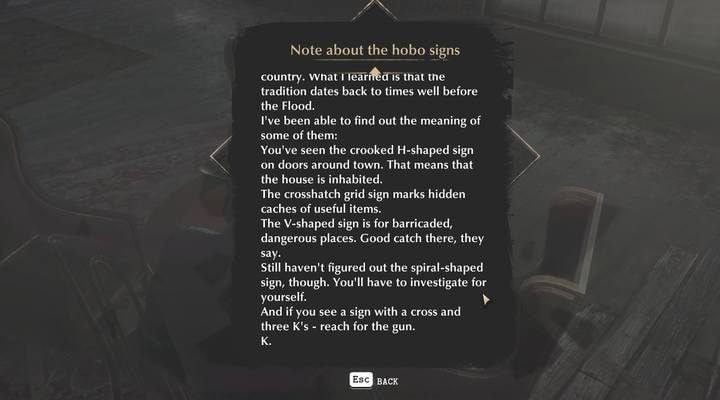
In The Sinking City, you can enter only the buildings that are marked on the map. Reed can also enter those that have white symbols on the front door. The letter H placed on the doors means that the house is inhabited. Other symbols:
- V - means the entrance to the Infested Areas and dangerous areas where you can expect formidable monsters,
- Spiral-shaped sign - a place related to the case and/or plot,
- Cross and 3 K's - very dangerous areas.
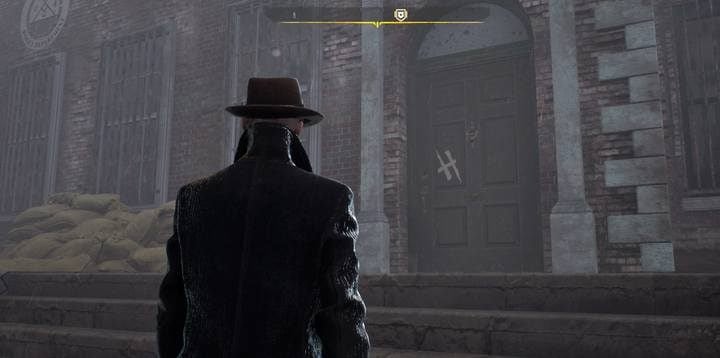
Tip: some markings, especially "H" on a white door, are hard to see. Sometimes, they can be completely invisible. Use the Mind's Eye - the sign will have a blue outline. It will make it easier for you to find the containers with loot, mission objectives and buildings you have to enter to make progress in a case.
Loot and items
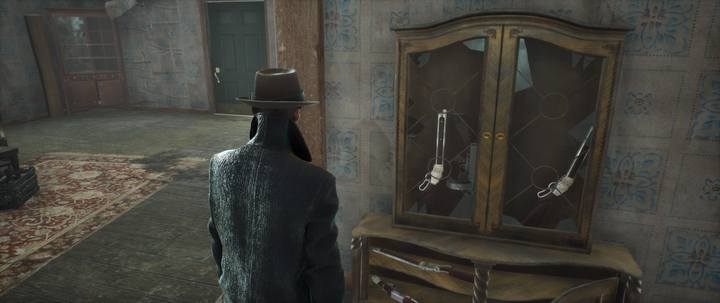
Reed can collect items useful in crafting, and rounds used for your weapons and as a currency in Oakmont City. You can only search places that are marked with a white diamond - it will appear when you get closer to them. Hold the action button to search a container. You won't find items such as new weapons or valuables that you can sell.
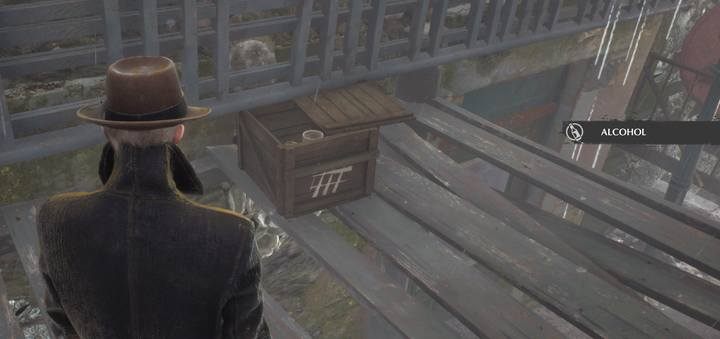
Usually, most of the furniture (drawers, cabinets, etc.) that contain loot are marked with white symbols, so you don't need to check all the objects inside a room. When you are exploring the city, Reed can search some of the trash bins or car trunks.
Locations taken over by monsters
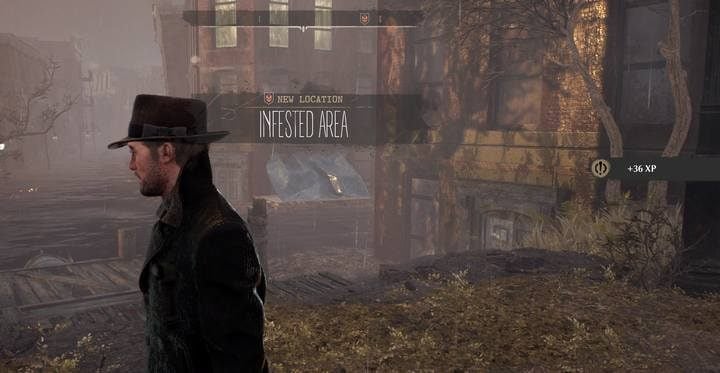
The locations controlled by monsters are called Infested Areas. You can discover them by getting closer to these locations - they will be permanently marked on your map. Usually, you have to go through a barricade to get to this area. Inside, you will find monsters.
Infested Areas typically cover up to three streets. Every entrance to these areas is barricaded, but you can usually go around it, move through a building or climb a barricade. Inside Infested Areas:
- you will find a group of monsters every few meters - do not rush through these places, or you will face an army of monsters;
- chests in these places contain very valuable loot,
- these are the best places to get XP,
- in some places, you can find unique treasures (marked in the log as Unique - Gold of the Creatures from the Depths).
Infested Areas do not disappear - they can't be permanently "cleared".
You are not permitted to copy any image, text or info from this page. This site is not associated with and/or endorsed by the developers and the publishers. All logos and images are copyrighted by their respective owners.
Copyright © 2000 - 2026 Webedia Polska SA for gamepressure.com, unofficial game guides, walkthroughs, secrets, game tips, maps & strategies for top games.