
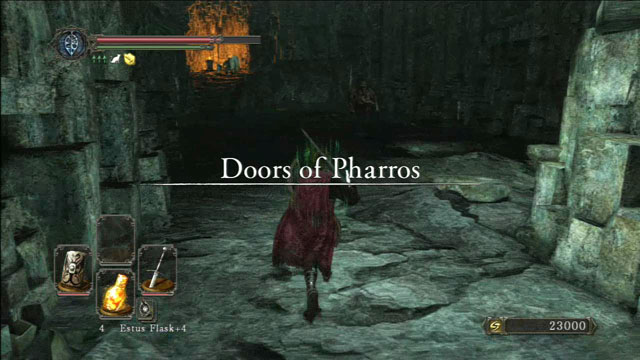
Dark Souls 2: Doors Of Pharros
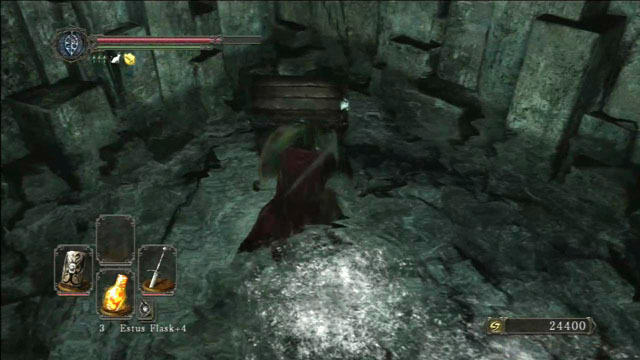
When you exit the tunnel, you'll encounter an elephant-man. This fight is rather difficult. The best way to defeat him is to circle him with your shield raised. Attack when you're behind him.

A dwarf armed with a hammer is your next enemy. Wait until he attacks and hit him a few times to kill him.
Take the Prism Stone from the corpse by the wall. There's a chest nearby. NOTE: There's a Mimic inside, so hit it a few times. When you kill the enemy, you'll get a Black Scorpion Singer and Dark Leggings.
Walk through the hole in the wall to light a bonfire. You can go to an optional part of this location from here.
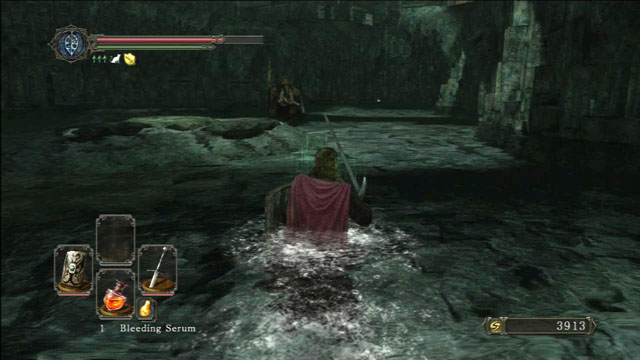
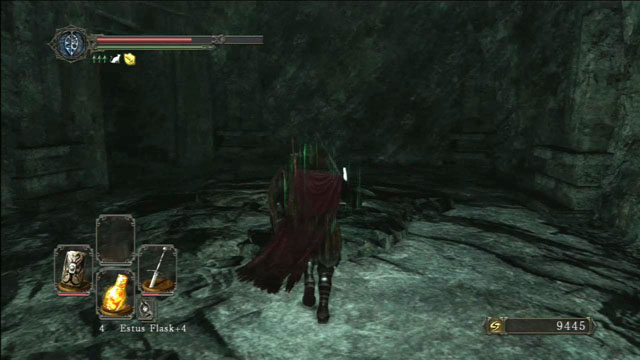
Walk through the corridor and enter the huge flooded room. Another elephant will attack you. Defeat it the same way as the last time.
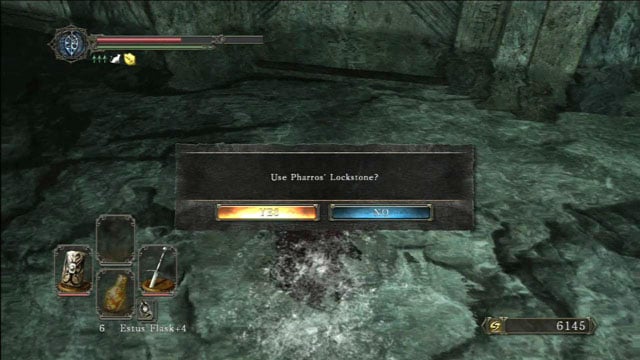
There's a lot of doors that you can open only with a Pharros Lockstone in this location. The first one is on the right wall. There are three parts, but you only need to place the stone in a hole in the floor to get inside. The lower part of the door will open, but it's big enough for you to get through. There's one more advantage - the elephant won't get out and you'll be able to kill it from a distance. There's a Santier's Rapier in the chest.
Look for an open passage on the left wall. Go through the tunnel to a ledge where you can take a Gyrm Axe and a torch from a corpse. You'll see some closed passages but you only need one stone to open them. There are dwarves that drop Large Titanite Shards behind them.
Walk through the next passage. Two mutant rats will attack you. After you kill them, climb the ladder. Go along the ledge. You'll encounter a few dwarves along the way. You'll also find a chest from which you can take a Titanite Chunk and a Petrified Dragon Bone. Be careful because there's a trap inside. Stand by one of the corners of the chest to avoid getting shot.
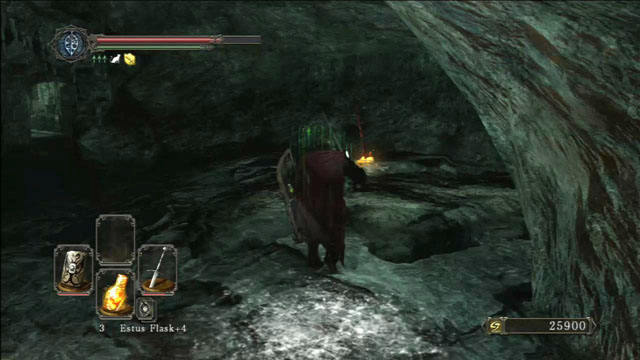
Keep walking forward. Take a Pharros Lockstone and a soul from a corpse on the left side of the stairs. Continue to the next room.
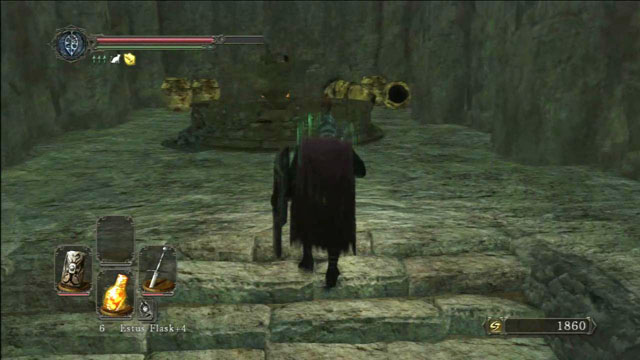
Explore the location while killing some dwarves and collecting items. Find a passage in the wall and use it. Light the bonfire in the next room. There's a boss behind the fog - Royal Rat Authority.
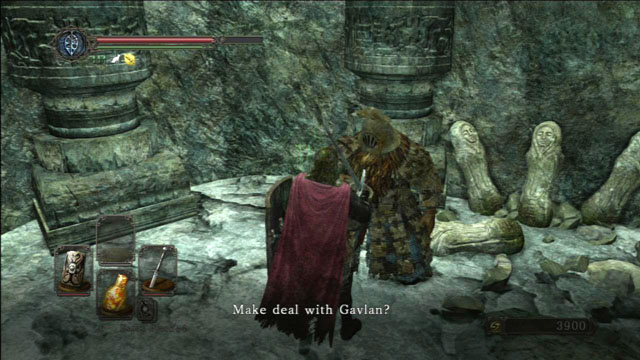
Go back to the first bonfire here to get to the farther part of the location. Go upstairs where you first seen a dwarf. After you kill him, keep going and kill another enemy. Open the chest and take some trash from it. Go upstairs and talk to Gavlan in the next room. Take a Lifegem from the corpse by the wall. Go forward to the higher floor.
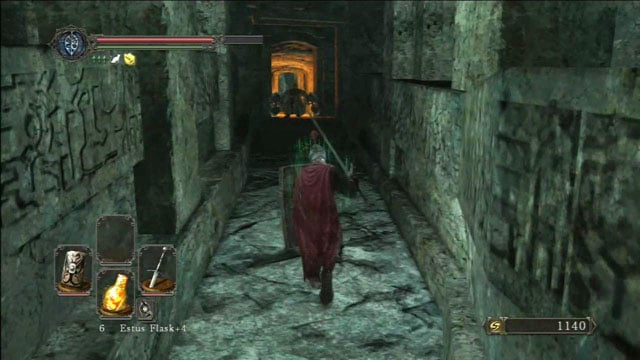
You'll see an axe-throwing dwarf at the end of the corridor. They fly quite slowly so it's easy to avoid them. Go forward. You can kill an enemy in a side corridor. Keep going and kill another enemy. Be careful because there's little space and you can fall into a pit quite easily.
Go all the way upstairs. Break the vases to take the Lifegem and go outside. You'll get to Brightstone Cove Tseldora.

- Dark Souls II Game Guide & Walkthrough
- Dark Souls 2: Full walkthrough
- Dark Souls 2: Walkthrough
- Dark Souls 2: Things Betwixt
- Dark Souls 2: Majula
- Dark Souls 2: Forest Of The Fallen Giants (1)
- Dark Souls 2: Forest Of The Fallen Giants (2)
- Dark Souls 2: Forest Of The Fallen Giants - Let's move on
- Dark Souls 2: Heide's Tower Of Flame
- Dark Souls 2: Heide's Tower Of Flame - The Underground
- Dark Souls 2: No Man's Wharf
- Dark Souls 2: The Lost Bastille
- Dark Souls 2: The Lost Bastille - Interior
- Dark Souls 2: Belfry Luna
- Dark Souls 2: The Lost Bastille - let's continue
- Dark Souls 2: Sinner's Rise
- Dark Souls 2: Huntsman's Copse - the way to Undead Purgatory
- Dark Souls 2: Huntsman's Copse - the way through the mountains
- Dark Souls 2: Harvest Valley
- Dark Souls 2: Earthen Peak
- Dark Souls 2: Iron Keep - journey through the fortress
- Dark Souls 2: Iron Keep - the road to the King
- Dark Souls 2: Grave Of Saints
- Dark Souls 2: The Gutter
- Dark Souls 2: Black Gulch
- Dark Souls 2: Shaded Woods
- Dark Souls 2: Shaded Ruins
- Dark Souls 2: Doors Of Pharros
- Dark Souls 2: Brightstone Cove Of Tseldora - campsite
- Dark Souls 2: Brightstone Cove Of Tseldora - Queen's Lair
- Dark Souls 2: Shrine Of Winter
- Dark Souls 2: Drangleic Castle - courtyard
- Dark Souls 2: Drangleic Castle - interiors
- Dark Souls 2: Shrine Of Amana
- Dark Souls 2: Undead Crypt
- Dark Souls 2: Aldia's Keep
- Dark Souls 2: Dragon Aerie
- Dark Souls 2: Dragon Shrine
- Dark Souls 2: Dream Of Giants / Throne Of Want
- Dark Souls 2: Walkthrough
- Dark Souls 2: Full walkthrough
You are not permitted to copy any image, text or info from this page. This site is not associated with and/or endorsed by the developers and the publishers. All logos and images are copyrighted by their respective owners.
Copyright © 2000 - 2026 Webedia Polska SA for gamepressure.com, unofficial game guides, walkthroughs, secrets, game tips, maps & strategies for top games.