
Dark Souls 2: Earthen Peak
There are two passages leading off the boss' arena - use the one on the right side. Climb up the stairs and light up the bonfire. You can also speak to Lucatiel of Mirrah, to receive a Ring of Steel Protection.
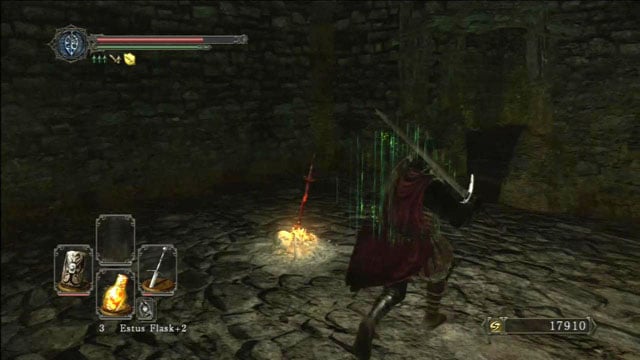
Exit the room with the bonfire and climb yet another staircase, where you will encounter two warriors. Block their attacks and launch your counterattacks when they are preparing for another move. There's a giant with a warhammer hidden behind a bowl hanging from the roof - defeat him and collect a Radiant Lifegem, located inside the corpse by the wall.
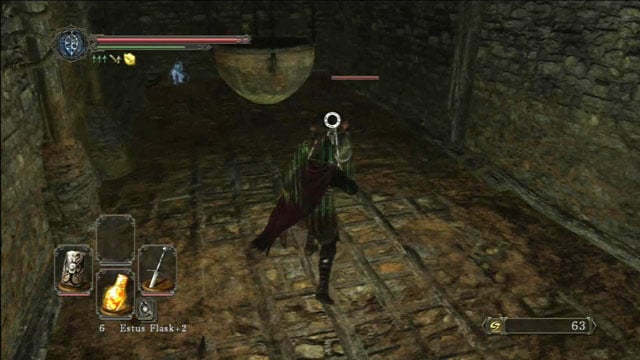
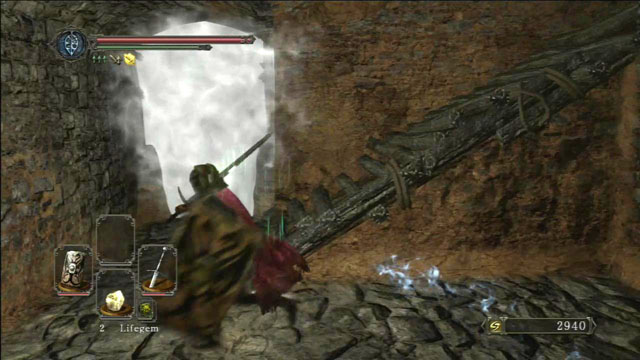
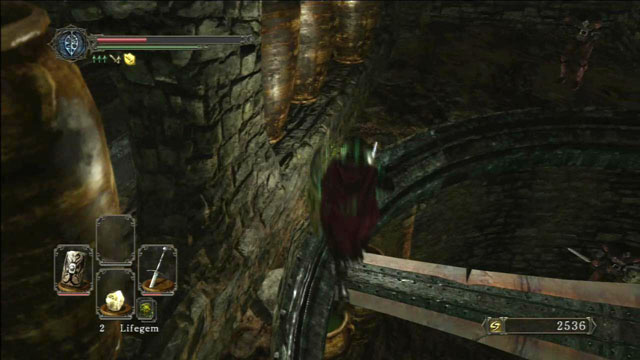
Exit the room and run across the bridge, towards the knight with a club. Block his attacks and launch your own whenever he's exposed. Afterwards, go outside and pay attention to the left side, from where two enemies will slide down the ladder. Kill them and go towards a hanging bowl. Get on a second, destroyed bridge - there are two archers here. You can get rid of them from a safe distance using a bow or a crossbow, hiding behind a wall after each shot. Collect all the nearby items and go outside.
Going further to the right side, you will see a lever on the wall. After flipping it, the bowl will raise up. Going upstairs, you will encounter another enemy. Run straight ahead and collect a Pike from the chest. Backtrack to the top and use the ladder.
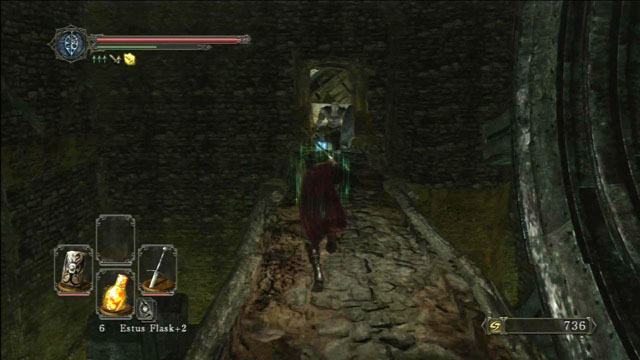
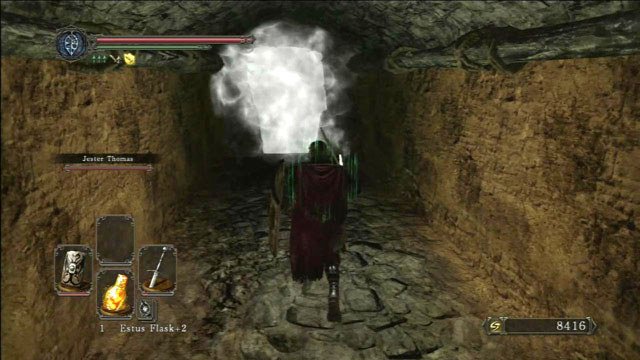
Defeat another headless enemy and go through the mist, where you can find a bonfire to light.
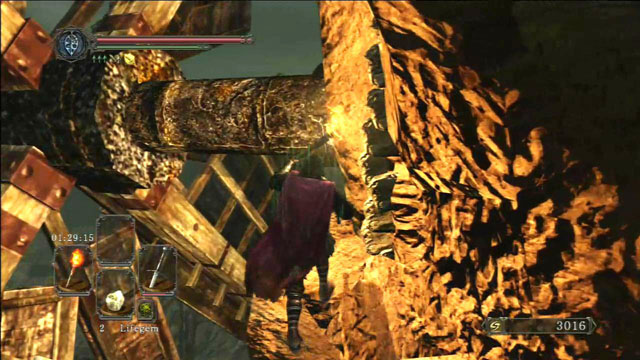
Ignite the torch from the bonfire and approach the windmill. Light the oil located on the shaft of the device, which will stop the pump from spreading the poison on the lower level of the location, making your journey a lot easier.
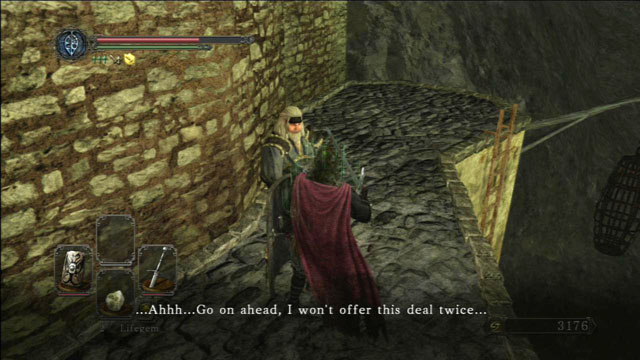
Go upstairs and on the balcony, where you will be attacked by yet another enemy. Destroy the wooden railing and go along the edge of the wall on the right, to collect a Simpleton's Spice. By going to the opposite direction, you will reach the Laddersmith Gilligan. After speaking with him, by contributing 2,000 souls, he will set up a ladder for you, allowing you to go on the lower lever to collect a Pharros Lockstone and a Twinkling Titanite. After exhausting all the dialogue options, he will transfer to Majula.
Go back to the balcony and run on its far end. Flip the lever located on the wall to lift an elevator, below which you will find a soul and a Divine Blessing. Use the elevator to reach the top and collect a Mirrah Shield from a chest. Go back down, climb the ladder to reach the upper level and run along the corridor. Turn right halfway through it and go down the stairs, to speak with Jester Thomas. Go back into the corridor and continue along it, until you reach its end. An encounter with a knight wielding a magical spear awaits you here. Get rid of him, go a little further and kill another group of two knights an two witches - the witches are fragile, but they have a powerful fire attack at their disposal.
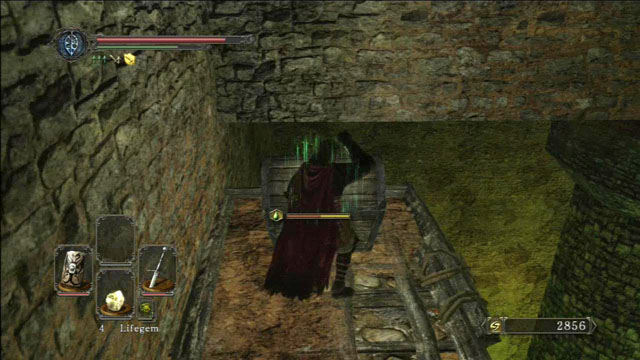
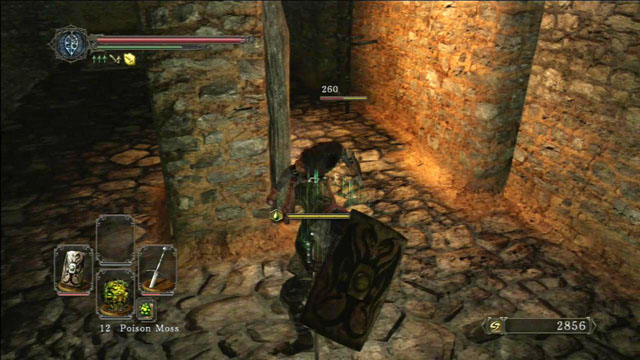
In the middle of the room you will find a round mechanism - if you've burned the windmill, it should be motionless. Jump down and kill the headless warrior. The exit out of this room is located behind the yellow, poison-filled vases.
Get all the way back to the place from which you emerged on the balcony. Watch out for a switch located on the floor - if you stumble upon it, you will activate a trap. There's another enemy hiding behind the pillars. Kill him and pick up a Minikin Mask, located inside the corpse on the edge of the wall. Afterwards, climb up the ladder to reach the upper level.
By going into the corridor on the right side, you will reach the other side of the round mechanism - there's nothing of interest there, so just go to the left. Climb the stairs all the way to the top and defeat two witches - note that they are in a close vicinity of the poison-filled vases. There's another knight and a witch hiding on the staircase on the right side.
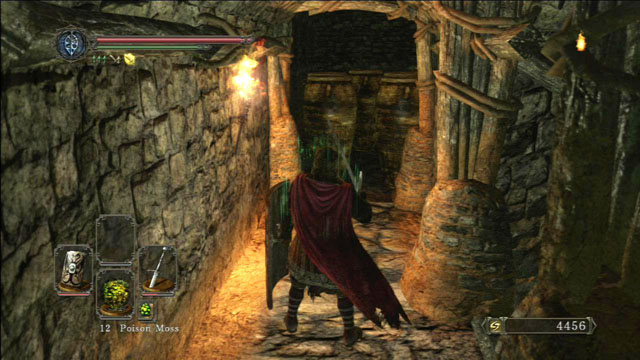
Climb up another staircase, where you will have two paths available. After going to the right, use your throwing knives or bombs to destroy the vases from afar. Inside, there's a bunch of poisonous fungi. You can also see a chest there - restrain from opening it, as it's a Mimic. Stand behind the chest and start attacking it with your sword - try to land as many strikes as possible, before the chest transforms into a monster. After killing it, collect Dark Gauntlets and a Work Hook. There's also a place to use your Pharros Lockstone here, but you will just be flooded with poison if you do so.

Climb the stairs on the topmost level. There are vases with poison located on the edge. Stand with your back against them - there are secret, hidden walls located on the both sides of the entrance. By opening the one on the right side, you can collect a Petrified Something from a chest - the left one covers a bonfire.
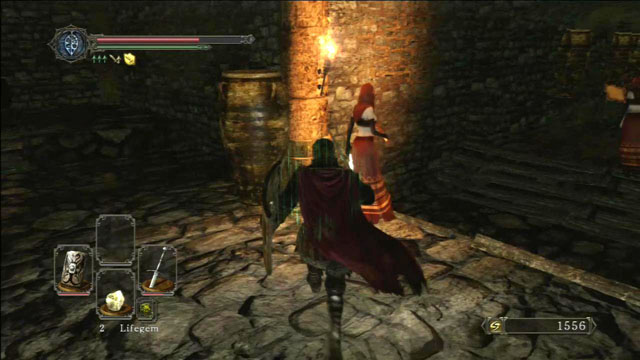
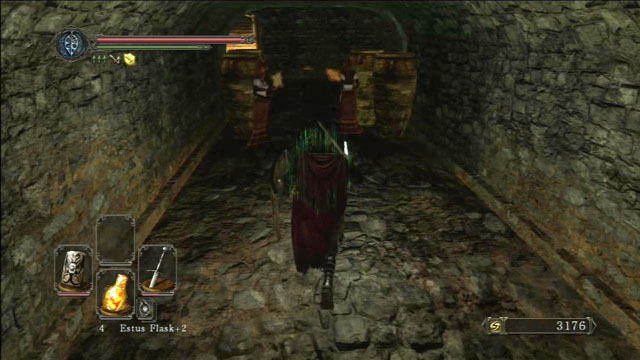
Go down and defeat the two knights guarding the mist. On the right side of the staircase you will wind a Jester Thomas summoning sign, whereas inside the corpse on the left side there's a Poison Stone. Afterwards, go through the mist, where Mytha, the Baneful Queen awaits you.

- Dark Souls II Game Guide & Walkthrough
- Dark Souls 2: Full walkthrough
- Dark Souls 2: Walkthrough
- Dark Souls 2: Things Betwixt
- Dark Souls 2: Majula
- Dark Souls 2: Forest Of The Fallen Giants (1)
- Dark Souls 2: Forest Of The Fallen Giants (2)
- Dark Souls 2: Forest Of The Fallen Giants - Let's move on
- Dark Souls 2: Heide's Tower Of Flame
- Dark Souls 2: Heide's Tower Of Flame - The Underground
- Dark Souls 2: No Man's Wharf
- Dark Souls 2: The Lost Bastille
- Dark Souls 2: The Lost Bastille - Interior
- Dark Souls 2: Belfry Luna
- Dark Souls 2: The Lost Bastille - let's continue
- Dark Souls 2: Sinner's Rise
- Dark Souls 2: Huntsman's Copse - the way to Undead Purgatory
- Dark Souls 2: Huntsman's Copse - the way through the mountains
- Dark Souls 2: Harvest Valley
- Dark Souls 2: Earthen Peak
- Dark Souls 2: Iron Keep - journey through the fortress
- Dark Souls 2: Iron Keep - the road to the King
- Dark Souls 2: Grave Of Saints
- Dark Souls 2: The Gutter
- Dark Souls 2: Black Gulch
- Dark Souls 2: Shaded Woods
- Dark Souls 2: Shaded Ruins
- Dark Souls 2: Doors Of Pharros
- Dark Souls 2: Brightstone Cove Of Tseldora - campsite
- Dark Souls 2: Brightstone Cove Of Tseldora - Queen's Lair
- Dark Souls 2: Shrine Of Winter
- Dark Souls 2: Drangleic Castle - courtyard
- Dark Souls 2: Drangleic Castle - interiors
- Dark Souls 2: Shrine Of Amana
- Dark Souls 2: Undead Crypt
- Dark Souls 2: Aldia's Keep
- Dark Souls 2: Dragon Aerie
- Dark Souls 2: Dragon Shrine
- Dark Souls 2: Dream Of Giants / Throne Of Want
- Dark Souls 2: Walkthrough
- Dark Souls 2: Full walkthrough
You are not permitted to copy any image, text or info from this page. This site is not associated with and/or endorsed by the developers and the publishers. All logos and images are copyrighted by their respective owners.
Copyright © 2000 - 2026 Webedia Polska SA for gamepressure.com, unofficial game guides, walkthroughs, secrets, game tips, maps & strategies for top games.