
Dark Souls 2: Heide's Tower Of Flame

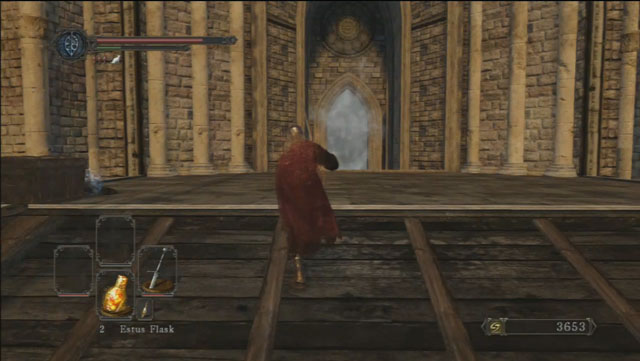
Go get to the Heide's Tower of Flame, you have to set off from Majula. The entrance to the location is situated behind the blacksmith. Go through the stairs all the way down. Along the way, you will stumble upon a chest - you can collect a Crimson Parm from it. After reaching a closed passage, pull the lever on the left side. A path leading through the canals will be opened. Pick up a soul and a Broken Thief Sword at the end of them. Exit through the tunnel and follow the trail down. Turn to the right behind the destroyed bridge and light the bonfire.
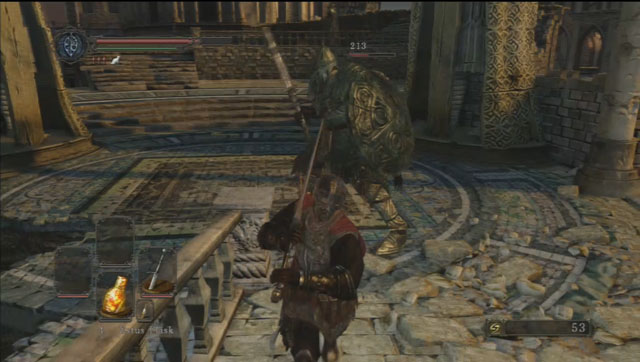
Afterwards, get back on the bridge and engage the enemy - a large knight equipped with a sword and a shield. Defeating him is rather simple. To deal higher damage, take your sword in both hands. The enemy's attack pattern consists of 3 strikes: two fast swings and one, slower but stronger smash. After his two fast swings, jump behind his back the moment he starts preparing for his slower attack. Perform a single strike and jump back. Rinse and repeat 5 or 6 times (depending on the damage that your character can deal).
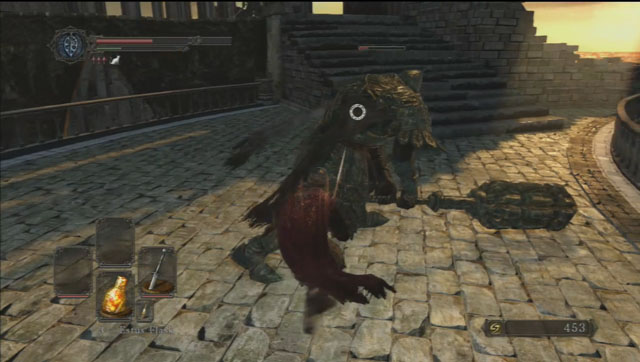
Climb up the stairs to face another foe. He looks very similar, but he's equipped with a two-handed mace. He's a rather dangerous enemy. He has a few types of attacks at his disposal: a strong, overhead strike, a swing, or a series of attacks (two powerful overhead strikes). The best tactic for him is to circle around him with your weapon drawn. Beware, as when you see that he is preparing for a transverse cut, you must jump away from him - this attack can reach you even when you're behind him. After defeating him collect a Sublime Bone Dust. What's important, the enemy won't be reborn again.
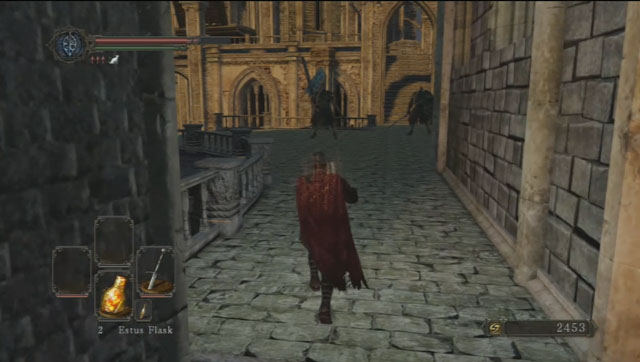
Collect souls and a Human Effigy lying in the corner. Climb up the stairs and engage another enemy knight, wielding a sword and a shield. After getting rid of him, use the lever, which will raise a platform in a nearby tower. Also, collect a Lloyd's Talisman. Go further through the destroyed bridge, until you reach a building. Inside, you will encounter three enemy knights: two wielding a sword and a shield, and one equipped with a two-handed sword. Try to fight them one-on-one, as engaging all three of them at the same time might be difficult. After the battle ends, go straight ahead to come out on the other side.
You will stumble upon two enemy knights: one equipped with a sword and a shield, and the other one with a two-handed sword. Try to engage them in a one-on-one combat. To the left there are destroyed stairs - climb them up and collect a Divine Blessing. Afterwards, climb the stairs and get on a platform occupied by a knight with a shield. After defeating him, a switch will appear, which will lower a drawbridge.
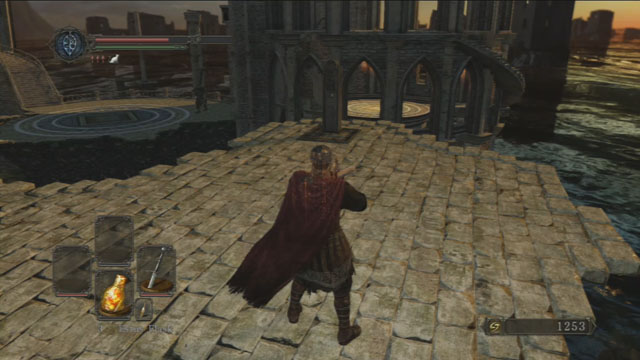
Go upstairs and collect the items on the left side - inside the corpse you will find a Old Radiant Lifegem, while a chest holds a Ring of Binding and a Human Effigy. Go through the mist, where an Old Dragonslayer awaits you.
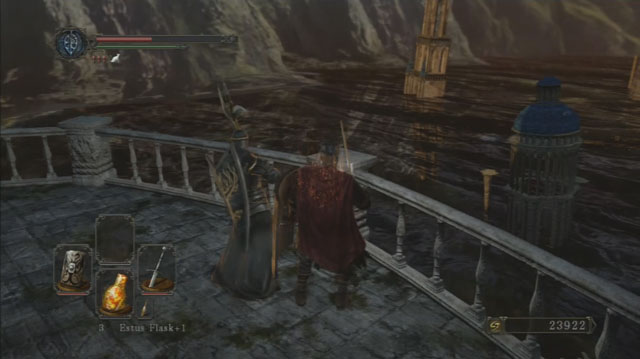
After the fight, go on the balcony and empty the chests, where you will find a Cracked Blue Eye Orb, Heide's Knight Iron Mask, and a Tower Shield. You can also talk with the knight standing at the balustrade. Afterwards, go down the stairs and light up the bonfire.
Go back to the place occupied by the three knights. If you have recovered by the bonfire, the knights will be reborn. Use the passage on the left side and go down the stairs. Here, you will have to face an enemy equipped with a two-handed sword. You can also open up a chest, which holds a Green Bossom. Go through the mist to face the Dragonrider. After the fight, go up and light up the bonfire and unlock an access to a miracle vendor, Licia of Lindeldt.

- Dark Souls II Game Guide & Walkthrough
- Dark Souls 2: Full walkthrough
- Dark Souls 2: Walkthrough
- Dark Souls 2: Things Betwixt
- Dark Souls 2: Majula
- Dark Souls 2: Forest Of The Fallen Giants (1)
- Dark Souls 2: Forest Of The Fallen Giants (2)
- Dark Souls 2: Forest Of The Fallen Giants - Let's move on
- Dark Souls 2: Heide's Tower Of Flame
- Dark Souls 2: Heide's Tower Of Flame - The Underground
- Dark Souls 2: No Man's Wharf
- Dark Souls 2: The Lost Bastille
- Dark Souls 2: The Lost Bastille - Interior
- Dark Souls 2: Belfry Luna
- Dark Souls 2: The Lost Bastille - let's continue
- Dark Souls 2: Sinner's Rise
- Dark Souls 2: Huntsman's Copse - the way to Undead Purgatory
- Dark Souls 2: Huntsman's Copse - the way through the mountains
- Dark Souls 2: Harvest Valley
- Dark Souls 2: Earthen Peak
- Dark Souls 2: Iron Keep - journey through the fortress
- Dark Souls 2: Iron Keep - the road to the King
- Dark Souls 2: Grave Of Saints
- Dark Souls 2: The Gutter
- Dark Souls 2: Black Gulch
- Dark Souls 2: Shaded Woods
- Dark Souls 2: Shaded Ruins
- Dark Souls 2: Doors Of Pharros
- Dark Souls 2: Brightstone Cove Of Tseldora - campsite
- Dark Souls 2: Brightstone Cove Of Tseldora - Queen's Lair
- Dark Souls 2: Shrine Of Winter
- Dark Souls 2: Drangleic Castle - courtyard
- Dark Souls 2: Drangleic Castle - interiors
- Dark Souls 2: Shrine Of Amana
- Dark Souls 2: Undead Crypt
- Dark Souls 2: Aldia's Keep
- Dark Souls 2: Dragon Aerie
- Dark Souls 2: Dragon Shrine
- Dark Souls 2: Dream Of Giants / Throne Of Want
- Dark Souls 2: Walkthrough
- Dark Souls 2: Full walkthrough
You are not permitted to copy any image, text or info from this page. This site is not associated with and/or endorsed by the developers and the publishers. All logos and images are copyrighted by their respective owners.
Copyright © 2000 - 2026 Webedia Polska SA for gamepressure.com, unofficial game guides, walkthroughs, secrets, game tips, maps & strategies for top games.