Dark Souls 2: The Lost Bastille - Interior
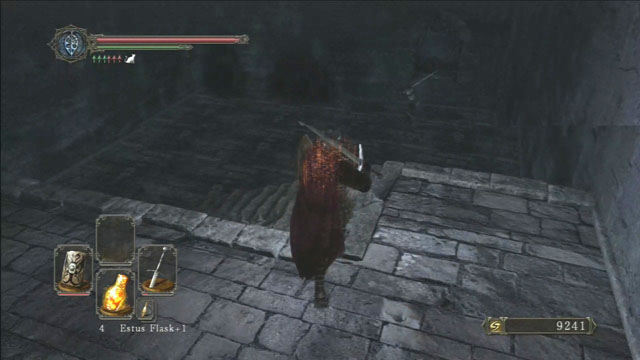
After going through the door, you will have two routes leading to the next boss to choose from. You can pick the left one and go through a narrow corridor, or use go down the stairs on the right side. The first option may be a little difficult, as there are many enemies awaiting you there - but there's a trick to it. Get inside the corridor and back up as soon as the enemies notice you. Throw a single attack and jump back, until you've defeated all the enemies. Go back into the corridor and use the switch to raise the grating. Behind it, another group of enemies awaits you. After getting rid of them, you will be in another corridor - at its end there's a mist leading to the boss room.

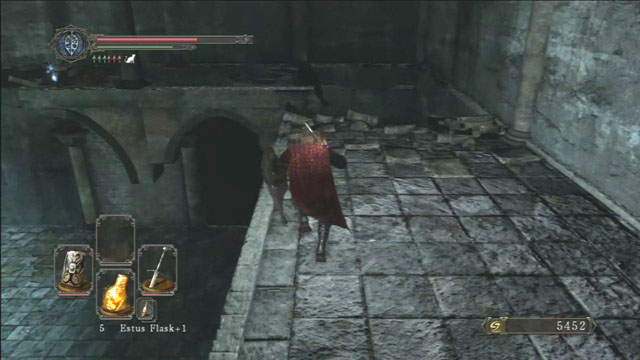
The second route leads downstairs. You will encounter enemies on your route, but they won't be packed up in a single place. After reaching the bottom, you will find a corpse lying by a destroyed door - from it you can collect souls and a Human Effigy. NOTE: don't open the single-winged doors on one of the walls, and even if you open them, don't cross them, as you will fall down and die. Use the ladder to get to the upper level. You will encounter two enemies here. You are inside a corridor - at its end there's a mist leading to the boss room. Going along it you can search the nearby cells - in one of them you will find Lucatiel of Mirrah to aid you. Afterwards, go through the mist to enter a boss fight with the Ruin Sentinel's.
After the boss fight, go through the hole in the wall and continue upstairs. You will land on a upper, heavily damaged floor. You can jump to the other side of the balcony to collect a Homeward Bone. Use the passage in the wall and collect the souls from the first cell on the right. Afterwards, run through the corridor without stopping for even a second, as this is a trap.
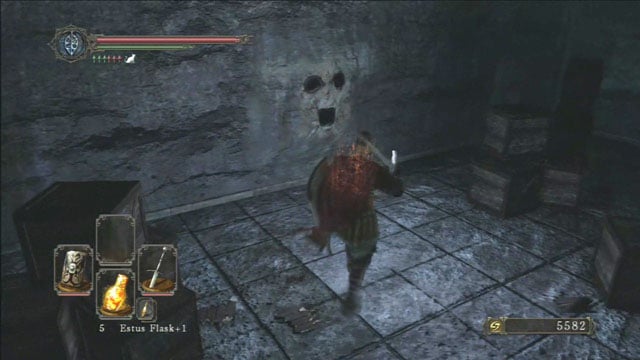
Light up the bonfire located in the corner of the room. There's a ladder leading down next to it. Get rid of the dog lurking in this room and find a corpse containing souls, lying in the corner of the room, and a chest, where you can find a Priest's Chime. There's a device on one of the walls - use the Pharros Lockstone to activate it. Afterwards, a similar "face-like" device will appear next to the one you've just activated - hit it to unlock a passage leading to the Belfry Luna.

- Dark Souls II Game Guide & Walkthrough
- Dark Souls 2: Full walkthrough
- Dark Souls 2: Walkthrough
- Dark Souls 2: Things Betwixt
- Dark Souls 2: Majula
- Dark Souls 2: Forest Of The Fallen Giants (1)
- Dark Souls 2: Forest Of The Fallen Giants (2)
- Dark Souls 2: Forest Of The Fallen Giants - Let's move on
- Dark Souls 2: Heide's Tower Of Flame
- Dark Souls 2: Heide's Tower Of Flame - The Underground
- Dark Souls 2: No Man's Wharf
- Dark Souls 2: The Lost Bastille
- Dark Souls 2: The Lost Bastille - Interior
- Dark Souls 2: Belfry Luna
- Dark Souls 2: The Lost Bastille - let's continue
- Dark Souls 2: Sinner's Rise
- Dark Souls 2: Huntsman's Copse - the way to Undead Purgatory
- Dark Souls 2: Huntsman's Copse - the way through the mountains
- Dark Souls 2: Harvest Valley
- Dark Souls 2: Earthen Peak
- Dark Souls 2: Iron Keep - journey through the fortress
- Dark Souls 2: Iron Keep - the road to the King
- Dark Souls 2: Grave Of Saints
- Dark Souls 2: The Gutter
- Dark Souls 2: Black Gulch
- Dark Souls 2: Shaded Woods
- Dark Souls 2: Shaded Ruins
- Dark Souls 2: Doors Of Pharros
- Dark Souls 2: Brightstone Cove Of Tseldora - campsite
- Dark Souls 2: Brightstone Cove Of Tseldora - Queen's Lair
- Dark Souls 2: Shrine Of Winter
- Dark Souls 2: Drangleic Castle - courtyard
- Dark Souls 2: Drangleic Castle - interiors
- Dark Souls 2: Shrine Of Amana
- Dark Souls 2: Undead Crypt
- Dark Souls 2: Aldia's Keep
- Dark Souls 2: Dragon Aerie
- Dark Souls 2: Dragon Shrine
- Dark Souls 2: Dream Of Giants / Throne Of Want
- Dark Souls 2: Walkthrough
- Dark Souls 2: Full walkthrough
You are not permitted to copy any image, text or info from this page. This site is not associated with and/or endorsed by the developers and the publishers. All logos and images are copyrighted by their respective owners.
Copyright © 2000 - 2026 Webedia Polska SA for gamepressure.com, unofficial game guides, walkthroughs, secrets, game tips, maps & strategies for top games.