
Dark Souls 2: The Lost Bastille
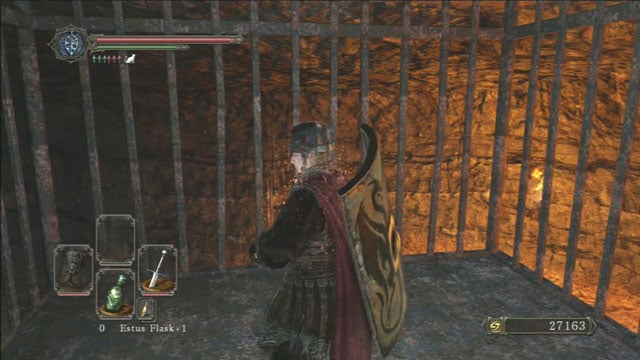
After leaving the ship, go along the bridge, towards the shore and enter the building before you. Inside, use the elevator to get to the upper level, from where you will embark on your further journey. After reaching the upper level, search through the nearby cells - inside one of them you will find souls and a Radiant Lifegem. Afterwards, go upstairs and search the surrounding, open rooms - you will find a Common Fruit and a bonfire to light. After doing so, teleport to the bonfire that you've unlocked after the fight with The Pursuer - you will save a lot of time doing it.
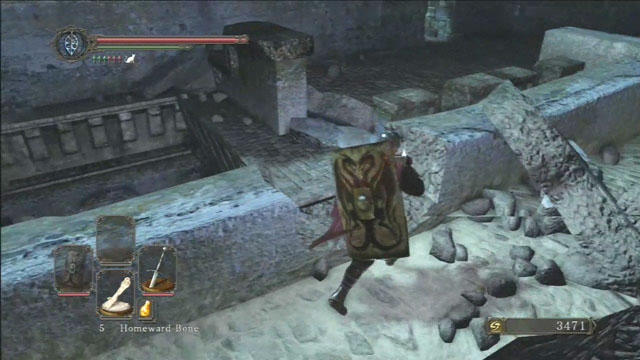
Leave the tower and go straight ahead, until you reach the rubble - from there, turn to the left and get on a narrow piece of a wall. You can circle around the wall to collect an item. Afterwards, go to the other side of the wall and defeat the nearby giant. Use the passage in the wall and enter the room - there's an archer and a couple of dogs at the bottom of it. After jumping down (or using the ladder to get down), the archer should follow you - it should allow you to easily defeat him on the lower level. Go through the door and open a chest on the other side of the room, containing an Antiguated Key and a Covetous Silver Serpent Ring.
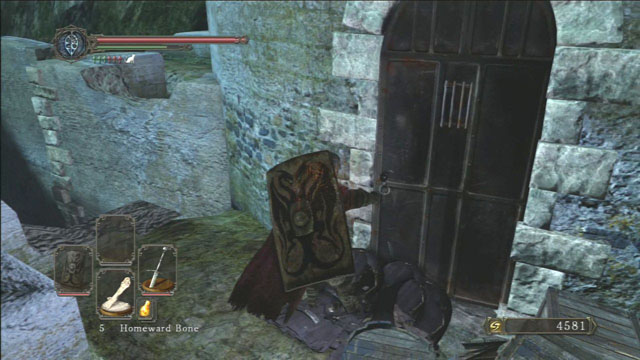
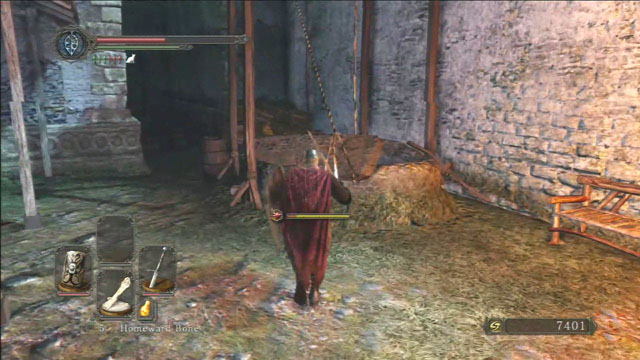
Go back upstairs and run through the bridge towards another tower. At the foot of the tower there will be barrels blocking the entrance - destroy them to open the passage. Inside, you will encounter Lucatiel of Mirrah again. After speaking with him, you will be given a Human Effigy. From here, you can teleport to the bonfire unlocked after the ship trip, to explore the rest of the location.
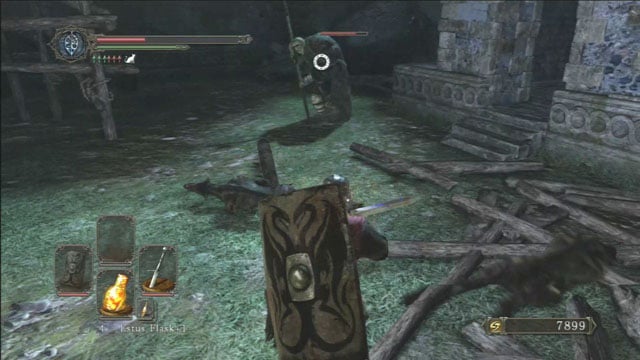
After returning to the bonfire, exit the cell and climb up the stairs. You will stumble upon a white knight on the stone bridge. You don't need to fight him if you don't want to - unless you attack him first, he will leave you alone. On the edge of the bridge you will see a couple of barrels. Destroy them to be able to attack the enemy standing on a platform, below you - all you have to do is to stand on the edge and jump down, attacking in the process. Fighting him may be a little tricky, as he uses a weapon with a longer reach, but by using a suitable tactic, you should be able to handle him. You can either attack by blocking his attacks and counterattacking when he's staggered, or by dodging and attacking his exposed back. Also, keep in mind that a couple of dogs will join the fight as soon as you hit the ground. Destroy the wooden scaffolding drop down an item.
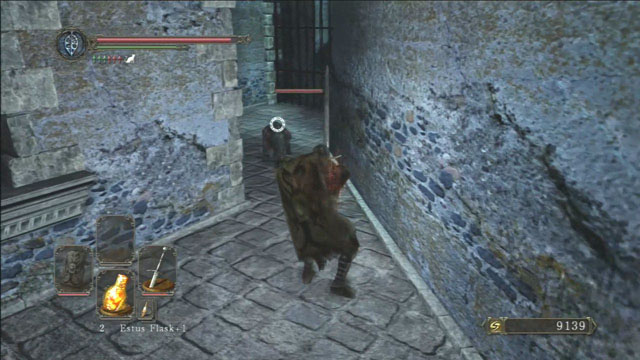
Approach the wall to notice a hole boarded with wooden planks. Break them and get inside. On the left side you will see a wooden platform spread between the pillars - there's another enemy hiding behind them. He's just a regular knight with a two-handed sword - all you have to do is to block and/or dodge his attacks and attack him when he's exposed. After the fight, get inside the cell, to encounter a new enemy - a Zombie. Fighting them may be a little complicated, as they have a nasty attack - they drop to the ground and explode, dealing quite a lot of damage in the process. Because of that, you have to kill them before they can use it. Collect a Flame Butterfly from the corpse lying by the wall. Use the Antiguated Key to open the door. A pack of dogs awaits you on the other side. After dealing with them, approach the well and hit the stone. A group of three zombies will emerge from below. Defeat them and pick up a Wanderer Set. There's another building located behind the well - the safest route would be to approach it from the side. To do so, go along the left wall and climb up the wall to reach the roof. Jump through the window and defeat the two crossbowmen located on an elevation. Afterwards, jump down and defeat an enemy equipped with a two-handed sword. Climb up the ladder to reach the top and collect souls and a Green Blossom from a corpse.
Go outside and continue straight ahead, towards a narrow passage. A pack of dogs await you here. Use the switch to raise the grating and kill them one by one. Carefully approach the stairs, as the giant on its top will throw an exploding barrel at you - to avoid taking damage, run next to the wall. Attack the enemy in a similar manner as you did with a previous giant. Defeat another group of dogs - one of them will run straight at you, the other one is hidden around the right corner. The latter is protecting a corpse containing a Gold Pine Resin.
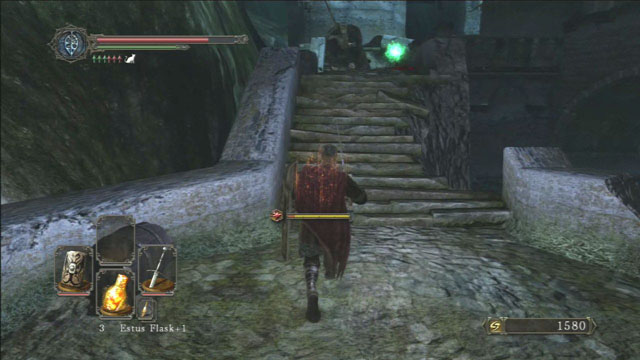
Go ahead, along the bridge and kill another dog. At the top of the next stairs you will again encounter a giant. Lure him to a steady ground, because fighting him on a damaged stairs can be dangerous. After the fight, climb up the rubble to get on the wall and go through the door, to get to the further part of the location.

- Dark Souls II Game Guide & Walkthrough
- Dark Souls 2: Full walkthrough
- Dark Souls 2: Walkthrough
- Dark Souls 2: Things Betwixt
- Dark Souls 2: Majula
- Dark Souls 2: Forest Of The Fallen Giants (1)
- Dark Souls 2: Forest Of The Fallen Giants (2)
- Dark Souls 2: Forest Of The Fallen Giants - Let's move on
- Dark Souls 2: Heide's Tower Of Flame
- Dark Souls 2: Heide's Tower Of Flame - The Underground
- Dark Souls 2: No Man's Wharf
- Dark Souls 2: The Lost Bastille
- Dark Souls 2: The Lost Bastille - Interior
- Dark Souls 2: Belfry Luna
- Dark Souls 2: The Lost Bastille - let's continue
- Dark Souls 2: Sinner's Rise
- Dark Souls 2: Huntsman's Copse - the way to Undead Purgatory
- Dark Souls 2: Huntsman's Copse - the way through the mountains
- Dark Souls 2: Harvest Valley
- Dark Souls 2: Earthen Peak
- Dark Souls 2: Iron Keep - journey through the fortress
- Dark Souls 2: Iron Keep - the road to the King
- Dark Souls 2: Grave Of Saints
- Dark Souls 2: The Gutter
- Dark Souls 2: Black Gulch
- Dark Souls 2: Shaded Woods
- Dark Souls 2: Shaded Ruins
- Dark Souls 2: Doors Of Pharros
- Dark Souls 2: Brightstone Cove Of Tseldora - campsite
- Dark Souls 2: Brightstone Cove Of Tseldora - Queen's Lair
- Dark Souls 2: Shrine Of Winter
- Dark Souls 2: Drangleic Castle - courtyard
- Dark Souls 2: Drangleic Castle - interiors
- Dark Souls 2: Shrine Of Amana
- Dark Souls 2: Undead Crypt
- Dark Souls 2: Aldia's Keep
- Dark Souls 2: Dragon Aerie
- Dark Souls 2: Dragon Shrine
- Dark Souls 2: Dream Of Giants / Throne Of Want
- Dark Souls 2: Walkthrough
- Dark Souls 2: Full walkthrough
You are not permitted to copy any image, text or info from this page. This site is not associated with and/or endorsed by the developers and the publishers. All logos and images are copyrighted by their respective owners.
Copyright © 2000 - 2026 Webedia Polska SA for gamepressure.com, unofficial game guides, walkthroughs, secrets, game tips, maps & strategies for top games.