
Dark Souls 2: Harvest Valley
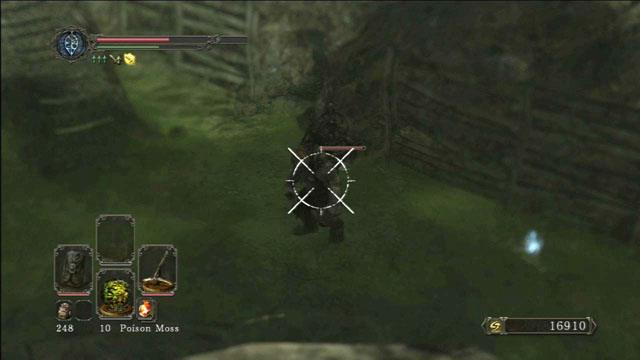
After lighting the bonfire, leave the cave and turn right. After reaching the edge speak with Chloanne. Afterwards, use your bow or crossbow to take down the enemy below you. Backtrack a little and go through a tunnel, until you reach a place filled with poisonous mist. Enter it and collect all the nearby items. Watch as the bar representing your poisoning gradually fills and leave the mist before its full - you can consume a Common Fruit to delay the effects of toxins. In the meantime you will be attacked by skeletons.
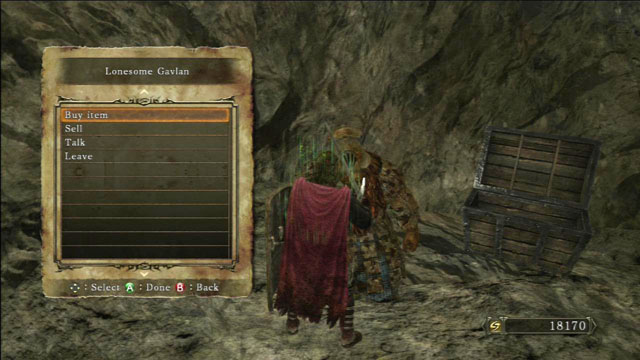
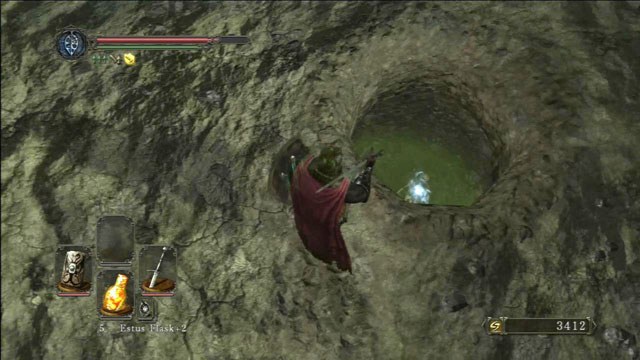
After collecting all the items enter the next room. Kill all the skeletons rising by the wall and, while avoiding the hole in the wall, go into the subsequent chamber. Inside, there's a chest containing a Raw Stone and a merchant called Gavlan. Jump into the hole you just passed by and collect a Fire Seed and a Divine Blessing from a chest.
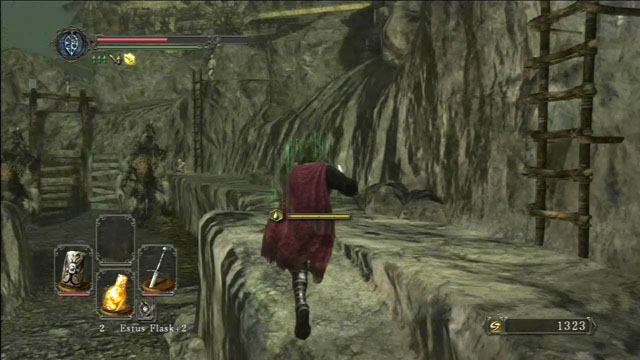
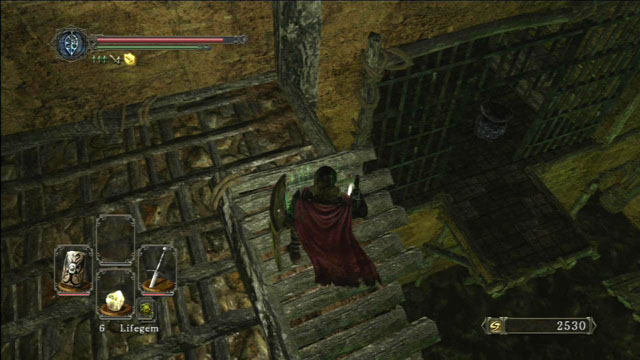
When you are done collecting items, go up the stairs and through a stone tunnel located ahead. At its end you will run into two enemies - to avoid direct contact, climb up the ladder on the right side. There, collect a Hexing Urn from the corpse and kill both foes with a bow or a crossbow.
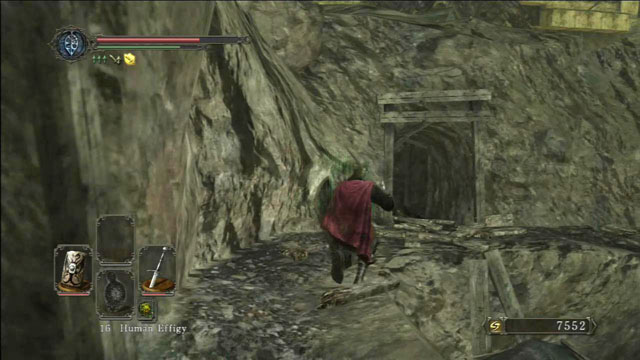
After killing the dark magic wielding giants, go down the ladder and continue ahead, along a stone ledge. Get rid of the undead by the next ladder and climb it up. Kill the two enemies and open up the passage by flipping the lever. Another encounter awaits below you. Enter the corridor and turn right, towards a cave. Light a bonfire inside.
Turn right as soon as you leave the cave. Four holes in the ground can be seen on the plaza - by jumping into them, you can collect various items. Besides the holes, there are two passageways leading from the plaza. First, go through the left branch. At the end of the tunnel, behind wooden boards, there's a giant wielding dark magic. You can use him to get to the items hidden behind the wall. Evade him and make him fire his magic at the wooden wall, which should destroy it, opening a passage. While running towards the giant, pay attention to the passageway on the right, leading to another part of this location.
A very difficult encounter awaits you here - on a very limited area, you will be attacked by monsters you've encountered in the Huntsman's Copse. The only differences are that there are more of them and that they are a lot stronger now. The best method to safely get rid of them, is to run on the stone ledges, wait for them to get closer, and then attack them and jump back. Rinse and repeat, until there's none left. Afterwards, collect all the items and get away from this place. Use the passage above the wooden cart and turn right at the end of the tunnel. You will emerge on the plaza with the holes.
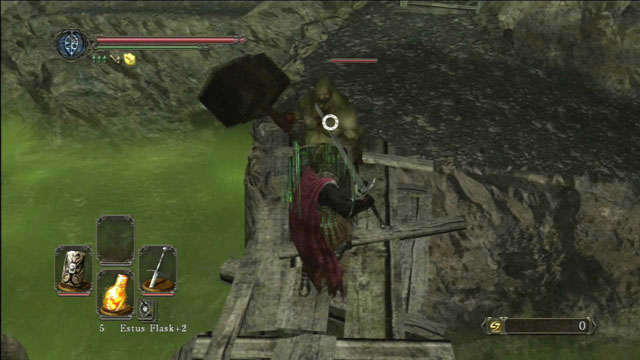
Now, use the other passageway. There should be two giants standing in front of you, in the poisonous mist. You will have to get close to them to force them into attacking you. Get on the wooden bridge and defeat the enemy with the warhammer - wait for him to slam his weapon into the ground and attack immediately. Afterwards, turn left and go through a stone ledge towards the windmill. Soon after entering the cave, you will be attacked by an enemy wielding a pair of curved blades. Defeat him and go deeper into the cave, until you see a broken statue - here you can join the Brilliant Covenant.
Go back to the wooden bridge and go through it. There are two roads leading to the building - one beside the bridge and the other one a little further, to the right. Use the one next to the bridge. An enemy wielding a warhammer will run from the building. Defeat him, go inside and avoid the yellow vases - restrain from breaking them, as there's poison inside.
Go straight ahead and climb up the stairs to reach the upper floor. There's a poisonous fungus at the top of the stairs - kill it and leap to the next room. Inside, kill another fungus and enter the subsequent chamber. While in the corridor, you must pay attention to two things - enemies wielding dual swords and a switch on the ground, which will activate a trap. At the end of the corridor you will find a corpse and a chest, containing a Heavy Crossbow +3 and a Heavy Bolt.
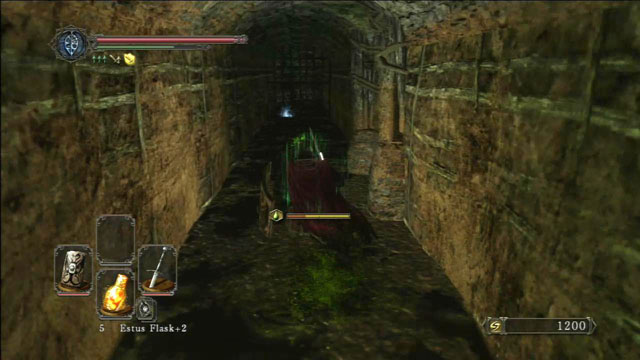
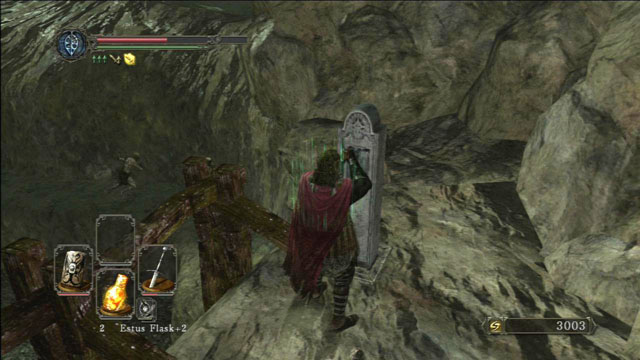
Get back to the grating and jump on the staircase located below. Before entering the toxic water, make sure that you have protection against poison and a full health bar. At the end of the corridor, there's an Estus Flask Shard. Halfway through the corridor, you will find an entrance to a side room. Kill all the fungi inside - do it as fast as possible, to avoid getting poisoned. You can use the Pharros Lockstone on one of the walls. A blue face will appear on the opposite wall - hit it to unlock a secret room, where you can find a bunch of fairly interesting items.
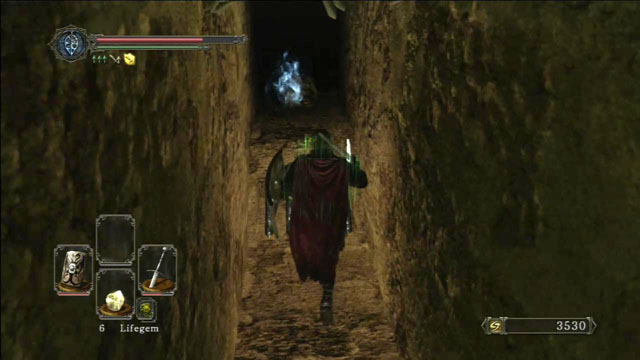
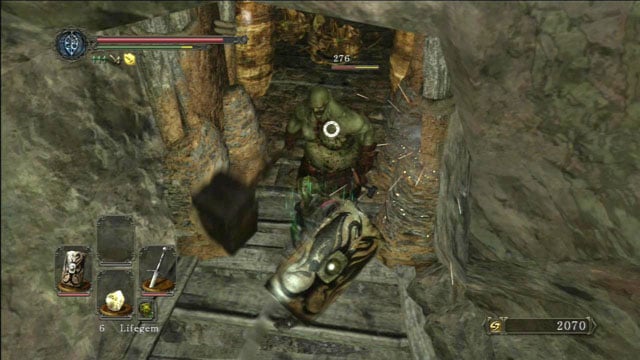
Get back to the place you've previously jumped from. There's a hole by the stairs, where a fungus is hiding - kill it and collect the item located on the corpse at the end of the corridor. Go back upstairs, where you will have to deal with four enemies equipped with warhammers. Before going through the mist, climb the stairs on the right side. Get rid of the fungi and open the chest (beware of the trap) - inside you will find a torch. Now you can enter the mist, where a Covetous Demon awaits you.

- Dark Souls II Game Guide & Walkthrough
- Dark Souls 2: Full walkthrough
- Dark Souls 2: Walkthrough
- Dark Souls 2: Things Betwixt
- Dark Souls 2: Majula
- Dark Souls 2: Forest Of The Fallen Giants (1)
- Dark Souls 2: Forest Of The Fallen Giants (2)
- Dark Souls 2: Forest Of The Fallen Giants - Let's move on
- Dark Souls 2: Heide's Tower Of Flame
- Dark Souls 2: Heide's Tower Of Flame - The Underground
- Dark Souls 2: No Man's Wharf
- Dark Souls 2: The Lost Bastille
- Dark Souls 2: The Lost Bastille - Interior
- Dark Souls 2: Belfry Luna
- Dark Souls 2: The Lost Bastille - let's continue
- Dark Souls 2: Sinner's Rise
- Dark Souls 2: Huntsman's Copse - the way to Undead Purgatory
- Dark Souls 2: Huntsman's Copse - the way through the mountains
- Dark Souls 2: Harvest Valley
- Dark Souls 2: Earthen Peak
- Dark Souls 2: Iron Keep - journey through the fortress
- Dark Souls 2: Iron Keep - the road to the King
- Dark Souls 2: Grave Of Saints
- Dark Souls 2: The Gutter
- Dark Souls 2: Black Gulch
- Dark Souls 2: Shaded Woods
- Dark Souls 2: Shaded Ruins
- Dark Souls 2: Doors Of Pharros
- Dark Souls 2: Brightstone Cove Of Tseldora - campsite
- Dark Souls 2: Brightstone Cove Of Tseldora - Queen's Lair
- Dark Souls 2: Shrine Of Winter
- Dark Souls 2: Drangleic Castle - courtyard
- Dark Souls 2: Drangleic Castle - interiors
- Dark Souls 2: Shrine Of Amana
- Dark Souls 2: Undead Crypt
- Dark Souls 2: Aldia's Keep
- Dark Souls 2: Dragon Aerie
- Dark Souls 2: Dragon Shrine
- Dark Souls 2: Dream Of Giants / Throne Of Want
- Dark Souls 2: Walkthrough
- Dark Souls 2: Full walkthrough
You are not permitted to copy any image, text or info from this page. This site is not associated with and/or endorsed by the developers and the publishers. All logos and images are copyrighted by their respective owners.
Copyright © 2000 - 2026 Webedia Polska SA for gamepressure.com, unofficial game guides, walkthroughs, secrets, game tips, maps & strategies for top games.