
In this location, you encounter the Old Ironclads. It is here that you can obtain their armor.
This area is being occupied by fire belching salamanders. You can find here the Hawk Ring and the Rebel's Grandshield - a shield that ensures high resistance to magic.
Dark Souls 2: Forest Of The Fallen Giants (1)
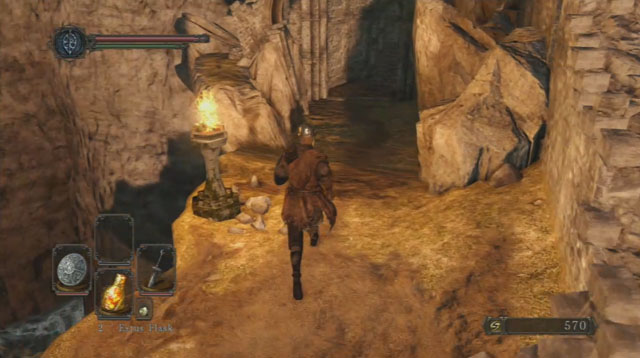
From the bonfire in Majula, you need to go alongside the slope. You will reach a stone chamber, where there is a chest, around the corner, with a Rusted Coin. Keep following the corridor and take a turn to the left, at some point. You will reach a metal grate which requires you to pull the lever, if you want to open it. Past the passage, there is a corridor with a wooden bridge at the end. Once you cross the bridge, turn left and make it over the wooden planks onto the islet. Open the chest and collect a Human Effigy.
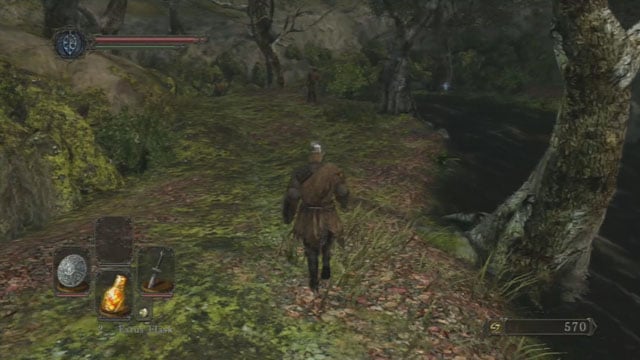
Keep following the only possible path. At the end of the tunnel, turn right and go up the river; at the end, you can collect another item. return to the bank where you will find several opponents which you have already fought in Things Betwixt. Try to lure them away from the group and kill one-by-one. After the battle, cross the river, where you will find a Lifegem, under a tree. A bit ahead, on a small meadow on the right, there is a bonfire, which you can kindle.
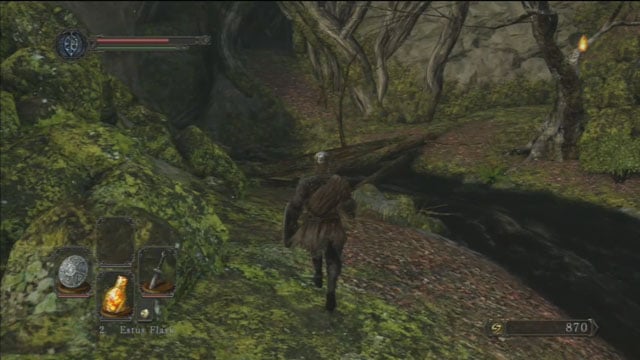
Cross the makeshift bridge over the river. At the other side, there are two enemies. Defeat the one with the shield, in the first place, by blocking his attacks and, at the moment at which he finishes his sequence, start yours. On the elevation, there is an archer. Run towards him and attempt to avoid his arrows. At the moment at which he draws his sword, attack. Once you have defeated all of your enemies, jump down to the river, where you will find a sleeping bandit. Once you attack him, he will wake up. After the fight, follow the river a bit and collect the soul.

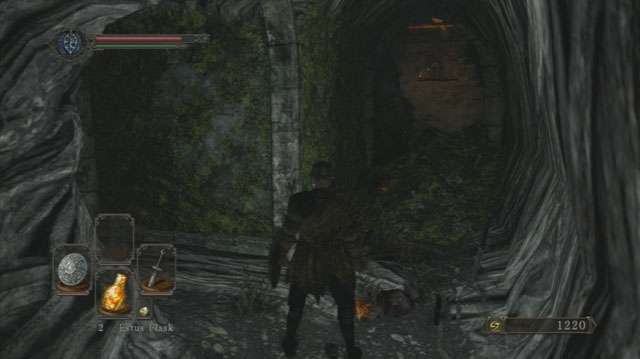
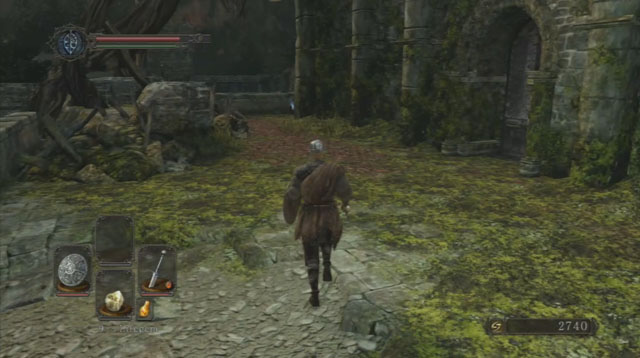
Then, go to the location where you have been fighting the archer. In the cave behind him, there is a ladder that leads deeper into the location. Up there, there is a tough fight for you to fight. You will be attacked by three opponents who are additionally reinforced by an archer on the walls. The best way to win in this situation is to hide behind the tree, where you will be unreachable for the arrows. Raise your shield and, at the moment at which any of the opponents ends his sequence, attack. The next step is to defeat the archer. To do that, go towards the passage and, right past it, turn left and climb the stairs. Be careful while doing that because, as soon as you start climbing, you will be attacked by a bandit. Once atop the stairs, run up to the archer and kill him. You can now collect all of the items here. Under the tree, there is a white knight sitting but, as long as you do not attack him, he is not hostile. Walk through the mist now.
Run along the tunnel and walk through the hole in the wall of the next location. There are two opponents here. After you defeat them, exit the location and turn left, approach silently to the enemy and attack him. Turn around and run down the corridor at the end, before you reach the stairs, you will meet another enemy who is preparing to attack. Land 1-2 blows and switch to defense.
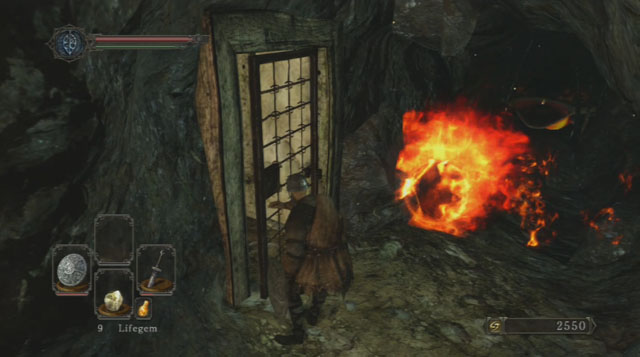
Atop the stairs, you will encounter four enemies. One of them is casting explosive bombs. The best way out of this situation is to defeat him in the first place. Once you have dealt with all of them, take the shield on the rubble. Climb up the ladder, where you can go to the optional location. To get there, you need to jump down the wooden scaffolding to the very bottom and defeat the enemies along the way. Once you are at the bottom and kill all the enemies, on the left, you will notice two entrances. The first one will take you to a corpse with an item on it. The next opening leads deeper into the cave where, at the end of the tunnel, there is a fire spewing beast. Enter a bit deeper into the cave and retreat, because you will be attacked by a bandit. Once you defeat him, run towards the door on the left and open it. Inside, you will find a chest with the Fire Longsword in it.
Return now to the very top, to the location where you have jumped down to the scaffolding. Around the corner, you will find an item and a sitting opponent. Take advantage of that and deal as much damage to him, before he manages to get up, as possible. Then, open the door. At the other side, there is a bonfire and a merchant - Merchant Hag Melentia, from whom you can buy the Lenigrast's Key.

- Dark Souls II Game Guide & Walkthrough
- Dark Souls 2: Full walkthrough
- Dark Souls 2: Walkthrough
- Dark Souls 2: Things Betwixt
- Dark Souls 2: Majula
- Dark Souls 2: Forest Of The Fallen Giants (1)
- Dark Souls 2: Forest Of The Fallen Giants (2)
- Dark Souls 2: Forest Of The Fallen Giants - Let's move on
- Dark Souls 2: Heide's Tower Of Flame
- Dark Souls 2: Heide's Tower Of Flame - The Underground
- Dark Souls 2: No Man's Wharf
- Dark Souls 2: The Lost Bastille
- Dark Souls 2: The Lost Bastille - Interior
- Dark Souls 2: Belfry Luna
- Dark Souls 2: The Lost Bastille - let's continue
- Dark Souls 2: Sinner's Rise
- Dark Souls 2: Huntsman's Copse - the way to Undead Purgatory
- Dark Souls 2: Huntsman's Copse - the way through the mountains
- Dark Souls 2: Harvest Valley
- Dark Souls 2: Earthen Peak
- Dark Souls 2: Iron Keep - journey through the fortress
- Dark Souls 2: Iron Keep - the road to the King
- Dark Souls 2: Grave Of Saints
- Dark Souls 2: The Gutter
- Dark Souls 2: Black Gulch
- Dark Souls 2: Shaded Woods
- Dark Souls 2: Shaded Ruins
- Dark Souls 2: Doors Of Pharros
- Dark Souls 2: Brightstone Cove Of Tseldora - campsite
- Dark Souls 2: Brightstone Cove Of Tseldora - Queen's Lair
- Dark Souls 2: Shrine Of Winter
- Dark Souls 2: Drangleic Castle - courtyard
- Dark Souls 2: Drangleic Castle - interiors
- Dark Souls 2: Shrine Of Amana
- Dark Souls 2: Undead Crypt
- Dark Souls 2: Aldia's Keep
- Dark Souls 2: Dragon Aerie
- Dark Souls 2: Dragon Shrine
- Dark Souls 2: Dream Of Giants / Throne Of Want
- Dark Souls 2: Walkthrough
- Dark Souls 2: Full walkthrough
You are not permitted to copy any image, text or info from this page. This site is not associated with and/or endorsed by the developers and the publishers. All logos and images are copyrighted by their respective owners.
Copyright © 2000 - 2026 Webedia Polska SA for gamepressure.com, unofficial game guides, walkthroughs, secrets, game tips, maps & strategies for top games.