Far Cry 4: Prologue

Welcome to Kyrat! At first you will watch a long cut-scene, so sit down cozily in a chair. It will take a while before you will be able to control your hero.
Dinner with Pagan

Begin your exploration with reading a note which you can find on the same floor on which you will start to play. You also should loot the nearby chest to collect some money and items which you can sell later on. Do the same on the lower level of the building. You will find there another three notes and just as many chests. Now you can go on the lowest level. You will enter a door which will open a room where you will see your recent companion being tortured. You can't do anything to help him right now. Head to the exit.
Escape the Compound
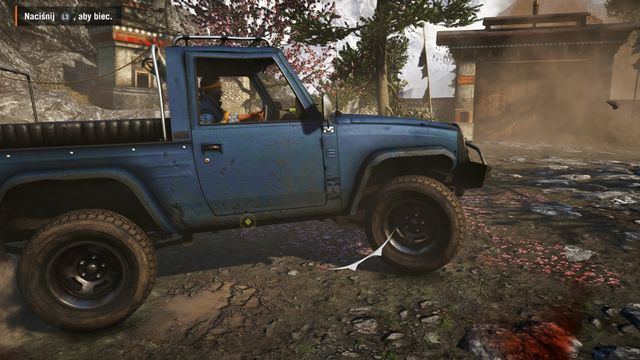
After making some new friends you will have to use all your speed to run through the door. Don't stop and use the sprint to get quickly to the truck outside. After a short ride you will receive a weapon which you need to use to eliminate your enemies during your ride. The travel will finish just as quick as it begun and you will be left alone.
Reach the Bell Tower
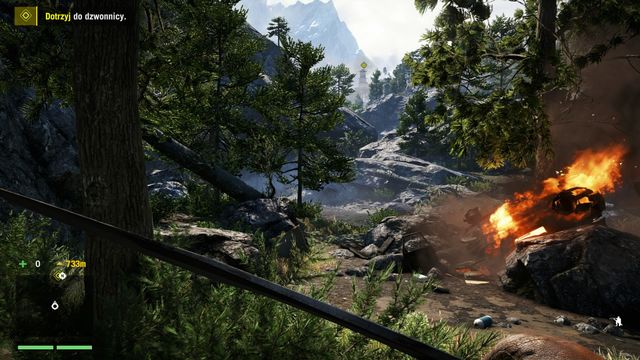
After the crash keep being hidden since you don't have a weapon beside a khukri. Four enemies are going in your direction so if you will walk on an open field you will probably die fairly quickly. The better way is to crouch and try to bypass your opponents on the left side. The game will also teach you how to throw a rock to distract them. Few steps further and you will have to pass the brook where you will find yet another enemy. Throw a rock to distract him what will allow you to either walk behind him or, what is a much better way, walk to him and use the takedown. If you will do that you may take from his body the "Kalash", however you have to use it reasonably since at the moment you have not a lot of ammo. Now you may try to swim (or rather dive) in a water and then eliminate next two opponents from behind. Killing them from o short distance will allow you to save some bullets.
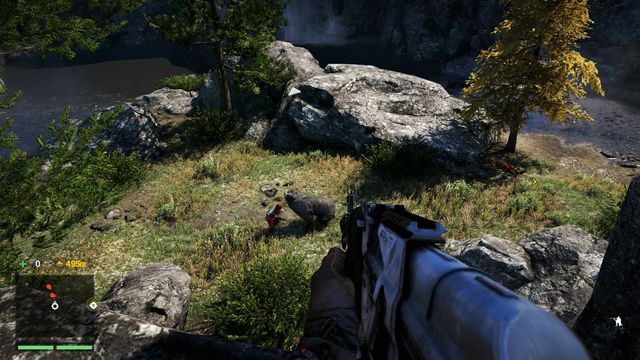
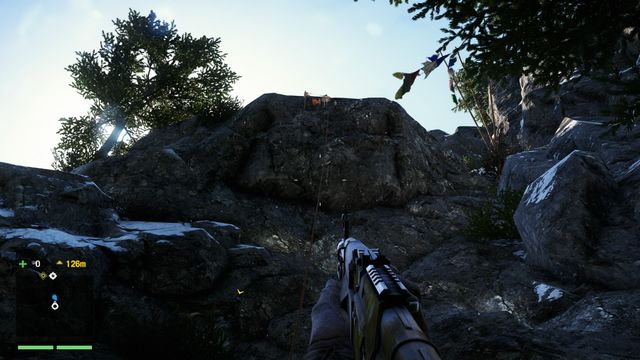
Keep going to the bell tower. A bit further you will see a bharal's body. Collect his skin (later on you can use it to craft some item) and take his meat which you can use as a bait. Throw your bait from the cliff between the enemies shown on the screenshot. It will lure a bear which will finish the job for you. Now you can take their ammo (and, if you want, finish off the bear before you will climb down) and along go forward along the brook.
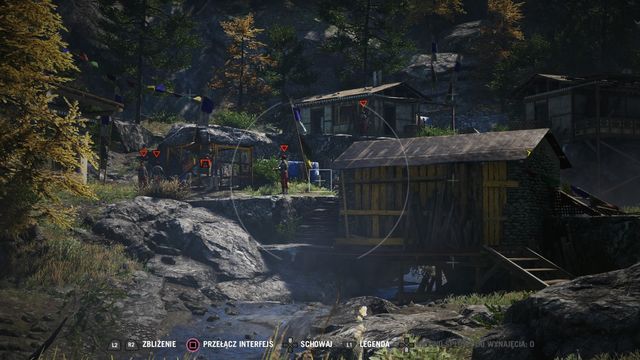
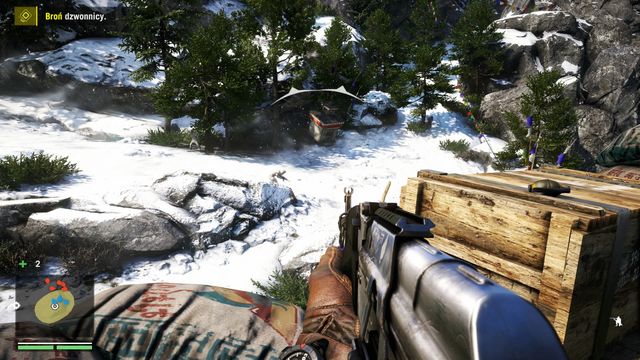
You will get to a small camp in which you will see few enemies. You can use your camera to mark them what in effect will highlight them with a red mark above their heads. The contours of the tagged enemies are also visible through the walls. The fastest way to eliminate this group is to make a turmoil. Shoot your enemies from a large distance (try to hit the leopard) what will lead to releasing the wild animal from its cage. This way will allow the cat to do most of the killing for you. Shoot only these enemies who will run specifically in your direction. It will let you save your ammo. Fortunately your resources will radically change once you clear the camp and then loot it. You will find here a lot of machine gun bullets, especially on a chest next to the building up from the right side.
When you will finish collecting new items go directly towards the bell tower. On your way you are not going to be disturbed by any enemy however watch out for precipices. Take a good run, use the sprint and jump when you are very close to the edge. At the end of the road use the hanging rope and follow the path to get right to the bell tower, where you will find Sabal. Take the ammunition quickly and go to the second floor where you will find a good position to defend before the incoming attack.
Defend the Bell Tower
Take a moment to shoot to the incoming enemies. A great help will be a bunch of grenades which you can find in this place. Don't save any resources since if you will be too tardy you may end up with a dead Sabal what will end up failing your quest. All the explosions will finally be cause of the avalanche and the quest will be completed.

- Far Cry 4 Game Guide
- Far Cry 4: Game Guide
- Far Cry 4: Main Quests
- Far Cry 4: Prologue
- Far Cry 4: Propaganda Machine
- Far Cry 4: The Wolves Den
- Far Cry 4: Return To Sender
- Far Cry 4: Hostage Negotiation
- Far Cry 4: Incursion
- Far Cry 4: Hunt or Be Hunted (choosing Amita)
- Far Cry 4: Rebel Yell (choosing Sabal)
- Far Cry 4: A Cultural Exchange
- Far Cry 4: The Mouth of Madness
- Far Cry 4: Sermon on the Mount
- Far Cry 4: The Protector's Arrival
- Far Cry 4: Reclamation (choosing Amita)
- Far Cry 4: Burn it Down (choosing Sabal)
- Far Cry 4: The Sleeping Saints
- Far Cry 4: City of Pain
- Far Cry 4: Advanced Chemistry (choosing Amita)
- Far Cry 4: Basic Chemistry (choosing Sabal)
- Far Cry 4: Free Willis
- Far Cry 4: Kill or Be Killed
- Far Cry 4: Death From Above
- Far Cry 4: Don't Look Down
- Far Cry 4: Shoot the Messenger
- Far Cry 4: A Key to The North
- Far Cry 4: Truth and Justice
- Far Cry 4: Payback
- Far Cry 4: Culture Wars (choosing Amita)
- Far Cry 4: Cease and Desist (choosing Sabal)
- Far Cry 4: The Valley of Death
- Far Cry 4: Take Cover!
- Far Cry 4: To Reap What You Sow
- Far Cry 4: Ashes to Ashes
- Far Cry 4: Confront Pagan
- Far Cry 4: Endings
- Far Cry 4: Balance of Power missions
- Far Cry 4: Main Quests
- Far Cry 4: Game Guide
You are not permitted to copy any image, text or info from this page. This site is not associated with and/or endorsed by the developers and the publishers. All logos and images are copyrighted by their respective owners.
Copyright © 2000 - 2026 Webedia Polska SA for gamepressure.com, unofficial game guides, walkthroughs, secrets, game tips, maps & strategies for top games.