
StarCraft Remastered: Mission 4 - Agent of the Swarm
Last update:
Mission objectives:
- Protect the chrysalis until it is ready to hatch;
- Destroy Raynor's command center;
- Kerrigan must survive.
The Confederate forces are in full retreat but chrysalis still needs your protection. Also, it still draws the attention of the terrans. This time around, Jim Raynor and his troops have arrived. Your task is still to protect the chrysalis and then getting rid of the enemy.
The situation on the map has its pros and cons. Your base and the three terran bases are located on islands. On one hand, it's easier to defend yourself, but on the other, it's also harder to attack. In the middle of the map, there is an unoccupied island with extra raw material deposits. The main enemy base is located in the top right corner of the map and has numerous production buildings. A similar facility is located in the opposite corner. A small enemy base, consisting of a Starport, several Supply Depots as well as gas and mineral deposits, in also located in the bottom right corner of the map. All bases have lines of antiaircraft Turrets but they do have holes. The enemy uses mostly Marines, Siege Tanks, and Wraiths. There are no Bunkers, heavy aircraft, or Ghosts, which makes the task easier. However, if you destroy a production building, the terrans will send SCVs to rebuild the lost structure. This is why you should carry out a full-scale landing on each island. In other words, you should clear out the entire area and secure it against a counterattack.
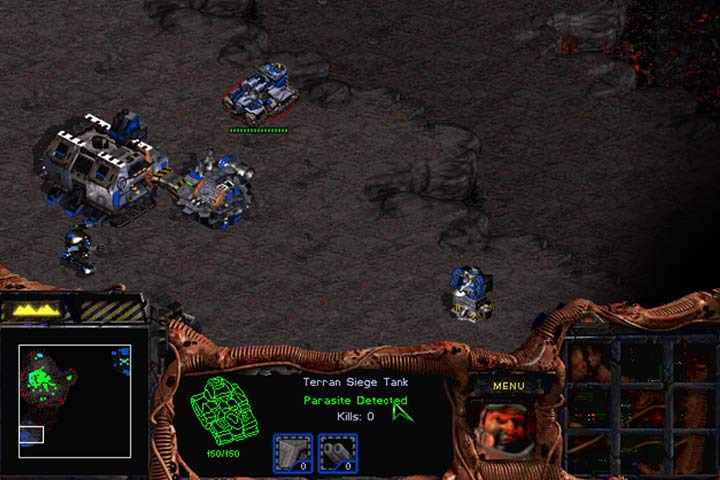
The enemy often uses air transportation. If you attack a hostile base, the terrans will be deploying forces from other facilities. When the situation become dangerous, the enemy usually withdraws his forces. Luckily, the terrans don't use invisible units in this mission. However, your army has a new unit, a Queen. It is a support unit that cannot attack. It's also a kind of a "wizard", has a large visual range, and several very useful abilities. Parasite lets you fire a projectile that infects a hostile unit. In this way, you gain a spy. You have a constant feed from the infested unit until it dies. The ability has a long range and costs only 75 points of energy. It's a good idea to use it on enemy transporters because they fly from base to base, letting you know when the enemy plans an attack. Spawn Broodling shoots a projectile that instantly kills a biological combat unit and creates two Broodlings, weaker version of Zerglings, in its place. It's a great way of eliminating powerful enemies such as a High Templar or Ultralisk. Ensnare slows down movement and attack speed of an enemy group. It's good to use this ability before storming enemy positions or while defending the base. Apart from that, Queens can Infest Command Center and then produce Infested Terrans. However, you need to badly damage an enemy Command Center before you can infest it.
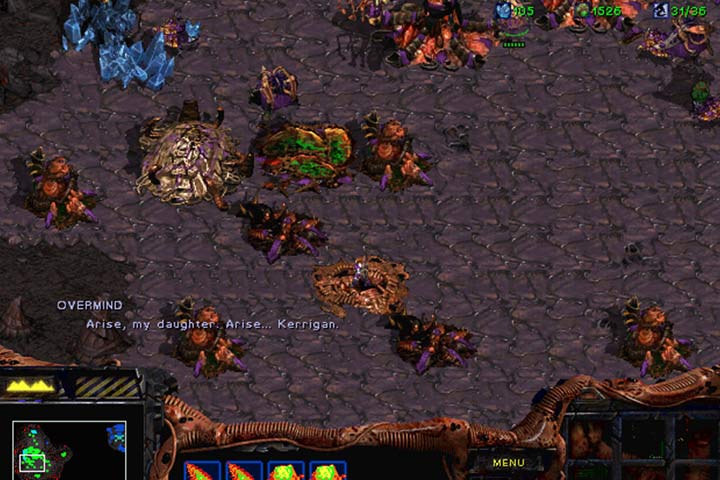
Start expanding the base and increase the number of Drones. Focus on extracting gas and try to build a second Hatchery to the north of your base, near the mineral deposit, as soon as possible. The terrans will be regularly attacking your base with land forces. Landings will usually happen in the eastern part of the island, although the enemy sometimes deploys his forces in the weakest spot of your base (1). Use a Queen to infect hostile transporters. In this way, the terrans will remove the fog of war for you and you'll also know when an invasion is imminent. Expand your garrison so that you have at least 6 Zerglings and at least the same amount of Hydralisks. You have little time and the terrans will be attack you frequently. It's a good idea to build extra Turrets, especially Sunken Colonies that attack land units (2). Once the time has run out, Kerrigan will become available and you'll get a new mission objective: destroy Raynor's base. Now, improve one of your Hatcheries to a Lair and research all Overlord technologies. Your main assault force should consists of 2-3 teams of Mutalisks and Overlords with Zerglings and Mutalisks on board. You can also occupy the empty island in the center of the map, especially if you're in short supply of gas. Remember that it will become a new target for the enemy so you also need to devote more resources to defense.
Start your assault from clearing out the small base in the bottom right corner of the map (3). The top part is guarded by numerous Turrets and Wraiths. However, in the center, there are Supply Depots protected only by several Marines. Start the attack with your fighters and then deploy infantry. Send a small group of Zerglings to destroy the Turrets in the bottom part of the island, and have the rest take care of the Starport in the top part of the isle (4). Having destroyed the enemy forces, build a Hatchery. In this way, the enemy won't quickly build a base.
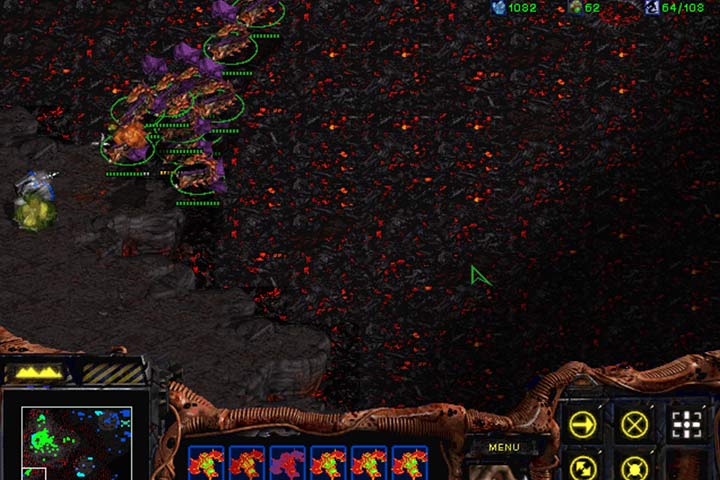
After a successful operation, go back to your base and replenish forces. Now, take care of the southern base. Gather your forces and approach the left edge of the map and then head down. You will encounter a lone Turret but your Mutalisks will handle it (5). Now, deploy your army on the hill and target the Factory and Barracks (6). A Queen should use the Spawn Broodling ability on hostile tanks before you start the assault. Then, destroy the rest of the base below the hill and remember to eliminate all SCV so that the enemy doesn't rebuild the production buildings (7). In the meantime, keep an eye out for enemy reinforcements and hostile fighters.
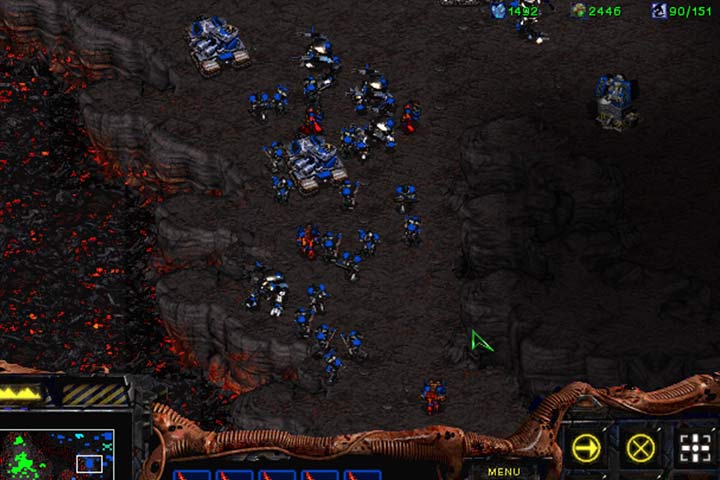
When attacking the main enemy base, your assault force should consist of at least two teams of Zerglings and a group of Hydralisks. Having control over practically all raw material deposits on the map, you can afford a large army. There are two ways of carrying out the attack. A frontal one, with the aim of destroying all hostile buildings, and a risky one, in which you only target the Command Center. In the case of the former, destroy the Turret and the Siege Tank in the center of the cliff (8). Then, deploy your forces and head towards Raynor.
A risky plan looks similarly but focuses on the Raynor's base right away. Gather your forces in the top right corner of the map, below the enemy base. Destroy the first Turret and deploy your army above, between the Barracks and Starport (9). Divide your army into two groups: one that defend against the terrans, the other (preferably consisting of Zerglings) attacking the Command Center. Use the Ensnare ability (Queen) on a hostile group, which will make them easier to defeat. Have Mutalisks take the brunt of destroying hostile land forces.

- StarCraft: Remastered Game Guide
- StarCraft Remastered: Game Guide
- StarCraft Remastered: Campaign Walkthrough
- StarCraft Remastered: Zerg
- StarCraft Remastered: Mission 1 - Among the Ruins
- StarCraft Remastered: Mission 2 - Egression
- StarCraft Remastered: Mission 3 - The New Dominion
- StarCraft Remastered: Mission 4 - Agent of the Swarm
- StarCraft Remastered: Mission 5 - The Amerigo
- StarCraft Remastered: Mission 6 - The Dark Templar
- StarCraft Remastered: Mission 7 - The Culling
- StarCraft Remastered: Mission 8 - Eye for an Eye
- StarCraft Remastered: Misja 9 - The Invasion of Aiur
- StarCraft Remastered: Mission 10 - Full Circle
- StarCraft Remastered: Zerg
- StarCraft Remastered: Campaign Walkthrough
- StarCraft Remastered: Game Guide
You are not permitted to copy any image, text or info from this page. This site is not associated with and/or endorsed by the developers and the publishers. All logos and images are copyrighted by their respective owners.
Copyright © 2000 - 2026 Webedia Polska SA for gamepressure.com, unofficial game guides, walkthroughs, secrets, game tips, maps & strategies for top games.