
StarCraft Remastered: Mission 6 - Norad II
Last update:
Mission objectives:
- Protect the crashed battlecruiser Norad II;
- Bring Raynor and 2 dropships to Norad II.
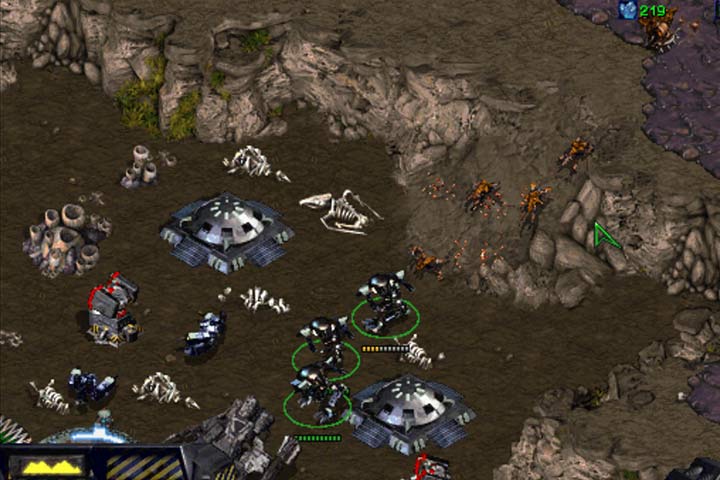
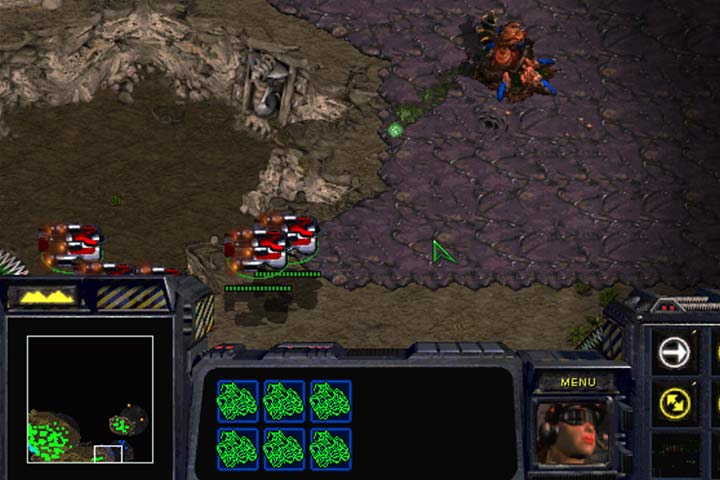
Battlecruiser Norad II, commanded by Edmund Duke, crashed on the surface of Antiga. Its wreckage is now surrounded by zerg hordes. Mengsk wants to carry out a rescue mission. You start out with Raynor and a small group of soldiers. Go to the Confederate base on the left side and it will join you. On your way, you will come across a small zerg unit. After a while, you'll see the crash site. You are given command of the survivors. Repair the Bunkers and Goliaths. Also, build two Turrets and send the Marines and SCVs to the Bunkers. The zerg put numerous antiaircraft Turrets and deployed their air force around this place. Also, there are several antipersonnel Turrets - Sunken Colony.
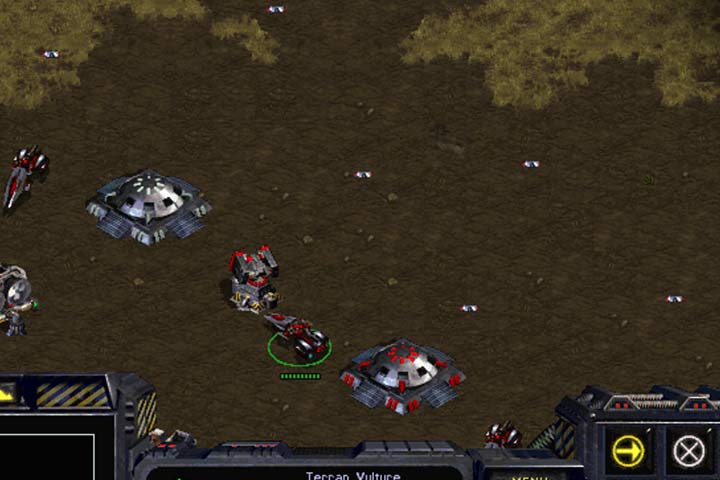
Focus on expanding the base. Start from increasing the number of SCVs. Then, build Bunkers and Turrets around your base. Fortify the northern part of the base especially. Erect additional production buildings with extensions and don't forget about building a new kind of building, which is the Armory. There, you can strengthen your army with extra technologies for mechanical units and aircrafts.
In this mission, there are two zerg armies. The orange enemy is in the top part of the map and will attack the crash site or the base at different intervals. The blue one is in the middle of the map and focuses on attacking the base. It will always attack from the weakest side and targets your Command Center. Every now and then, both hordes send increasingly numerous zerg groups to your position. Sometimes it will be a land assault, sometimes a landing from their mother-creatures, Overlords. These have the detect ability and are a sort of mobile zerg warehouses. The opponent possess a large number of detectors in this mission so building Wraiths and planting mines won't be effective. The best idea is to rely on large amounts of land units. First, create numerous Marine squads, and then move on to Goliaths. The latter are mechanical units so they can be repaired. They also have better land attack, powerful antiaircraft rockets and three times more hit points than Marines. After each fight, withdraw the damaged units and repair them. In this way, they'll serve you longer.
There are several ways to complete this mission.
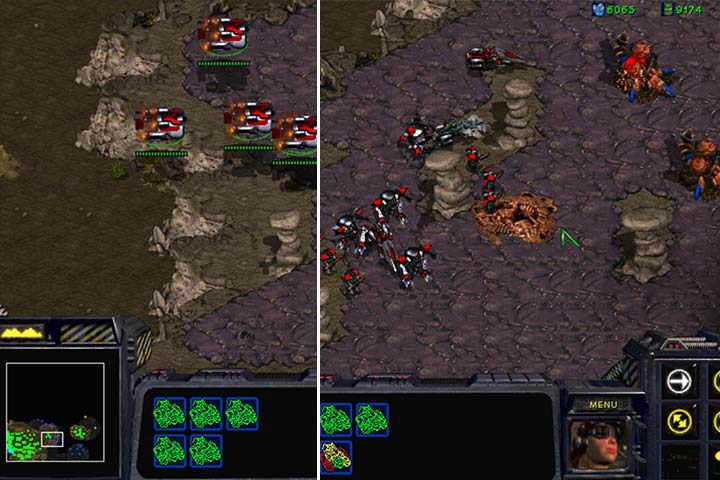
The first way is easy but takes time. A mass land assault and destroying both enemy bases. Create a full squad of Marines and Goliaths. Two ways lead to the blue zerg base. The one on the right, between hills, is full of turrets and buried units. The other one, to the left, leads to a hill which circulates the base and allows you to go in from the rear. In this way, you can destroy the zerg Command Center which is their production building at the same time. You can get to the orange zerg base the same way. They have less Turrets but more aircraft. Having destroyed both bases, you can access the hill around the crash site. Destroy the Turrets until the area becomes safe for Raynor and transporters. This method is simple but takes more time to be c.
The second way is slightly more difficult but saves a lot of time. You will focus on making an air way for transporters and Raynor. You won't be dealing with the enemy bases in the north. First, expand your base and create a solid economic infrastructure. Now, you have several options.
You can fill your transporters with Marines and Goliaths. On the left edge of the plateau around the crashed Battlecruiser, there are two spots out of the antiaircraft range or in range of just one. Deploy your troops on these two protruding promontories and concentrate on destroying the Sunken Colony Turrets and Mutalisks. Then, start destroying the remaining Turrets and take Raynor by air from your base to Duke.
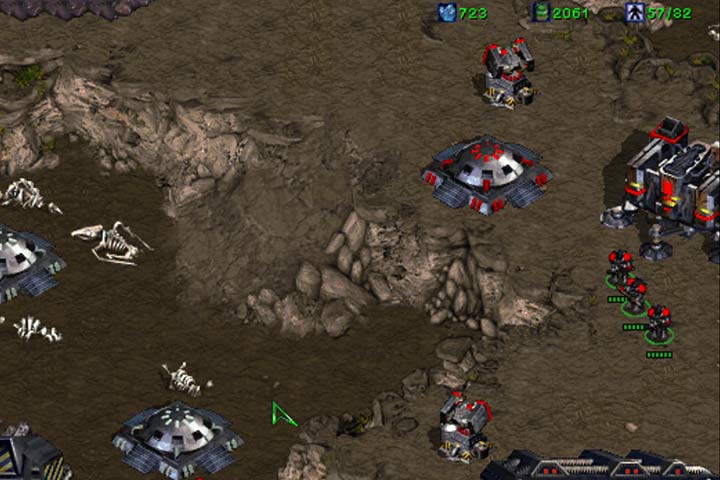
You can also take Goliaths from the crash site and approach the ramp. The burrowed zerg will attack your soldiers. If you fail and lose most of your troops, restart the mission. The crash site won't hold on for long. Having destroyed the zerg, withdraw to the Bunkers and repair the damaged vehicles. Now, take all soldiers and destroy the Turret on the plateau and then the next one which is located slightly down the map. Move your troops back to the Bunkers around the Battlecruiser wreckage. Take one SCV and order it to build a Barracks, Factory, and Starport. Also, build a Bunker and a Turret by the ramp, out of the hostile Turrets' range. Take 12 soldiers and start clearing the plateau to the right side, below the crash site. Now you just have to create two transporters and bring Raynor to the beacon.
The third way is pretty reckless but also the fastest. Build several transporters and place Raynor as well as one SCV per vessel on board. Have the group fly by the bottom edge of the map to the bottom right corner. Make a quick stop for repairs. Load everyone to the ships and fly to the crash site. The zerg don't have antiaircraft Turrets there, only several burrowed Hydralisks.
- StarCraft: Remastered Game Guide
- StarCraft Remastered: Game Guide
- StarCraft Remastered: Campaign Walkthrough
- StarCraft Remastered: Terrans
- StarCraft Remastered: Mission 1 - Wasteland
- StarCraft Remastered: Mission 2 - Backwater Station
- StarCraft Remastered: Mission 3 - Desperate Alliance
- StarCraft Remastered: Mission 4 - The Jacobs Installation
- StarCraft Remastered: Mission 5 - Revolution
- StarCraft Remastered: Mission 6 - Norad II
- StarCraft Remastered: Mission 7 - The Trump Card
- StarCraft Remastered: Mission 8 - The Big Push
- StarCraft Remastered: Mission 9 - New Gettysburg
- StarCraft Remastered: Mission 10 - The Hammer Falls
- StarCraft Remastered: Terrans
- StarCraft Remastered: Campaign Walkthrough
- StarCraft Remastered: Game Guide
You are not permitted to copy any image, text or info from this page. This site is not associated with and/or endorsed by the developers and the publishers. All logos and images are copyrighted by their respective owners.
Copyright © 2000 - 2026 Webedia Polska SA for gamepressure.com, unofficial game guides, walkthroughs, secrets, game tips, maps & strategies for top games.