Horizon Zero Dawn: A Seeker at the Gates walkthrough, tips
In this chapter you will find full walkthrough of "A Seeker at the Gates" mission.
This chapter is a complete guide for A Seeker at the Gates quest. Here you can find tips that will help you to finish this quest in the most beneficial way.
This mission appears in your journal after completing The Womb of the Mountain quest. Near the Corrupter you can find the device that it used to take over other machines. The first goal of this quest is to use the device on the Striders that you can find nearby.
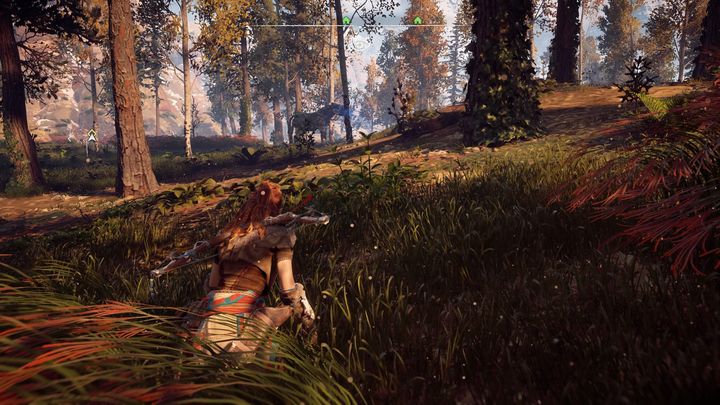
The nearest site, that can be used to begin the mission, is found in the center of Embrace. The important tips for taking over the machines are found in the dedicated chapter in this guide. When you take over a machine, their cables turns blue. When the procedure is done, press the triangle button to mount the machine, which is required to continue the mission.
The next part of the quest leads to one of Embrace's gates. Before you leave the safe area, speak with Varl - he can be found right after the gate. When you are done talking with him, you receive a new main quest which appears as a separate entry in your journal - The War Chief's Trail.
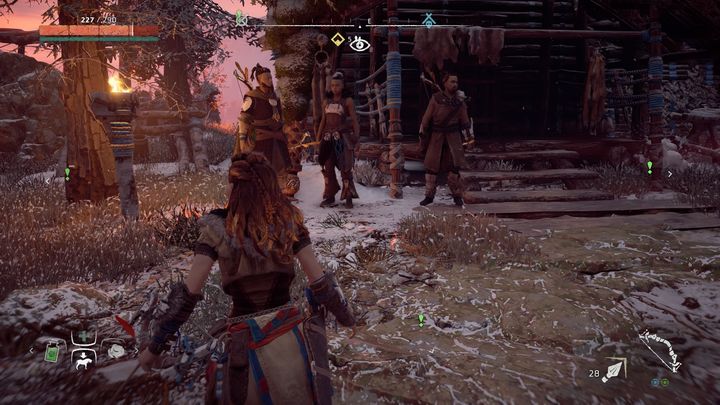
The next step that you must do is to travel do Mother's Crown village. Once you are there, speak with Marea and from her you can learn that currently you can't go the lands that belongs to Carja tribe. To get the access you must clear two corrupted zones that are in the west, on the way from the fort to border crossing. Follow the marker and get to the first one. Also, try to find a mount because zones and the village are far apart.
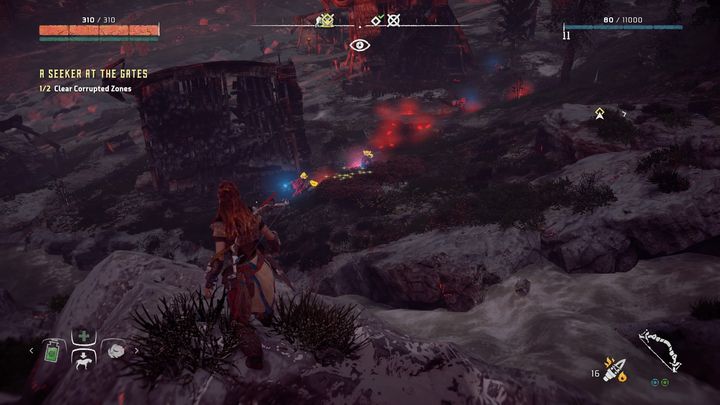
When you look from Mother's Crown village side, the first encountered zone is less dangerous. Here, there are only three Grazers that you can neutralize when hiding. Remember that fire is the most effective against them. Only a few accurate shots are needed for the machines to explode, hurting everything around them and burning up the corruption. After eliminating the enemies go to the zone that lays further in an unknown region.
On your way you can come across larger groups of dangerous machines so if you haven't already got a mount, this is the right moment to get one. Sneaking can be very slow and overall not that effective.
In the second zone you must face five machines: two Scrappers and three Watchers. The latter ones should be eliminated first. Most of the times you only need one shot in the eye to destroy them without alarming other machines. Try not to attract the Scrappers because fighting two machines of this type at once means death. But if both of them notice you then lure them to a place where your Strider is. One of the Scrappers should focus on it, which gives you more time to fight the other Scrapper. When you defeat the last enemy, go to the Carja border fort.
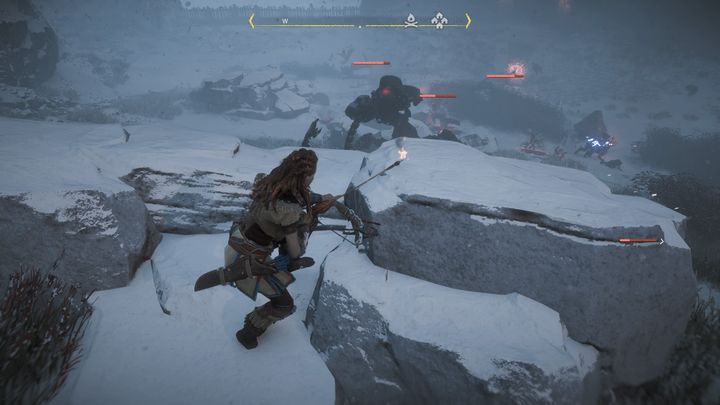
It turns out that the gate is stormed by a Corrupter and a few minor corrupted machines. Your goal is to defeat the aggressive machines. Wait for the fight between them and gate's defenders and shoot at the enemies from the stones presented on the picture. Use single attacks, otherwise the machines will focus on you. The stones on which you stand can be destroyed by Corrupter's single strike so don't use them as a cover. When the machines ignore the defenders and instead attack you, try to get closer to the gate. The allies don't deal a lot of damage, but they are good at disorienting the machines.
When the fight is over, go to the gate where you have to see a few cut-scenes. After that, the quest is completed and a new one appears in your journal - City of The Sun.

- Horizon Zero Dawn Guide, Walkthrough
- Horizon Zero Dawn: Strategy Guide and Walkthrough
- Horizon Zero Dawn: Main Missions
- Horizon Zero Dawn: A Gift from the Past walkthrough, tips
- Horizon Zero Dawn: Lessons of the Wild walkthrough, tips
- Horizon Zero Dawn: The Point of the Spear walkthrough, tips
- Horizon Zero Dawn: Mother's Heart walkthrough, tips
- Horizon Zero Dawn: The Proving walkthrough, tips
- Horizon Zero Dawn: The Womb of the Mountain walkthrough, tips
- Horizon Zero Dawn: A Seeker at the Gates walkthrough, tips
- Horizon Zero Dawn: The War Chief's Trail walkthrough, tips
- Horizon Zero Dawn: Revenge of the Nora walkthrough, tips
- Horizon Zero Dawn: The City of The Sun walkthrough, tips
- Horizon Zero Dawn: The Field of the Fallen walkthrough, tips
- Horizon Zero Dawn: Into The Borderlands walkthrough, tips
- Horizon Zero Dawn: The Sun Shall Fall walkthrough, tips
- Horizon Zero Dawn: Maker's End walkthrough, tips
- Horizon Zero Dawn: The Grave-Hoard walkthrough, tips
- Horizon Zero Dawn: To Curse the Darkness walkthrough, tips
- Horizon Zero Dawn: Deep Secrets of the Earth walkthrough, tips
- Horizon Zero Dawn: The Terror of the Sun walkthrough, tips
- Horizon Zero Dawn: The Heart of the Nora walkthrough, tips
- Horizon Zero Dawn: The Mountain That Fell walkthrough, tips
- Horizon Zero Dawn: The Looming Shadow walkthrough, tips
- Horizon Zero Dawn: The Face of Extinction walkthrough, tips
- Horizon Zero Dawn: Main Missions
- Horizon Zero Dawn: Strategy Guide and Walkthrough
You are not permitted to copy any image, text or info from this page. This site is not associated with and/or endorsed by the developers and the publishers. All logos and images are copyrighted by their respective owners.
Copyright © 2000 - 2026 Webedia Polska SA for gamepressure.com, unofficial game guides, walkthroughs, secrets, game tips, maps & strategies for top games.