Horizon Zero Dawn: The Mountain That Fell walkthrough, tips
In this chapter you will find full walkthrough of "The Mountain That Fell" mission.
The following chapter provides a detailed description of the gameplay during The Mountain that Fell. You will find tips that can help you complete the quest in the most effective way possible.
The quest will begin in Mother's Watch right after the cut scene finishing The Heart of The Nora. Follow the indicator. If you visited the area related to the task before, you can use one of the bonfires. Otherwise, you will have to walk the entire way.
You will come across many machines. You can burn most of them, or lure them into the bushes where you can take control over them. Things will get complicated once you go higher - you will face a Stormbird. You can fight it, or run towards the indicator if you want to avoid the fight. The machine will ignore you when you get close enough to the ruins.
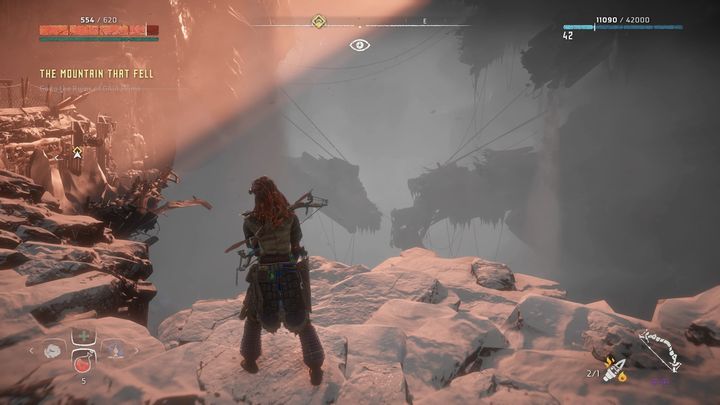
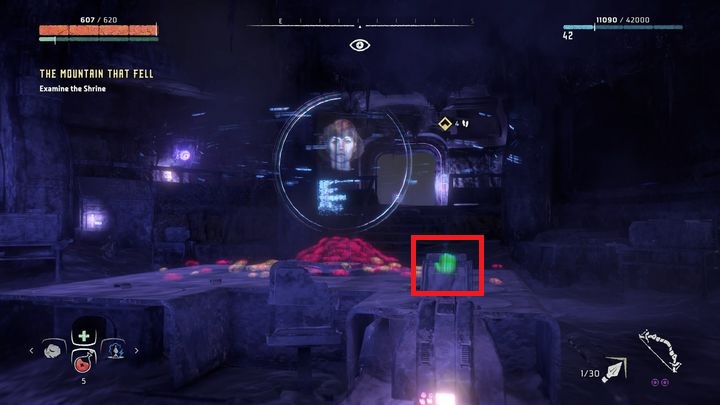
Enter the ruins and this will trigger a cut scene. Then, you will see the above situation. Stick to the left side and go deeper into the ruins via the scaffoldings. You will have to climb some more.
It's time to enter the ruins where you will find Sylens' hologram. Talk to him and use the scan to go inside. From there head towards the lower levels but make sure to investigate nearby rooms and look for recordings.
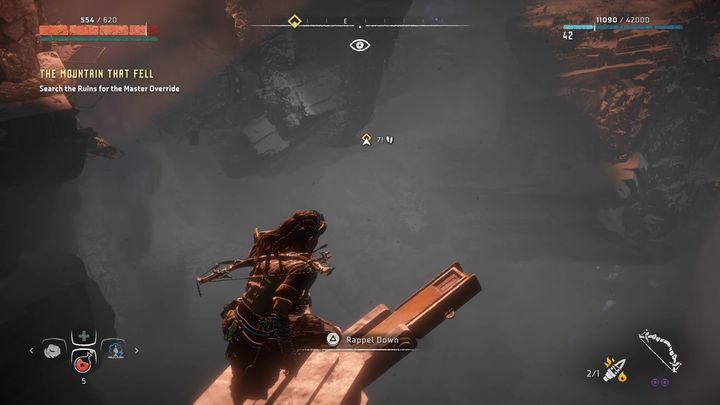
You will eventually reach the place presented in the screenshot. Use the rope to get to the lower level. There are two possible options: you can go right and follow the indicator, or head left. If you go left, you will quickly reach a chamber with another power cell, essential to complete Ancient Armory. You can go back or head to this place once you complete your quest.
Go right to follow the storyline. Go down the rope and use the handles to move across more collapsed buildings. Use the elevator shaft to climb higher. Move forwards and play the collected recordings. The way will remain linear until you reach Sobeck's cabinet. After a short cut scene, you will have to use Focus on Elizabet's journals. They will be scanned automatically, so you can move forward.
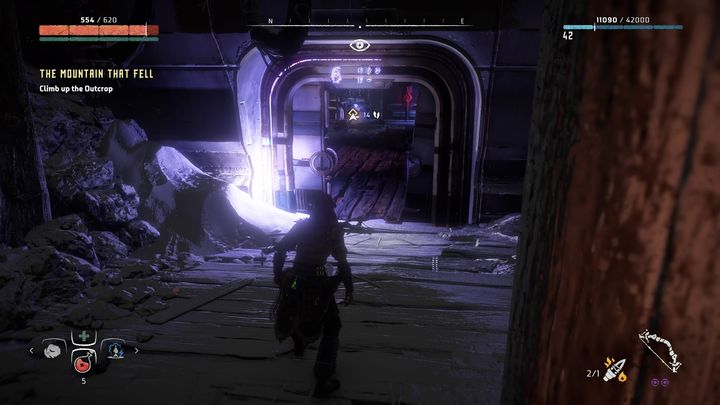
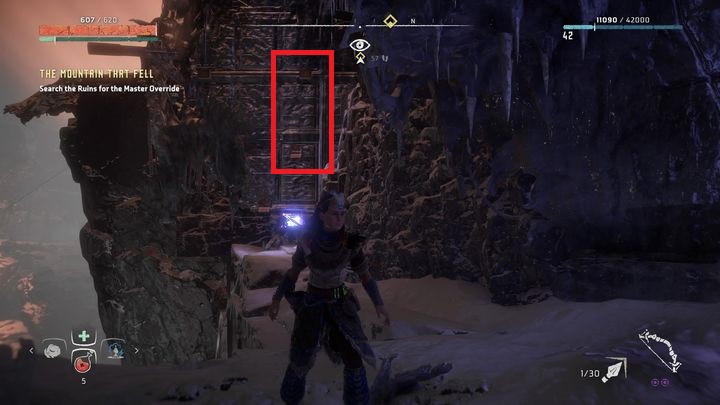
Use the presented breach to reach the upper part of the ruins.
Right behind it, you will come across a hologram and Sobeck's reflection. Activate it and wait for a moment. Watch the hologram and talk to Sylens. Play the remaining recordings, located on the table and the neighboring chamber. Now head towards the location marked by the indicator. Pass the door and soon you will end up in an elevator shaft. Use the handles to go up.
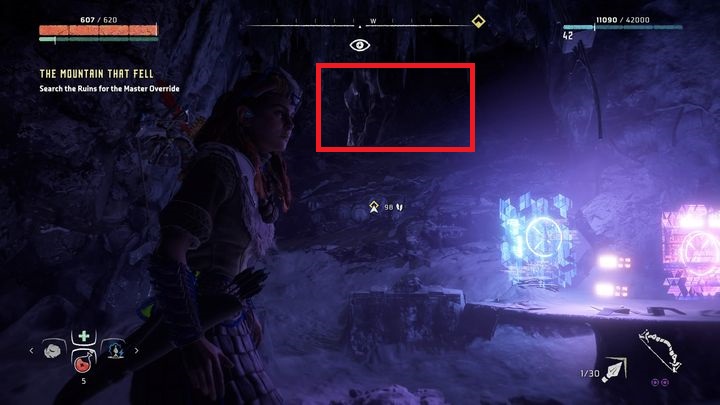
Be careful not to fall down. Your task is to reach another part of the facility. Use handles on the presented wall to do that. Head towards the damaged stairs and use them to move up. Follow the indicator to activate another hologram (right after a cut scene).
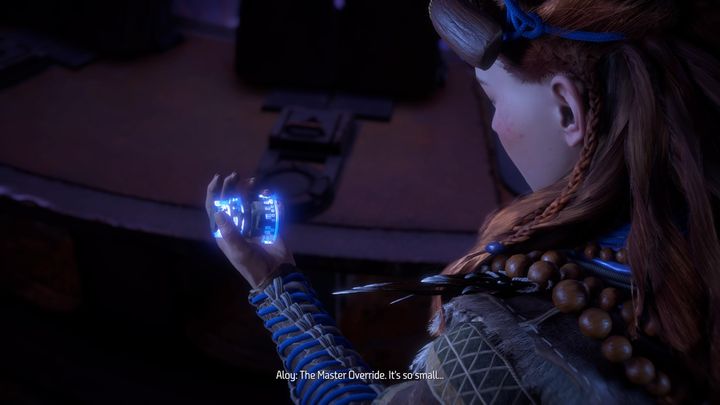
Talk to Sylens once the show is over. You will have to take the device that will help you defeat Hades. Exit the chamber and turn right. Your goal is Sylens' workbench. Reach the abyss and grab the first available handle on the right. Climb down.
You will end near the entrance of the chamber with the power cell (Ancient Armory). If you have not collected it before, do it now. Follow the indicator and move across the prominent elements on the wall that you used previously to slide down the rope. Move forward till you find Sylens.
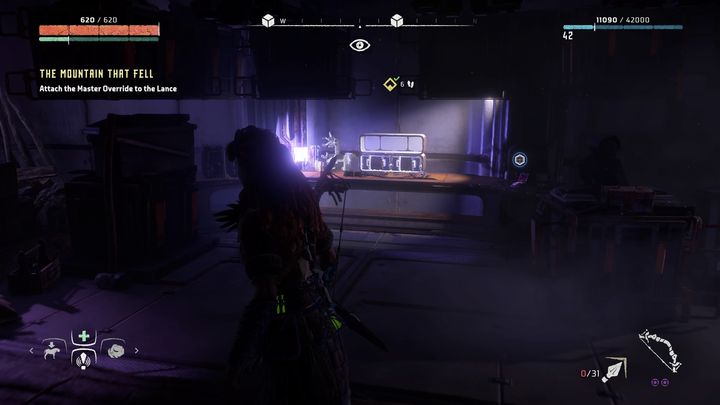
A longer dialogue sequence will begin, during which you will learn more about the storyline. Once it is over, use the presented workbench and craft a lance.
This will make you complete your quest and a new objective will appear in your journal - The Looming of Shadow. Exit the ruins by using the wall that helped you get to the workbench in the first place. Use fast travel to reach the Meridian.

- Horizon Zero Dawn Guide, Walkthrough
- Horizon Zero Dawn: Strategy Guide and Walkthrough
- Horizon Zero Dawn: Main Missions
- Horizon Zero Dawn: A Gift from the Past walkthrough, tips
- Horizon Zero Dawn: Lessons of the Wild walkthrough, tips
- Horizon Zero Dawn: The Point of the Spear walkthrough, tips
- Horizon Zero Dawn: Mother's Heart walkthrough, tips
- Horizon Zero Dawn: The Proving walkthrough, tips
- Horizon Zero Dawn: The Womb of the Mountain walkthrough, tips
- Horizon Zero Dawn: A Seeker at the Gates walkthrough, tips
- Horizon Zero Dawn: The War Chief's Trail walkthrough, tips
- Horizon Zero Dawn: Revenge of the Nora walkthrough, tips
- Horizon Zero Dawn: The City of The Sun walkthrough, tips
- Horizon Zero Dawn: The Field of the Fallen walkthrough, tips
- Horizon Zero Dawn: Into The Borderlands walkthrough, tips
- Horizon Zero Dawn: The Sun Shall Fall walkthrough, tips
- Horizon Zero Dawn: Maker's End walkthrough, tips
- Horizon Zero Dawn: The Grave-Hoard walkthrough, tips
- Horizon Zero Dawn: To Curse the Darkness walkthrough, tips
- Horizon Zero Dawn: Deep Secrets of the Earth walkthrough, tips
- Horizon Zero Dawn: The Terror of the Sun walkthrough, tips
- Horizon Zero Dawn: The Heart of the Nora walkthrough, tips
- Horizon Zero Dawn: The Mountain That Fell walkthrough, tips
- Horizon Zero Dawn: The Looming Shadow walkthrough, tips
- Horizon Zero Dawn: The Face of Extinction walkthrough, tips
- Horizon Zero Dawn: Main Missions
- Horizon Zero Dawn: Strategy Guide and Walkthrough
You are not permitted to copy any image, text or info from this page. This site is not associated with and/or endorsed by the developers and the publishers. All logos and images are copyrighted by their respective owners.
Copyright © 2000 - 2026 Webedia Polska SA for gamepressure.com, unofficial game guides, walkthroughs, secrets, game tips, maps & strategies for top games.