Deathloop: Super Shifty - walkthrough
This page of the Deathloop game guide contains a walkthrough of the Supersmart (Super Shifty) mission. This is the arsenal track from winning the Legacy legendary shotgun in the competition.
On this page of our Deathloop guide you'll find a walkthrough of the Super Shifty Arsenal Lead / mission. In this mission you can obtain the legendary Heritage shotgun. Our walkthrough will tell you how to attend Charlie's competition, how to pass the most difficult challenges and how to get through the obstacle course at the end.
- Unlocking the mission
- Mission completion reward - Heritage Gun
- Play Reward Scheme
- A present in the Dawn of Reason building
- A present in Hangar 1
- A present in Hangar 2
- Random turrets by presents
- The finale of Charlie's game - the obstacle course
Unlocking the mission

You can learn about this mission while visiting Karl's Bay during the evening.
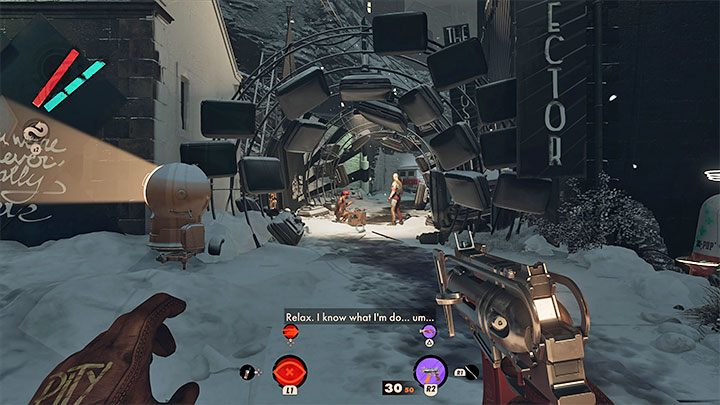
Soon after leaving the tunnels you can notice enemies fiddling with a box, which then suddenly explodes. Thanks to the info provided by the speakers, you will also learn about the ongoing game organized by Charlie Montague.
Mission completion reward - Heritage Gun
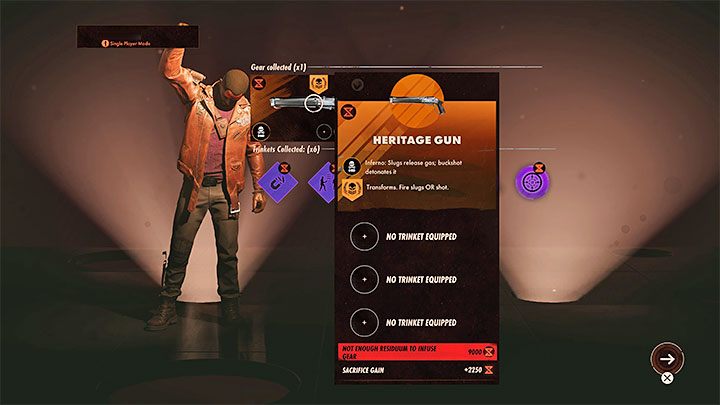
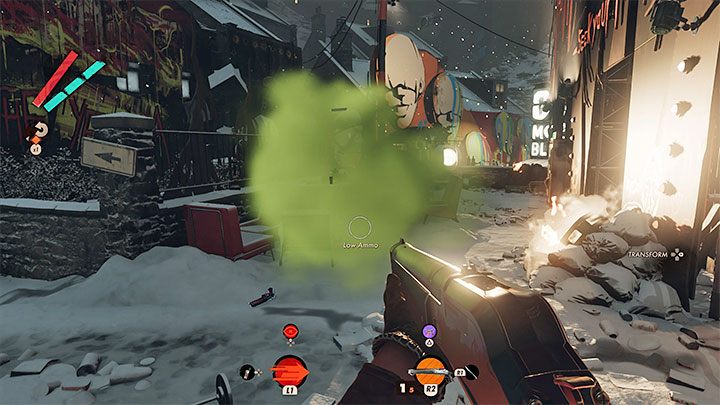
If you manage to complete all of Charlie's challenges, you'll be rewarded with the short-barrel Heritage shotgun. This weapon's unique feature are its poisoned shells - that is, it shoots shells which generate clouds of poisoned gas. This means it's excellent for fighting groups of enemies.
Note - spend 9000 Residuum to infuse the shotgun in order to permanently keep it. Otherwise you'd have to go through Charlie's game again during the next Loop.
Play Reward Scheme
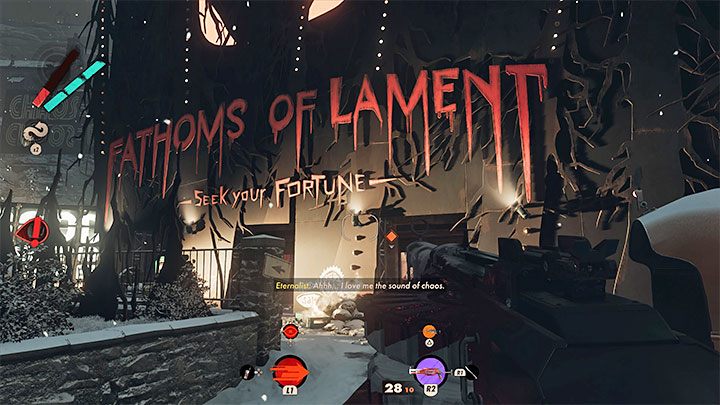
You can play Reward Scheme by visiting the Fathoms of Lament building, which can be found by the district's main road. It's next to the sudden turn of the road.
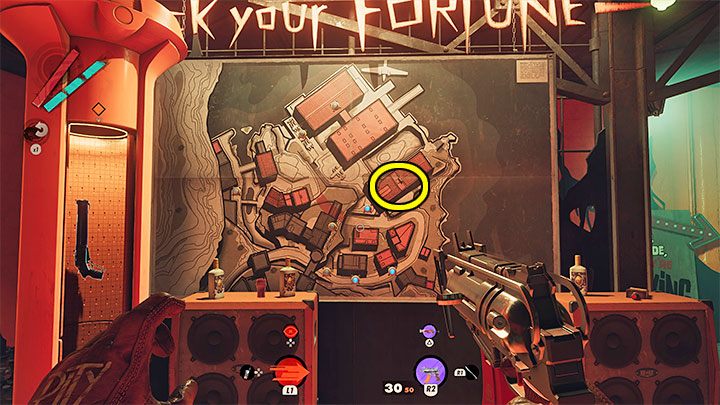
Once you enter the building, you'll notice a district map with different dots on it. The status of each dot is randomised, and there are two possibilities regarding each one, independently of the Loop:
- Blue dots - they represent boxes/presents that have already been opened. They're of no interest to you.
- Pulsating dots - these are boxes/presents that can still be examined. You can reach them in any order.
The game does not allow you to use the map wherever you want while exploring your surroundings, but you can freely return to the building with the map anytime to get info. We've marked the building where the game starts on the picture.
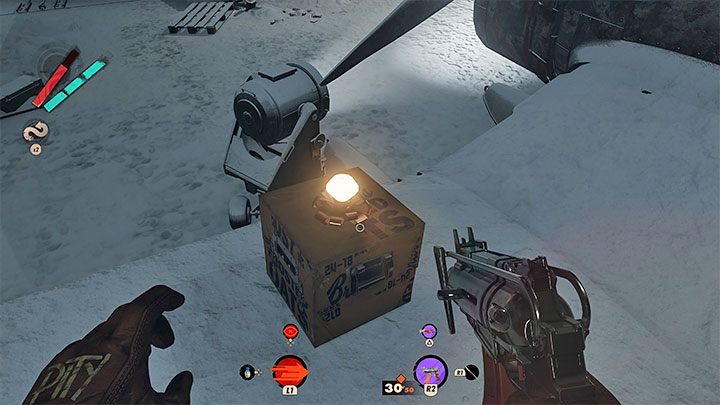
Every pulsating dot on the map is a box, also called a present - you'll recognize them thanks to the pulsating light. The boxes can:
- turn out to be a trap and explode a few seconds after opening,
- shoot out confetti and let you take a random gift.
It's the safest to jump back after opening each present, especially since the game doesn't force you to rush after opening the box.
You can fail Charlie's game if you:
- try to cheat and shoot the box from distance - you need to personally interact with each one,
- are unable to complete one of the puzzles in time - we've described them later on this page.
In case you fail the game, theoretically you're only allowed to try again next day, but you can also immediately turn the game off and return to the main menu. When the game resumes, you'll appear in the tunnels of Karl's Bay, the only progress you've lost involving examining the presents.
We've listed some more difficult presents to examine below. Since the game always randomizes boxes you need to examine, there's no guarantee you'll have to visit the same places during your subsequent attempts.
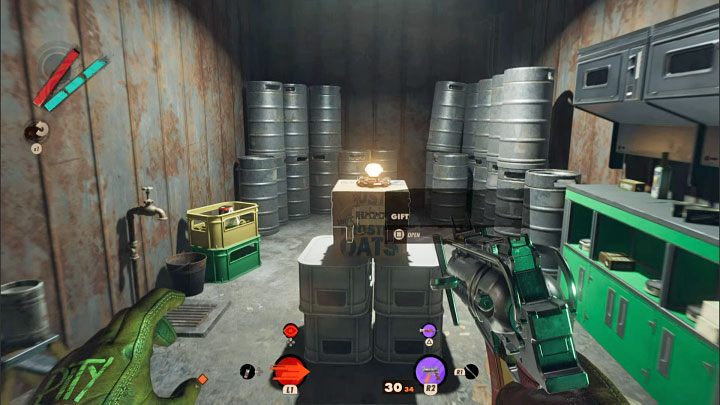
A present in the Dawn of Reason building
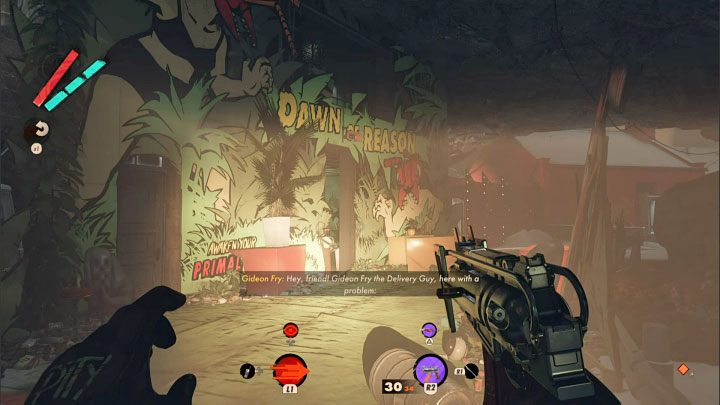

This is one of the most difficult presents to get, as it's connected to a time challenge. You can find a lever in front of the Dawn of Reason building (we've marked its location on the picture - it's by the main road). Pulling it will start the puzzle, giving you 3 minutes to solve it. Failing the puzzle will prevent you from continuing, as the game doesn't allow you to retry. You'll have to restart the game or return to the district the next day.
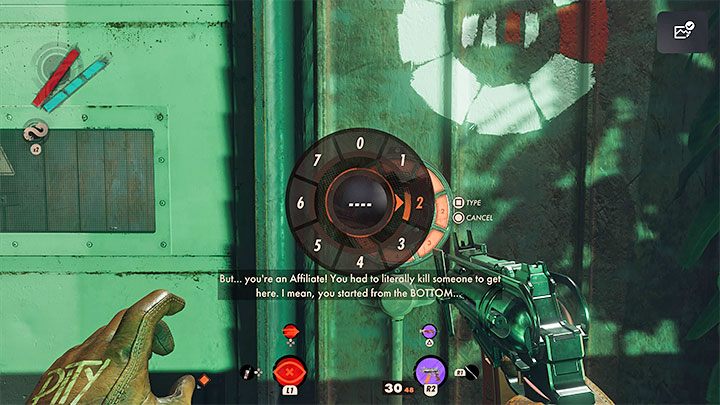
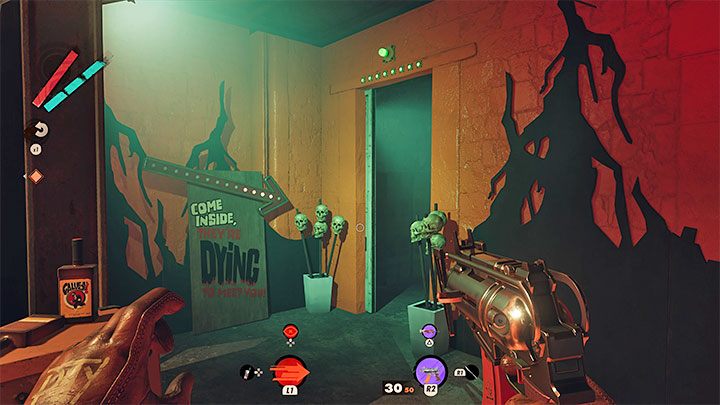
Your task is figuring out a 4-digit combination opening the electronic lock on the building's ground floor. Note that the lock resembles the dial of a phone - each digit is located on a wheel, which should be helpful when figuring out the subsequent parts of the combination.
You need to carefully examine the entire Dawn of Reason building to find four hints for the puzzle.
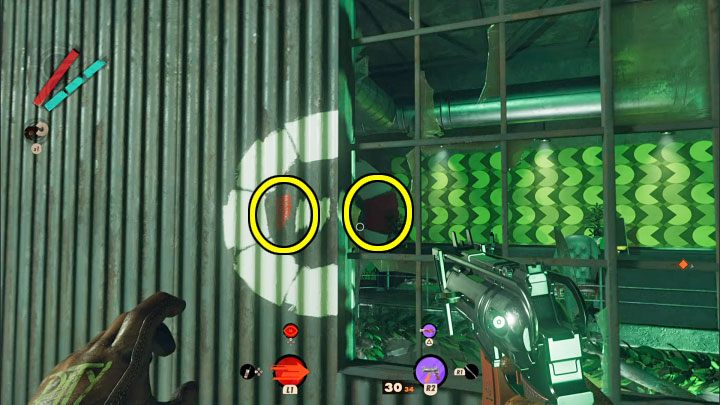
The first hint can be found upstairs. Positioning yourself by the window, you can notice a dial painted in two different spots. You need to decipher two things from each such hint:
- Which digit does it refer to - in this case it's the first red line out of four (marked on the picture), so the hint refers to the first digit. Other hints can be read similarly.
- What specific number does it refer to - remember the dial. In our example, the red spot (marked on the picture) is the one that's placed the most to the right, so it refers to number 2.
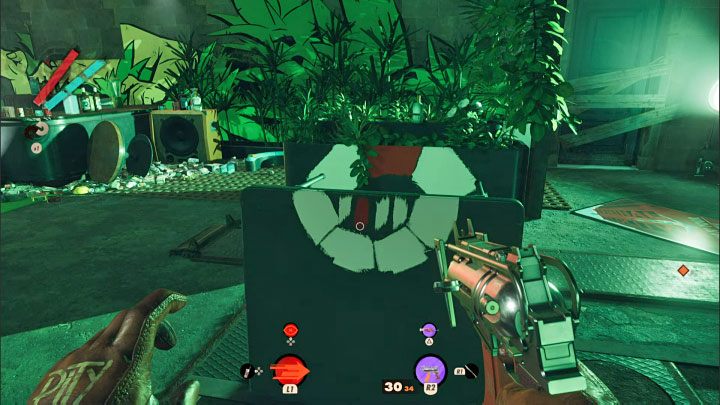
The second hint is on the ground floor, to the right of the closed passage. In our example, the red spot indicated the number 0.
The third hint is on the wall next to the electronic lock. In our example, it indicated the number 2.

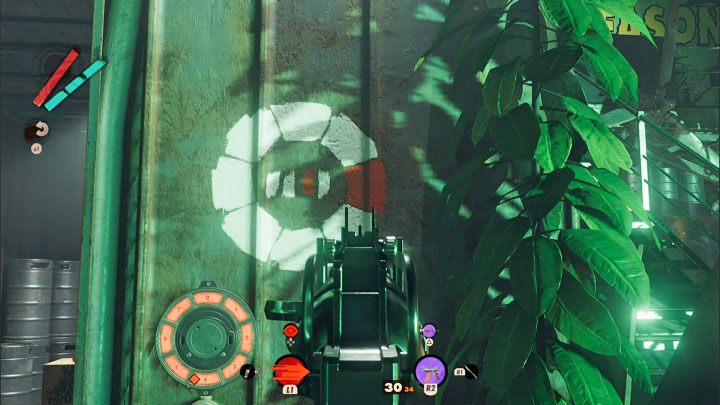
Fourth hint can be found upstairs. In our example, it indicated the number 7 - move closer to the weakly-lit area if necessary.
In our playthrough the correct combination was 2027, but remember many combinations in the game are randomly generated. Fortunately, if you know how to read the hints and where to find them, you should easily figure out the code with plenty of time to spare.
After inputing the correct code, the room with the box/present inside will unlock.
A present in Hangar 1

After using the main entrance to Hangar 1, you'll notice the huge gate is closed. Use Shift to reach one of the windows and get onto Hangar 1's rooftop. Go a little further and destroy any window in Hangar 1, then jump through to reach the other side of the gate.
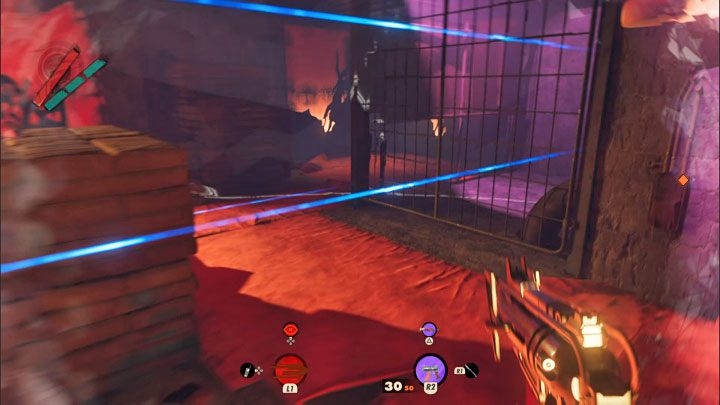
The box / present is surrounded by many laser traps. You should play very carefully to defuse as many as you can - if you need to, use Shift and Aether. Don't try to rush and don't teleport straight towards the present, as you should step back after interacting with it, just in case. If there are still active traps nearby, this could be very difficult.
A present in Hangar 2
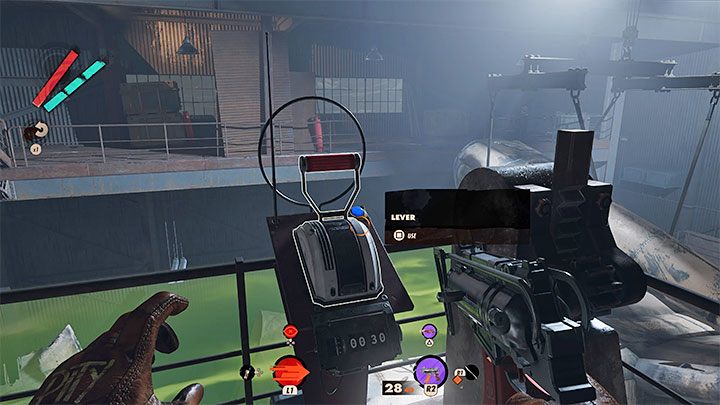
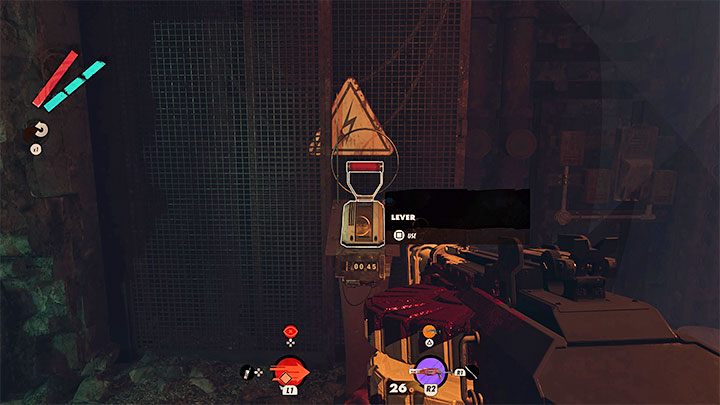
You can access hangar 2 from Hangar 1 - by going through the already well-known bridge connecting both buildings. The puzzle here also has a time limit. Make sure you can use Shift, you should also have its upgrade, Reach, which allows you to teleport over greater distances.
The countdown starts once you pull the first lever.
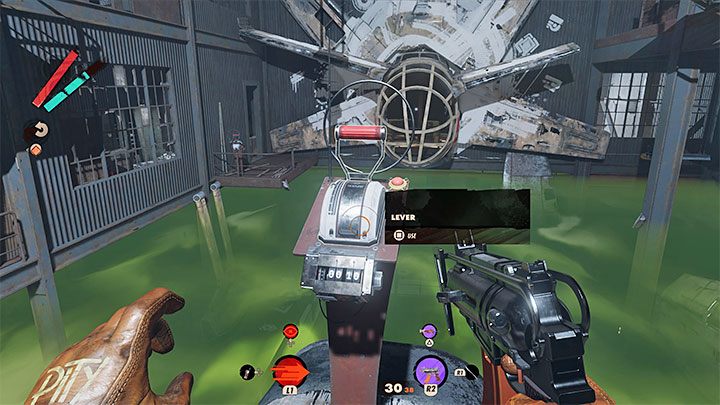
Try to listen to the sounds made by subsequent levers and reach them quickly. Using Shift will make your task much easier. Pulling each lever adds a few seconds to the time limit.
Think your every action through, if you fall you'll not only lose time, but you can also end up in the lower area filled with poison gas.
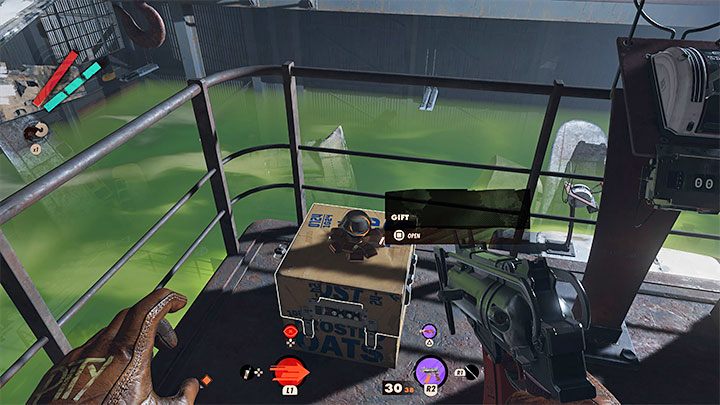
After pulling all the levers, return to the starting area. The box / present can be found next to the first lever. Remember to step away from it, just in case,
Random turrets by presents
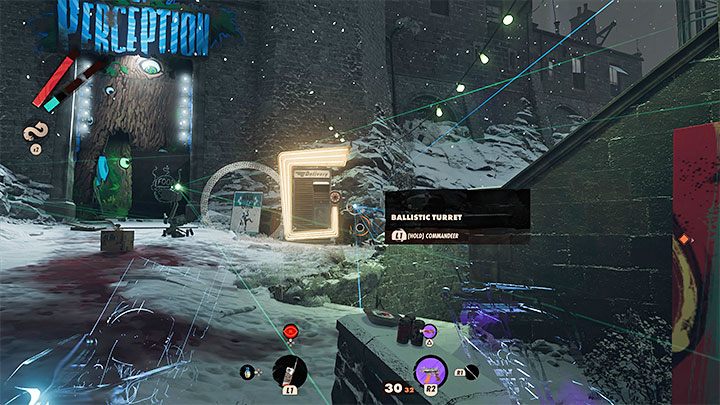
Near some of the presents, aside from enemies you can also encounter randomly placed turrets. Trying to get close to them may end badly, as you can easily get targeted by everything at once.
Always hack the turrets from as far away as possible. You can make it easier by using Aether and equipping a medallion that increases the range of your Hackamajig.
The finale of Charlie's game - the obstacle course
Your objective is examining all of the "pulsating" boxes. Once you return to your starting location (the Dawn of Reason building), all dots on the map should be blue.
A passageway on the right will unlock - it leads to the obstacle course, your final challenge before obtaining the legendary weapon.
The final trial is made more difficult, as it forbids you from using your powers (Slabs). You need to rely on the sprint more, and make sure to accurate measure all jumps.
The final challenge is a time trial - from the moment you pull the first lever, you'll be given 45 seconds to reach the subsequent ones.
Each lever makes a distinctive sound, which is very useful when trying to locate it. You need to know that his room doesn't have a single floor, so you might be forced to climb to a higher level on crates or jump down to a lower level.
Avoid blue lasers, touching them immediately fails the trial. Fortunately, this challenge can be attempted as many times as you want. You don't need to worry about restarting the Loop, like during previous challenges in this mission. If you made a mistake or ran out of time, you can simply return to the first lever.
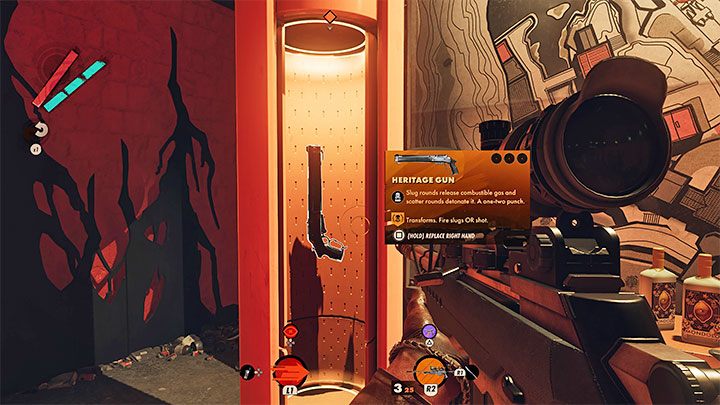
The puzzle ends once you pull all levers. Return to the main room. The display case with the Heritage Gun inside will be open now.

You are not permitted to copy any image, text or info from this page. This site is not associated with and/or endorsed by the developers and the publishers. All logos and images are copyrighted by their respective owners.
Copyright © 2000 - 2026 Webedia Polska SA for gamepressure.com, unofficial game guides, walkthroughs, secrets, game tips, maps & strategies for top games.