
LEGO The Hobbit: Red question marks
The side missions marked with the red question marks are different from the side quests marked with white question marks. The premises of all of the red-question-mark quests are identical. After you reach the questgiver, you are asked to bring a unique mithril item, which starts the below process.
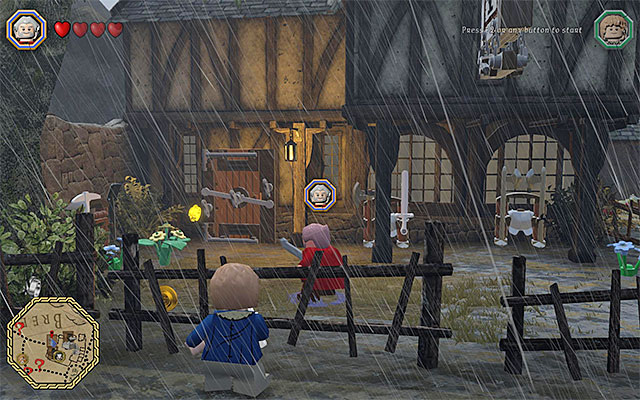
The first step is obtaining the schematic for the item that has been requested by the questgiver. The information on finding schemata, during the main missions, have been given in the chapter entitled Main Stages - Collectibles, and the information on the whereabouts of schemata, which you find during the free exploration of the game world, has been provided in the chapter entitled Middle Earth - Schematics.
The next step to take is to prepare the item, basing on the schematic that you have obtained. To do that, you need to visit the local blacksmith, whose location has been shown on the above map. The important piece of news is that the smithy is unavailable, at first. The smithy in Bree becomes available as late as after the completion of the "Smithy in Peril" side quest (no. 19, white question mark).
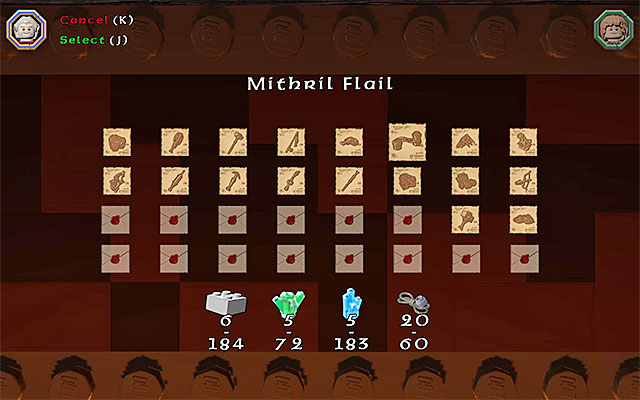
After you enter the smithy, you need to interact with the forge inside and then, select the appropriate schematic from the list (only the ones that you have already obtained are on the list).
Unfortunately, it is possible to craft an item only after you spend some of the supplies. If you have the required supplies, you need to complete the minigame that you have already played in the first stage of the game. Otherwise, you first need to search around for the required supplies.
Note - one of the "supplies" that you need are the mithril LEGO bricks. To find the information on how to obtain them, see among others, the chapters entitled How to complete the game in 100%? and Middle Earth - Mithril LEGO bricks.
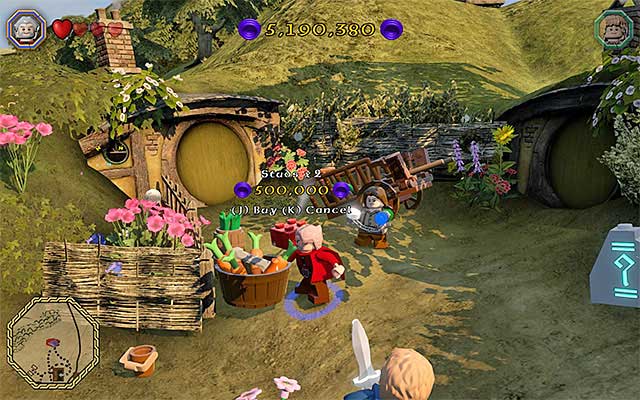
After you complete the minigame and forge the unique mithril item. you can finally return to the person that placed the request. After you complete each "red" mission, you are rewarded with the option to buy, for studs (coins), a red LEGO brick. There is a practical function to each such brick and it unlocks a hidden function of the game (e.g. using special outfits), or makes further game easier (e.g. by awarding you with a considerable of studs).
Note - The functions connected with the individual LEGO bricks can be enabled and disabled, as much as you want. To do that, you need to stop the game and select the Extras option, in the pause menu.

- LEGO The Hobbit Game Guide & Walkthrough
- LEGO The Hobbit: Walkthrough, Collectibles, Maps
- LEGO The Hobbit: Middle Earth - Side missions
- LEGO The Hobbit: Introduction
- LEGO The Hobbit: White question marks - map
- LEGO The Hobbit: White question marks - walkthroughs for quests 1-20
- LEGO The Hobbit: White question marks - walkthroughs for quests 21-40
- LEGO The Hobbit: White question marks - walkthroughs for quests 41-60
- LEGO The Hobbit: White question marks - walkthroughs for quests 61-80
- LEGO The Hobbit: White question marks - walkthroughs for quests 81-100
- LEGO The Hobbit: White question marks - walkthroughs for quests 101-105
- LEGO The Hobbit: Red question marks
- LEGO The Hobbit: Middle Earth - Side missions
- LEGO The Hobbit: Walkthrough, Collectibles, Maps
You are not permitted to copy any image, text or info from this page. This site is not associated with and/or endorsed by the developers and the publishers. All logos and images are copyrighted by their respective owners.
Copyright © 2000 - 2026 Webedia Polska SA for gamepressure.com, unofficial game guides, walkthroughs, secrets, game tips, maps & strategies for top games.