Stage 4 (Roast Mutton): The battle with the Trolls
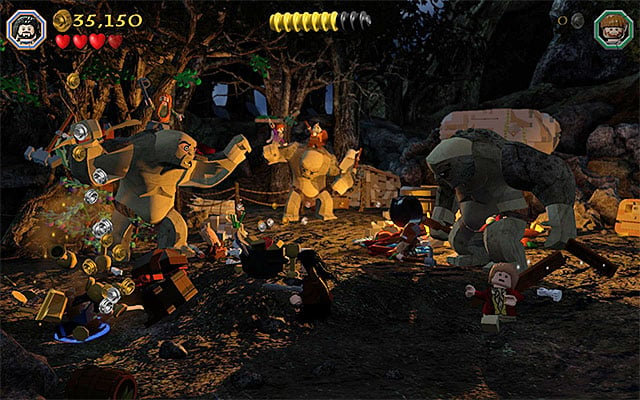
You can start the battle with the trolls, as any of the dwarves. Use the opportunity to destroy the objects in the camp, thanks to which you will obtain studs and supplies. while doing that, stay away from the closest of the trolls, as well as from the other ones, which the allies jumped.
Turn to the right side of the camp. You need to hold down the indicated key/button here and build a catapult. Once the catapult is ready, switch to Kili and select Kili's Bow. Aim at the catapult's target (the above screenshot), and stat the entire structure running. If you have done everything correctly, the first one of the trolls will be stunned.
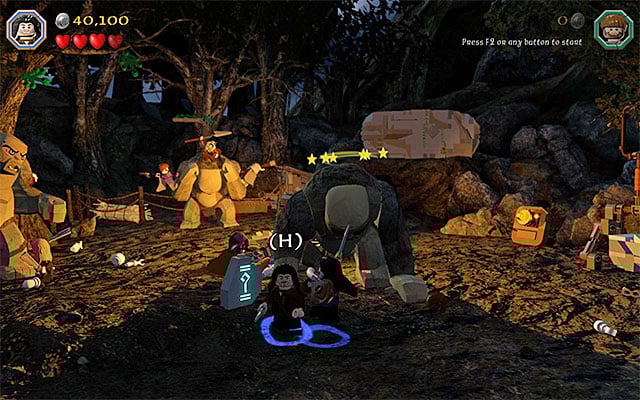
Approach one of the dwarves, who should be standing next to the stunned troll, and press the Buddy-Up key/button. After your character jumps onto the ally, he should land an automatic attack and eliminate the first troll.
Note - If you are playing with a human player, you will most probably have to approach the stunned troll, before you land the attack.

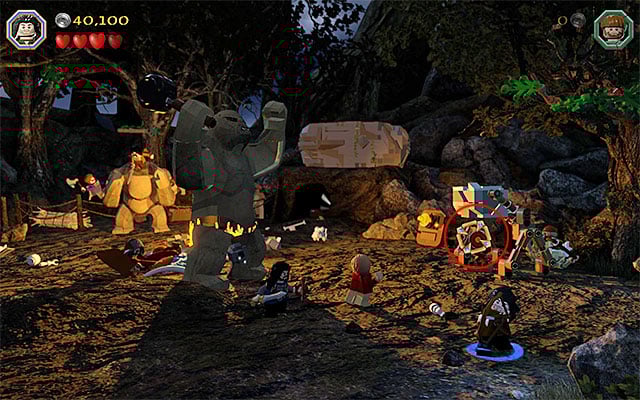
Right after the first troll is defeated, a cutscene of the tussle with the other troll. In this case, the key to success is pressing the keys indicated by the game, rhythmically (they will change, occasionally!). The second troll will soon be incapacitated.
Just like in the case of the first troll, you need to switch to any of the dwarves, approach the ally standing next to the stunned monster and press the Buddy-Up key/button. There is still one more to eliminate.
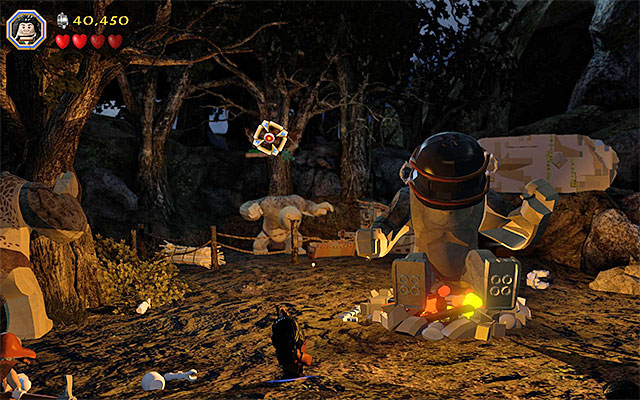
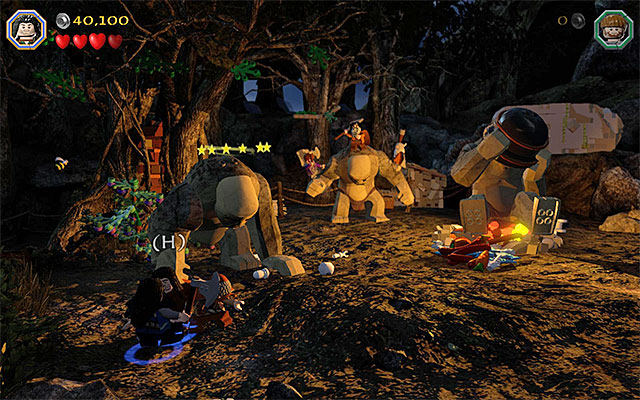
Be careful here, because the last troll will start throwing heavy objects at the protagonists. Avoid them and additionally, switch to Kili. Prepare Kili's Bow and aim it at the nest shown in the above screenshot. However, shoot only when the troll walks directly under the nest, thanks to which he will be stunned. You can now approach the monster and, in the way that you have already learned, Buddy-Up. Unfortunately, defeating all of the trolls does not end this stage.
- LEGO The Hobbit Game Guide & Walkthrough
- LEGO The Hobbit: Walkthrough, Collectibles, Maps
- LEGO The Hobbit: Walkthrough
- Stage 1 (Greatest Kingdom in Middle-Earth): Inside the Lonely Mountain
- Stage 1 (Greatest Kingdom in Middle-Earth): Smaug's attack
- Middle-Earth: Reach the cottage of Bilbo Baggins
- Stage 2 (An Unexpected Party): The Party
- Middle-Earth: The journey to Bree
- Stage 3 (Azog the Defiler): The Camp
- Stage 3 (Azog the Defiler): The battle with the Orcs
- Stage 3 (Azog the Defiler): The battle with Azog the Defiler
- Middle-Earth: Reach Troll Dwellings
- Stage 4 (Roast Mutton): Free the horses
- Stage 4 (Roast Mutton): The battle with the Trolls
- Stage 4 (Roast Mutton): Rescue the allies
- Middle-Earth: Reach the troll cave
- Stage 5 (The Troll Hoard): Explore the cave
- Stage 5 (The Troll Hoard): Save the rabbits of Rhosgobel
- Stage 5 (The Troll Hoard): The orc encounter
- Middle-Earth: Meet Elrond in Rivendell
- Stage 6 (Over Hill and Under Hill): The way through the pass
- Stage 6 (Over Hill and Under Hill): Climb the stone giant
- Middle-Earth: Reach shelter
- Stage 7 (Goblin-town): Cooperation with a goblin
- Stage 7 (Goblin-town): Gollum's puzzles
- Stage 7 (Goblin-town): The first battle with Great Goblin
- Stage 7 (Goblin-town): Escape from the goblin city
- Stage 7 (Goblin-town): The second battle with Great Goblin
- Middle-Earth: The way through the pinewood forest
- Stage 8 (Out of the Frying Pan...): Escape the orcs
- Stage 8 (Out of the Frying Pan...): The battle with Azog the Defiler
- Middle-Earth: Descend from the Lonely Mountain
- Stage 9 (Queer Lodgings): The bear attack
- Stage 9 (Queer Lodgings): The cabin in the woods
- Middle-Earth: Reach the Dark Forest
- Stage 10 (Flies and Spiders): The Dark Forest
- Stage 10 (Flies and Spiders): The spider cave
- Stage 10 (Flies and Spiders): The battle with the spiders
- Middle-Earth: Crossing the elven kingdom
- Stage 11 (Barrels Out of Bond): The cellar
- Stage 11 (Barrels Out of Bond): Goblin attack
- Stage 11 (Barrels Out of Bond): Go down the river
- Middle-Earth: Make your way to Esgaroth
- Stage 12 (A Warm Welcome): The armory
- Stage 12 (A Warm Welcome): The docks
- Stage 12 (A Warm Welcome): The battle with Bolg
- Middle-Earth: Reach High Fells
- Stage 13 (Looking for Proof): The mountain path
- Stage 13 (Looking for Proof): Angmar's Tomb
- Middle-Earth: The journey to Dol Guldur Keep
- Stage 14 (The Necromancer): The keep's exterior
- Stage 14 (The Necromancer): The keep's interior
- Stage 14 (The Necromancer): The battle with Azog the Defiler
- Stage 14 (The Necromancer): The battle with Sauron
- Middle-Earth: The journey across Dale
- Stage 15 (On the Doorstep): The climb
- Middle-Earth: Reach the vault in the Lonely Mountain
- Stage 16 (Inside Information): The vault
- Stage 16 (Inside Information): Defeat Smaug
- LEGO The Hobbit: Walkthrough
- LEGO The Hobbit: Walkthrough, Collectibles, Maps
You are not permitted to copy any image, text or info from this page. This site is not associated with and/or endorsed by the developers and the publishers. All logos and images are copyrighted by their respective owners.
Copyright © 2000 - 2026 Webedia Polska SA for gamepressure.com, unofficial game guides, walkthroughs, secrets, game tips, maps & strategies for top games.