Stage 12 (A Warm Welcome): The armory
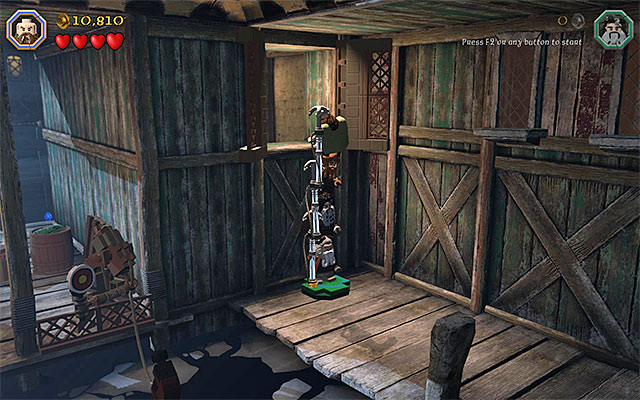
Switch to any of the dwarves, available for this mission, and start the demolition of the area neighboring the armory. You should especially pay attention to the objects located under the left open window. Destroy them and hold down the building key/button there. You can now start arranging the dwarves, with long weapons, on the green-and-blue plate. Form a tower and climb onto it as Dwalin. You can now jump into the armory.
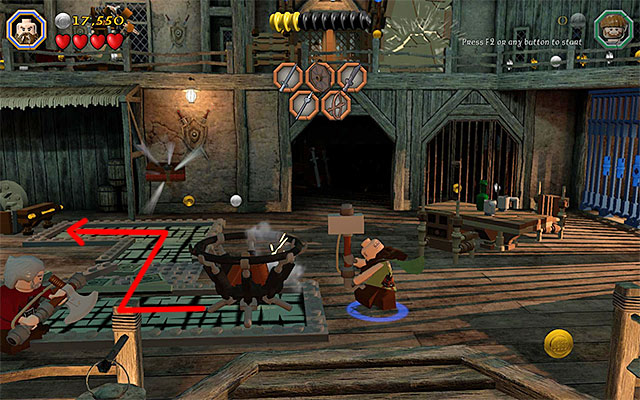
There are five high-end pieces of weaponry to obtain in the armory. You can reach them in any order that you want. I recommend that you start by smashing the objects located in the central part of the building. You should notice that, after you have sufficiently smashed the environment, the option to reconstruct a fragment of the floor become available (hold down the indicated key/button). You can now switch to Dwalin and push over the fireplace - shown in the above screenshot - with the warhammer. First, to the left, then towards the background and then to the left again.
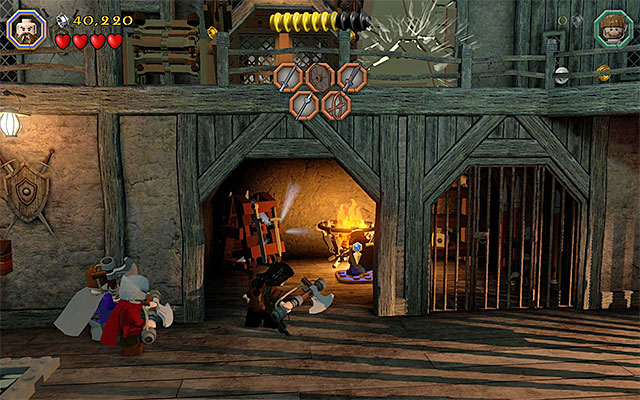
Remain in the area where the fireplace has been pushed and interact with the mechanism on the left. After you press the indicated key several times, flames will appear. Collect the torch from the wall and approach the fireplace with it. Go right then and enter the dark area with the torch. Approach another fireplace here and use the lit torch on it, thanks to which this area will be permanently illuminated. You can now destroy the weapon stand on the left. After that, switch to any character and pick up the sword (Lake-Town Sword). This will result in an attack by the guards but, they are not too much of a threat (collect the heats that they drop, if you have lost too much health).
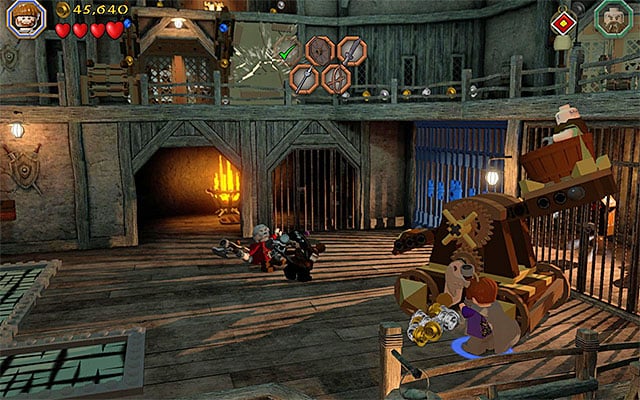
Explore the right side, of the lower level, now and destroy the objects. Locate the hopping bricks and use them to build a Craft Plate. You need to spend your supplies here- 1 Stone, 1 Rope and 4 Wood. Complete the building minigame, thanks to which a catapult will appear here. Jump into the catapult, as any of the characters, switch to another dwarf and stand on the left side of the catapult. Press the attack key/button to spring the machine. This will unlock (for all of the dwarves) access to the upper level in the armory.
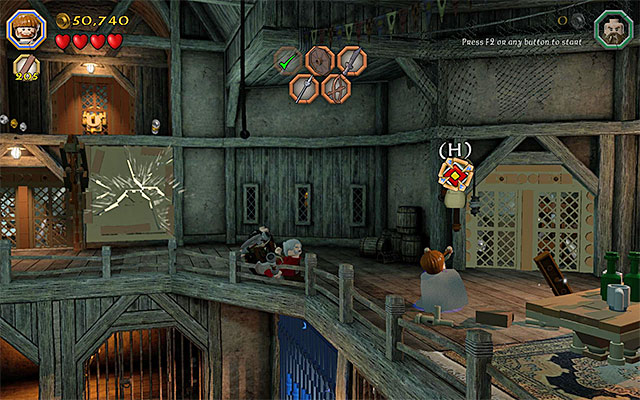
I recommend that you go to the right first, as far as you can. Switch to Ori and prepare his Makeshift Slingshot. You need to hit the target three times, thanks to which you will raise the grate on the right, as much as possible. Destroy the weapon stand and collect the Iron Hills Rounded Shield, as any of the characters. Be prepared, of course, to fight back another group of guards.
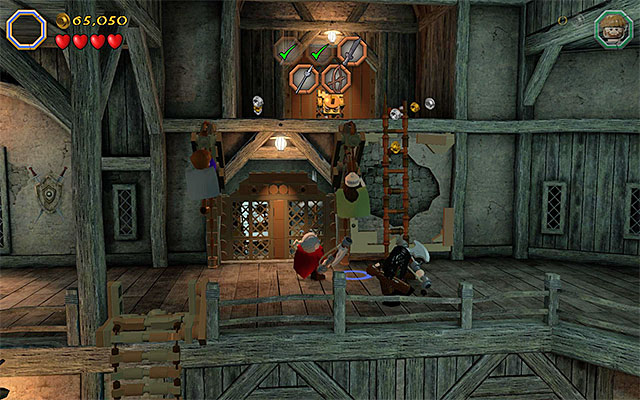
Now, examine the central part of the armor's upper level. There are two catches here and each one needs to be grabbed by another character. Wait for the grate to raise and destroy the weapon stand. Collect the Lake-Town Spear and eliminate another wave of enemies.
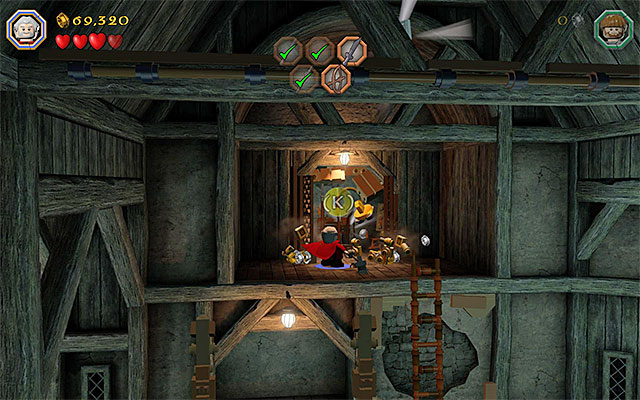
Remain in the central part of the upper balcony. Buddy-Up any two dwarves and cut through the large cracked plate, in this mode. Hold down the building key/button now, to build a ladder. Then climb up. Switch to Dori and use his Makeshift Flail to reach the catch. Rip t off the wall, enter the stash with the weapon stand and obtain another weapon - Lake-Town Bow.
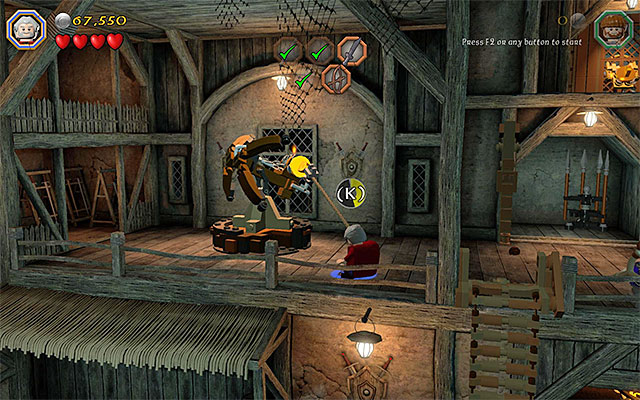
Finally, explore the left side of the armory's upper level, walk past the Windlance and smash the nearby objects. You can now hold down the building key in order to build an interactive catch. Also here, Dori needs to move into action. Use the flail to reach the catch and activate the lance, thanks to this.
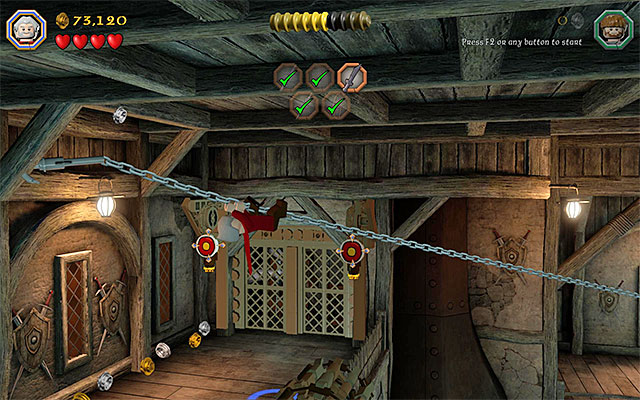
Eliminate the guards and reach the chain, as any of the characters, which was launched by the lance. This way, you will reach the top-left balcony. Switch to the character that collected the bow and aim arrows at the two targets. You can now destroy the last weapon stand and collect another sword. Here, you will watch a longer cutscene and the next part of this stage will start.
- LEGO The Hobbit Game Guide & Walkthrough
- LEGO The Hobbit: Walkthrough, Collectibles, Maps
- LEGO The Hobbit: Walkthrough
- Stage 1 (Greatest Kingdom in Middle-Earth): Inside the Lonely Mountain
- Stage 1 (Greatest Kingdom in Middle-Earth): Smaug's attack
- Middle-Earth: Reach the cottage of Bilbo Baggins
- Stage 2 (An Unexpected Party): The Party
- Middle-Earth: The journey to Bree
- Stage 3 (Azog the Defiler): The Camp
- Stage 3 (Azog the Defiler): The battle with the Orcs
- Stage 3 (Azog the Defiler): The battle with Azog the Defiler
- Middle-Earth: Reach Troll Dwellings
- Stage 4 (Roast Mutton): Free the horses
- Stage 4 (Roast Mutton): The battle with the Trolls
- Stage 4 (Roast Mutton): Rescue the allies
- Middle-Earth: Reach the troll cave
- Stage 5 (The Troll Hoard): Explore the cave
- Stage 5 (The Troll Hoard): Save the rabbits of Rhosgobel
- Stage 5 (The Troll Hoard): The orc encounter
- Middle-Earth: Meet Elrond in Rivendell
- Stage 6 (Over Hill and Under Hill): The way through the pass
- Stage 6 (Over Hill and Under Hill): Climb the stone giant
- Middle-Earth: Reach shelter
- Stage 7 (Goblin-town): Cooperation with a goblin
- Stage 7 (Goblin-town): Gollum's puzzles
- Stage 7 (Goblin-town): The first battle with Great Goblin
- Stage 7 (Goblin-town): Escape from the goblin city
- Stage 7 (Goblin-town): The second battle with Great Goblin
- Middle-Earth: The way through the pinewood forest
- Stage 8 (Out of the Frying Pan...): Escape the orcs
- Stage 8 (Out of the Frying Pan...): The battle with Azog the Defiler
- Middle-Earth: Descend from the Lonely Mountain
- Stage 9 (Queer Lodgings): The bear attack
- Stage 9 (Queer Lodgings): The cabin in the woods
- Middle-Earth: Reach the Dark Forest
- Stage 10 (Flies and Spiders): The Dark Forest
- Stage 10 (Flies and Spiders): The spider cave
- Stage 10 (Flies and Spiders): The battle with the spiders
- Middle-Earth: Crossing the elven kingdom
- Stage 11 (Barrels Out of Bond): The cellar
- Stage 11 (Barrels Out of Bond): Goblin attack
- Stage 11 (Barrels Out of Bond): Go down the river
- Middle-Earth: Make your way to Esgaroth
- Stage 12 (A Warm Welcome): The armory
- Stage 12 (A Warm Welcome): The docks
- Stage 12 (A Warm Welcome): The battle with Bolg
- Middle-Earth: Reach High Fells
- Stage 13 (Looking for Proof): The mountain path
- Stage 13 (Looking for Proof): Angmar's Tomb
- Middle-Earth: The journey to Dol Guldur Keep
- Stage 14 (The Necromancer): The keep's exterior
- Stage 14 (The Necromancer): The keep's interior
- Stage 14 (The Necromancer): The battle with Azog the Defiler
- Stage 14 (The Necromancer): The battle with Sauron
- Middle-Earth: The journey across Dale
- Stage 15 (On the Doorstep): The climb
- Middle-Earth: Reach the vault in the Lonely Mountain
- Stage 16 (Inside Information): The vault
- Stage 16 (Inside Information): Defeat Smaug
- LEGO The Hobbit: Walkthrough
- LEGO The Hobbit: Walkthrough, Collectibles, Maps
You are not permitted to copy any image, text or info from this page. This site is not associated with and/or endorsed by the developers and the publishers. All logos and images are copyrighted by their respective owners.
Copyright © 2000 - 2026 Webedia Polska SA for gamepressure.com, unofficial game guides, walkthroughs, secrets, game tips, maps & strategies for top games.
